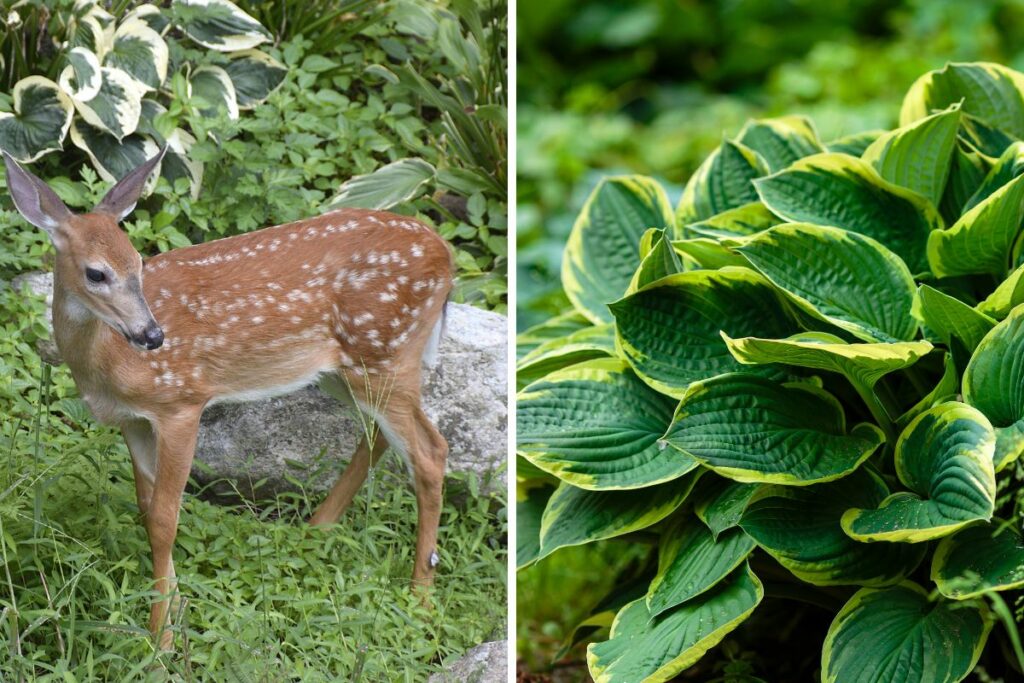
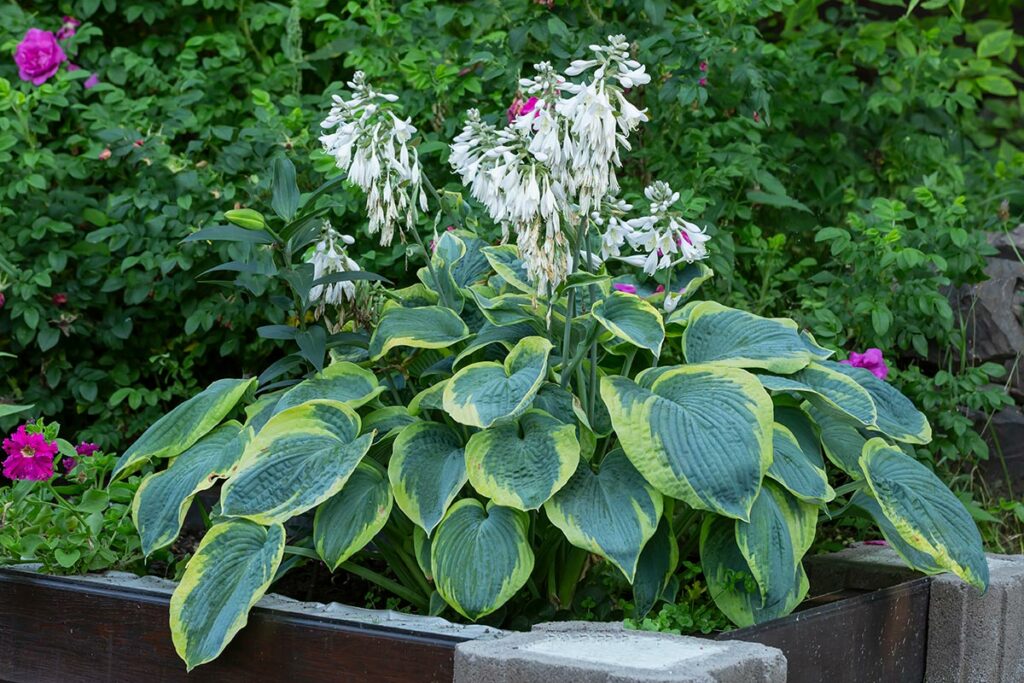
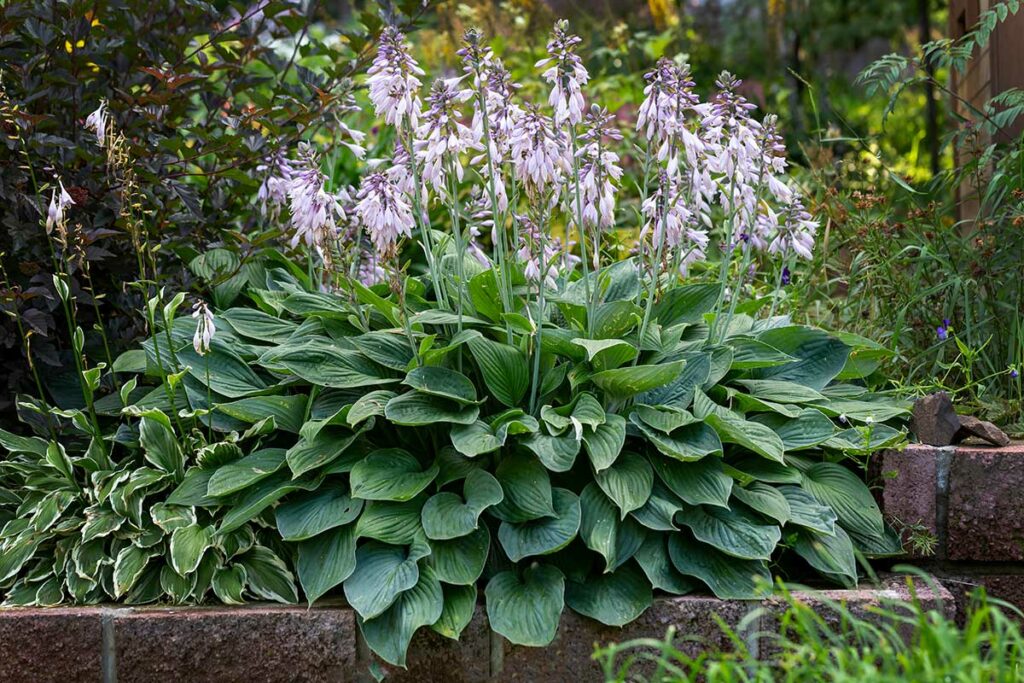
Hostas are a popular landscape plant all over the U.S. because of their large leaves, pretty flowers, and ability to provide ground cover. They’re perennial plants that thrive in USDA zones three through nine and don’t have many needs during the spring and summer.
However, in the fall, you need to prepare them to survive and thrive throughout the cold winter months. Here’s how you overwinter hostas so you continue to have strong, beautiful plants each year.
Ensure They Get Adequate Water
You know that most plants need some degree of watering. In the fall, when your hostas begin to turn yellow and die back, make sure they get about an inch of water per week.
Depending on where you live, the autumn rains may suffice. If you live in a drier climate or have an unusually dry season, you should water them yourself to make sure they have what they need.
Stop Fertilizing
Many plants require fertilization in the fall, including your lawn. However, hostas don’t do well with autumn fertilization. You should stop fertilizing them in late summer, because not only can the chemicals damage the roots as the ground cools, but they can also ensure leaves keep growing.
Like many other flowering plants, hostas need to die back in the fall so they can go dormant before the ground freezes.
Allow Leaves to Die Back Naturally
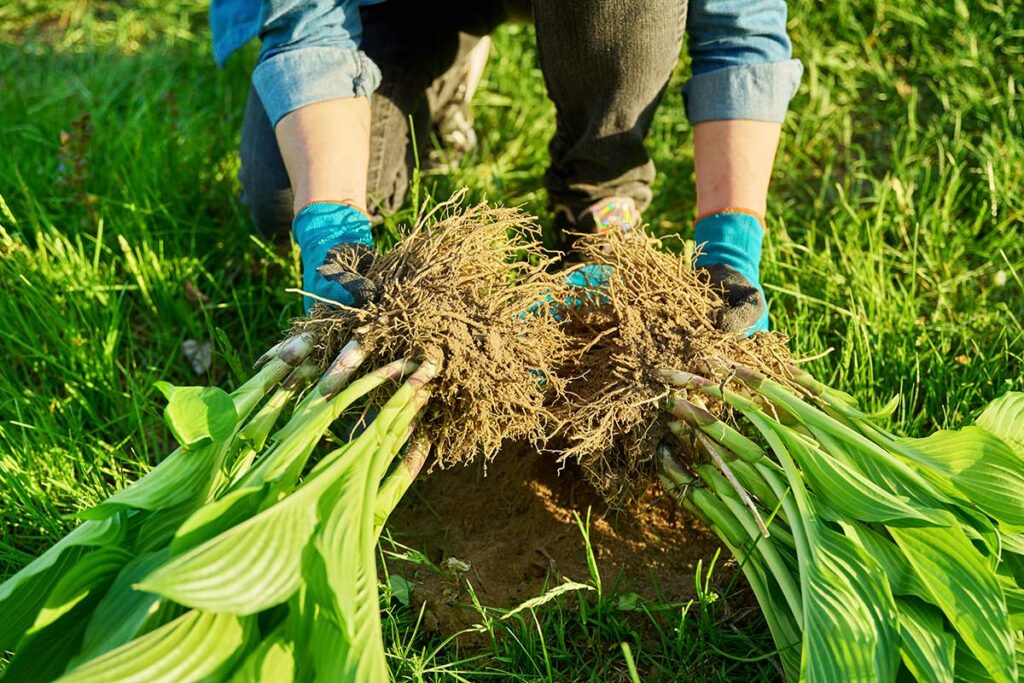
Nobody likes limp, yellow leaves in their yards. Hostas are rhizomes, though, and they need their yellowing leaves to provide energy for the winter and following spring. In this way, they’re similar to flowers like tulips. Tulips likewise need to keep their leaves for as long as possible before pruning.
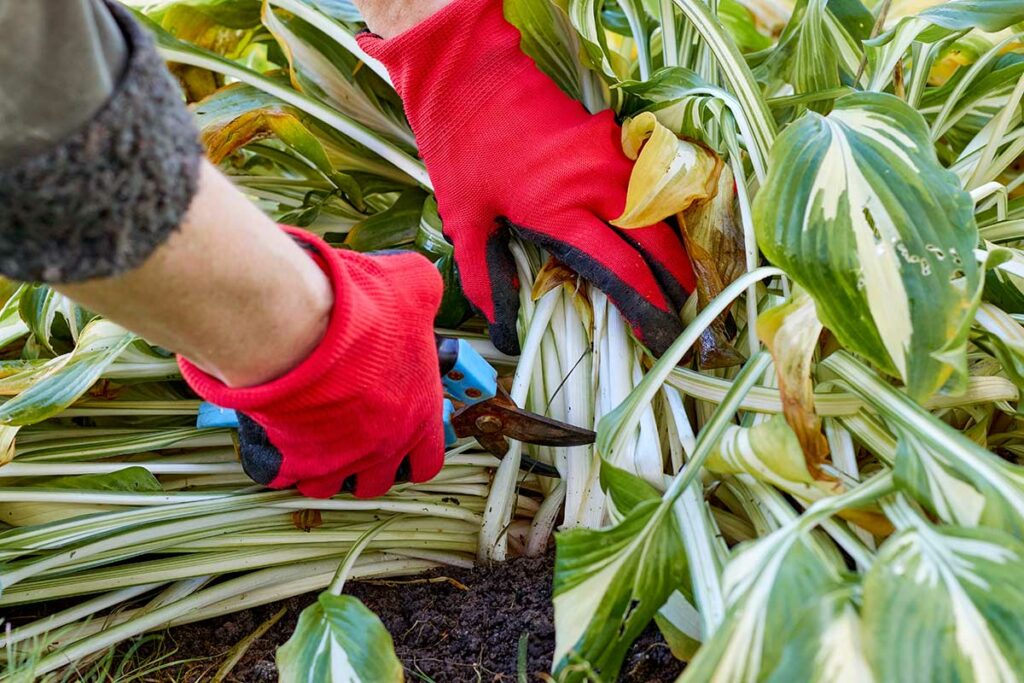
Pruning Dead and Damaged Foliage
Try to avoid pruning the leaves until they fall over. You can wait until all the leaves have wilted and fallen or prune them each as that happens. What you do depends on what’s most convenient for you, but keep track of the weather to ensure you don’t leave the foliage on too long.
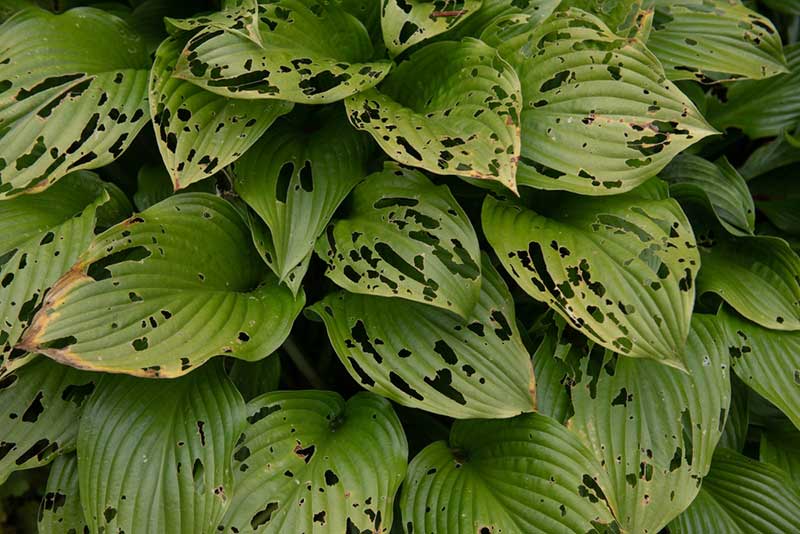
When you cut them, make sure you remove them as close to the base of the plant as possible and don’t leave them around. Dead leaves can become compost, but that only works in a compost pile. Left in your garden, they can attract pests and diseases, harming your other plants.
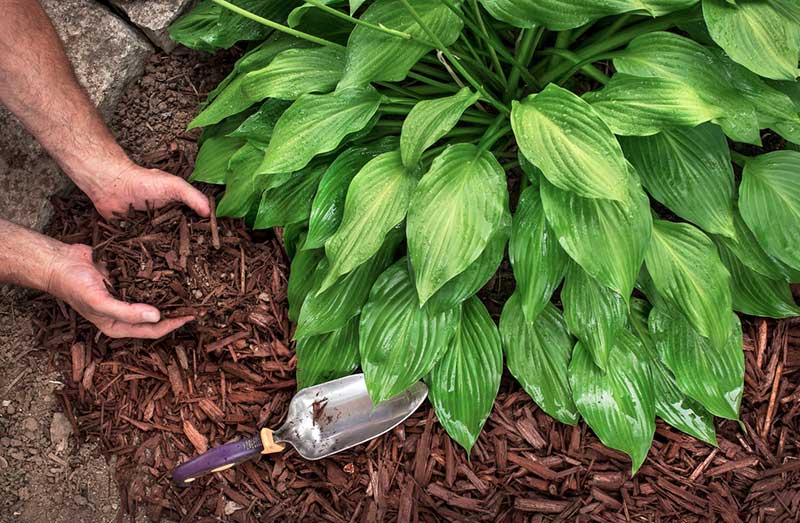
Don’t Forget to Mulch!
One of the most important things you can do to overwinter your hostas is to put down a thick layer of fresh mulch (about three inches) after the ground freezes. The mulch protects the tops of the plants and insulates the rhizomes from any wild temperature fluctuations during the winter months.
In the spring, after the ground thaws, peel the mulch back to expose your hostas’ crowns. If you see new shoots poking their faces up before you remove the mulch, make sure you pull it back as quickly as possible unless you’re still expecting hard freezes overnight.
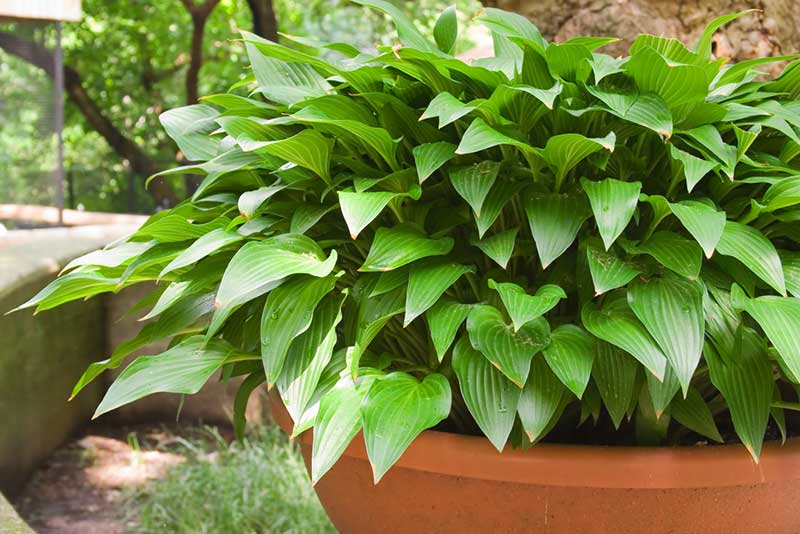
What About Potted Hostas?
Many people like to grow hostas in pots instead of the ground. It’s tempting to bring potted plants into your home during the winter, but hostas require the cold to thrive. Taking them into a warm environment is the worst thing you can do.
To overwinter potted hostas, put them in a non-climate controlled space like your garage or a shed. Water the soil if it gets too dry, but allow it to freeze. Also, potted hostas aren’t subject to the same weather extremes and frost heaves that planted hostas are, so you don’t need to mulch them.
If you can’t bring them in, make sure to cover them so you don’t get a layer of frozen water around the root ball.
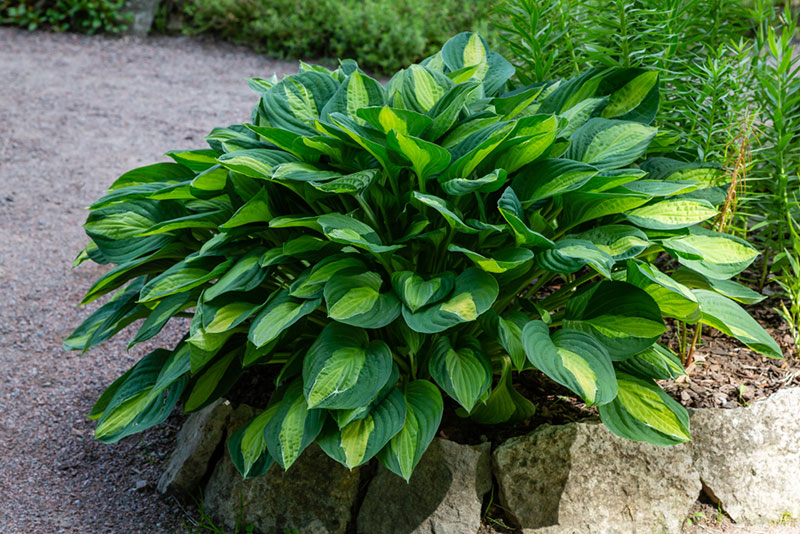
Winterize Properly
If you have hostas and want to ensure they survive the winter and thrive in the spring and summer, learning how to winterize them properly is key. Knowing when and how to water them and prune them back gives them their best chance of coming through harsh winters.
When you understand how to overwinter them, whether they’re potted or planted in the ground, you ensure they’ll give your yard the attractive quality you want from them for years to come.