Hostas are popular perennial plants known for their lush foliage and ability to thrive in shady spots. Though they require minimal maintenance, regular care and attention can help these plants remain vigorous and healthy. One important aspect of keeping them looking their best is knowing when and how to trim them back.
As the growing season progresses, it’s essential to be mindful of when it’s time to cut back hostas. Proper timing ensures that your plants redirect their energy into producing new growth and maintaining their vitality. Additionally, understanding the proper techniques for trimming hostas is crucial to their health.
Throughout the article, we’ll delve into when the best time is to cut back hostas and the various methods at your disposal. This will help your plants grow stronger and ensure they look their best all season long.
Key Takeaways
- Know the right time to trim hostas for optimal health
- Understand the proper techniques for cutting back hostas
- Implement tips to maintain strong and vigorous hostas
When to Cut Back Hostas
Best Time of The Year
When cutting back your hostas, choosing the right time is essential. The best time to trim your hostas is during late fall or early winter. During this period, your hostas will enter a dormant state, and their leaves will turn yellow or brown.
Once the foliage has faded, you can trim back the plant without causing damage to its overall health.
Cutting back hostas at this time helps to prevent the spread of disease and keeps your plants healthy. However, if you’re in a region with mild winters, you can also trim your hostas in early spring before new growth emerges. This will allow the new growth to be stronger and healthier throughout the growing season.
Signs That Your Hostas Need Cutting Back
Knowing the signs that your hostas need cutting back is crucial for their well-being. Here are some indicators that it’s time to trim your plants:
- Yellow or brown leaves: As the growing season ends, it’s normal for hosta leaves to change color. If you notice these color changes, it’s a sign that they’re entering dormancy and can be cut back.
- Slug or snail damage: If you spot slimy trails or holes in the leaves, slugs or snails may have been feasting on your hostas. Cutting back your plants can help minimize the damage by removing their food source.
- Diseased or rotting leaves: Any leaves showing signs of disease or decay should be removed to prevent the spread of infection. Be sure to disinfect your pruning tools before and after cutting back the affected hostas.
Remember, cutting back your hostas at the appropriate time and recognizing the signs that they need trimming are essential for maintaining healthy plants. If followed correctly, these guidelines will ensure your hostas thrive in your garden for years to come.
Methods of Cutting Back Hostas
Tools Needed
To cut back your hostas, you will need a few essential tools to make the process simple, safe, and effective. These include:
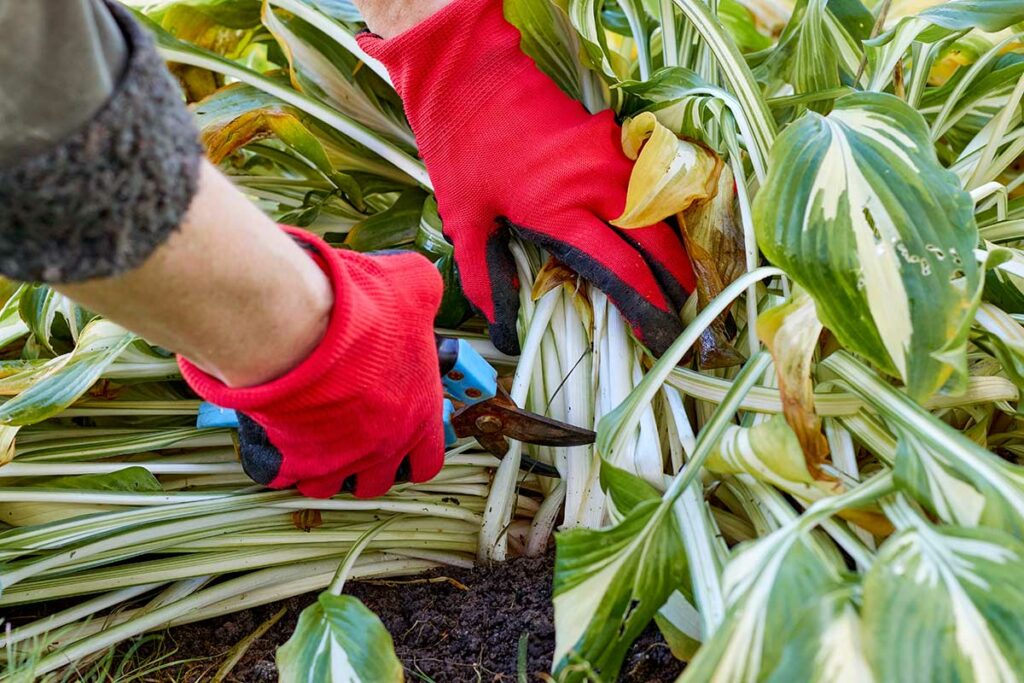
- A sharp pair of pruning shears or scissors, ensuring clean cuts
- Gloves to protect your hands from scratches and plant sap
- A compost bin or trash bag to collect the trimmed foliage
Step-by-Step Process
- Inspect your hostas: Look for damaged, diseased, or dead leaves. Focus on removing these first to promote healthy growth.
- Timing is crucial: The best time to cut back hostas is during their dormancy or in late autumn before the first frost. This helps the plants conserve energy and recover better in spring.
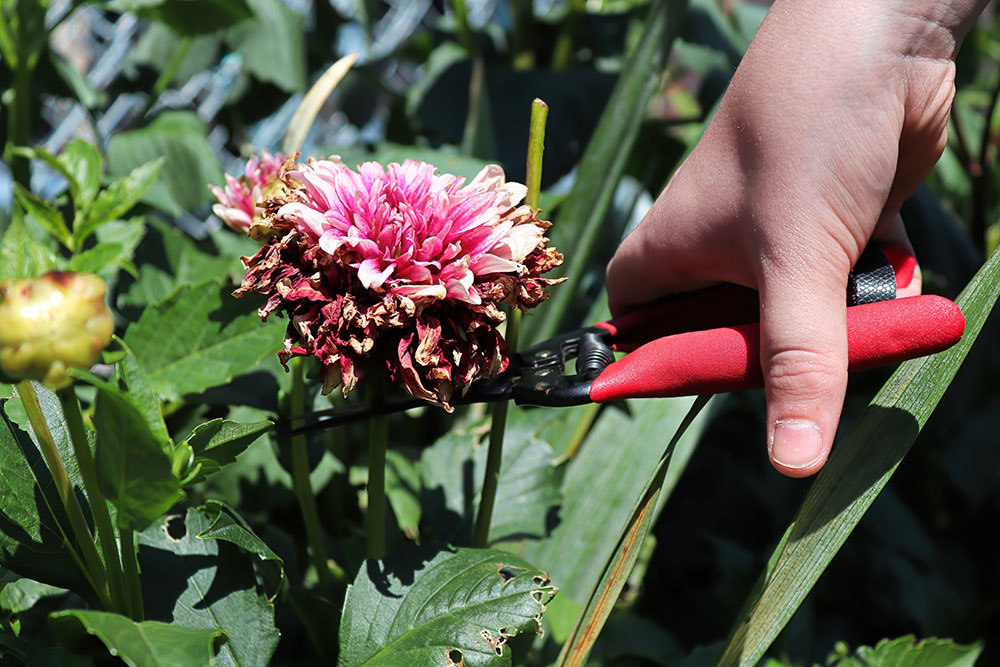
- Start from the outer leaves: Gently grasp an outer leaf, and trace it down to its base. Use your pruning shears to make a clean cut as close to the crown as possible without damaging it.
- Work your way in: Continue cutting back the leaves, working your way towards the center of the plant. Remember to focus on removing the unhealthy leaves first.
- Give your hostas some space: After removing the damaged and spent leaves, assess the plant’s overall density. To encourage airflow and prevent fungal problems, trim back any excess foliage.
- Dispose of the clippings: Collect the trimmed leaves and dispose of them in your compost bin or trash bag, especially if they show signs of disease.
Remember to regularly inspect and cut back your hostas as needed to keep them healthy and thriving.
Tips for Healthier Hostas
Proper Watering
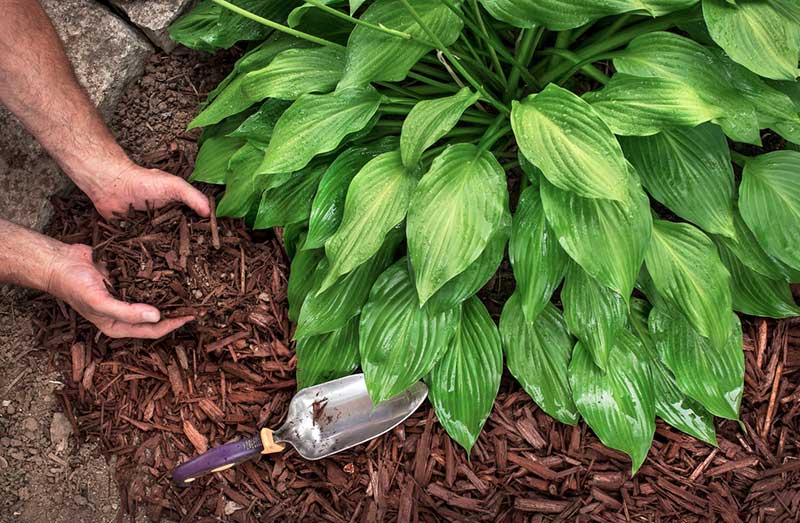
Watering your hostas correctly is crucial for their overall health. Make sure to give them 1-2 inches of water per week, depending on the climate and soil conditions. Water the plants early in the morning, allowing the leaves time to dry and reducing the risk of diseases. To keep the soil moist and prevent evaporation, apply a layer of mulch around the base of your hostas.
Fertilization
Fertilizing your hostas is essential to achieve the best possible growth and appearance. Apply a balanced, slow-release fertilizer, with a ratio like 10-10-10 or 14-14-14, in the spring when new growth appears. Remember not to over-fertilize your hostas, as this can lead to yellow leaves or burned roots.
- Application rates: Follow the manufacturer’s instructions for the correct amount to use based on the size and age of your hostas.
Dealing with Pests
Hostas may be infested by various pests, such as slugs, snails, and deer. Here are some strategies to help protect your hostas:
- Slug and snail control: Place copper tape or barriers around your hostas to keep slugs and snails at bay. Alternatively, use non-toxic slug bait around the plants or employ natural predators such as nematodes.
- Deer deterrents: Deer can also be a problem when it comes to hosta health. Repellent sprays and physical barriers like fencing can help reduce their impact on your plants. Another option is to choose hosta varieties that are less appealing to deer, such as those with thicker leaves or those with a hint of blue.
Follow these tips, and you’ll be well on your way to healthier and more beautiful hostas in your garden.

