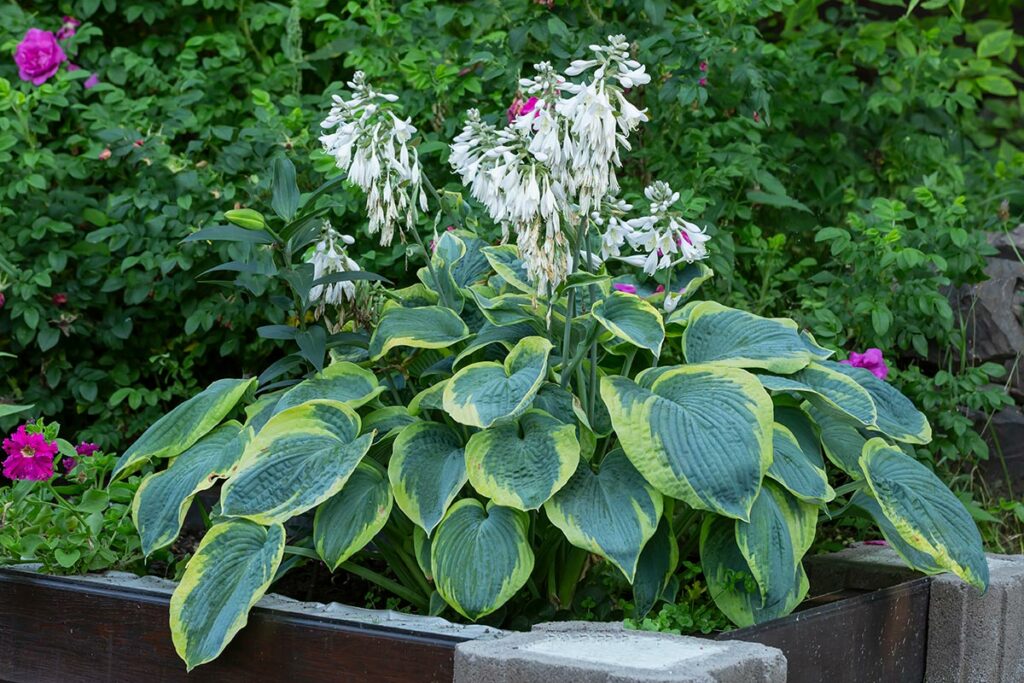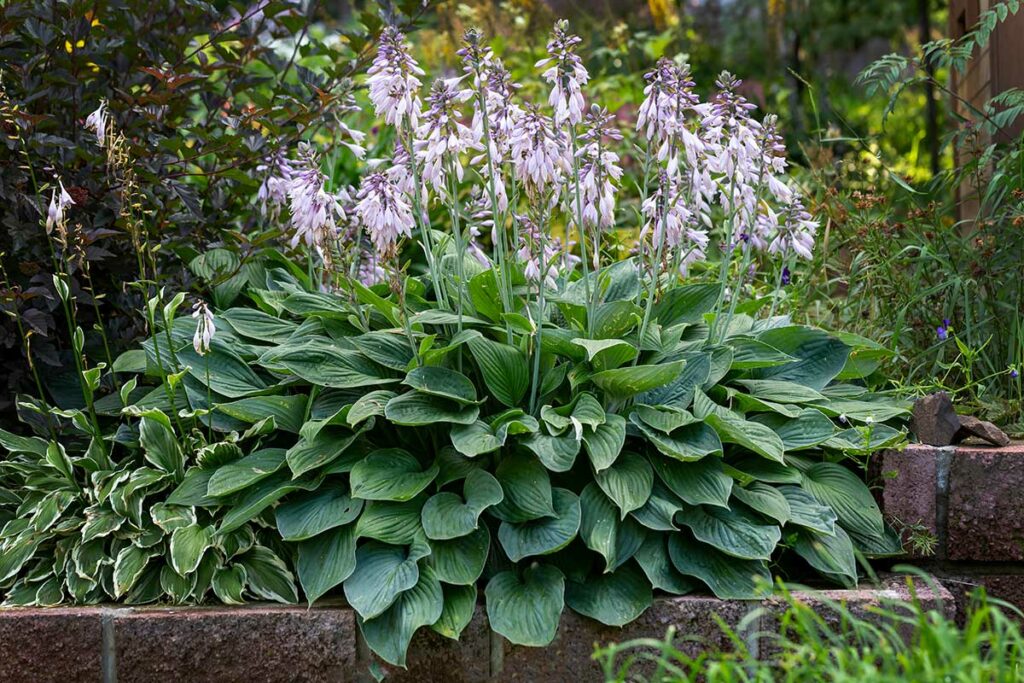
Hostas are a popular choice among gardeners for their lush foliage and shade-loving nature. With their low maintenance requirements and ability to thrive in various conditions, it’s no wonder why these perennials have become a staple in many gardens.
One important aspect of caring for your hostas is knowing how and when to divide them. Dividing not only helps to maintain the health of your plants but also allows you to propagate new plants and expand your collection.
The ideal time to divide your hostas is in early spring or late summer, as this allows the plants to recover and establish their roots in their new location before the next growing season.
Since hostas are incredibly adaptable, you can also choose to divide them at other times, although you may see a delay in their growth or flowering as a result.
To ensure success when dividing, always make sure to use a sharp, clean tool and thoroughly water the plants both before and after the process.
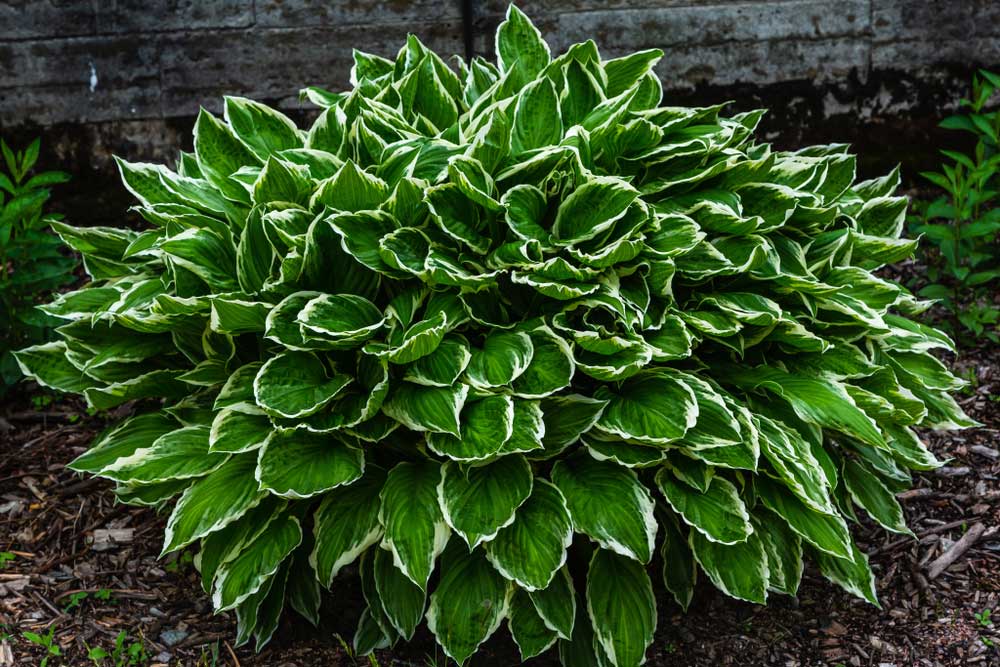
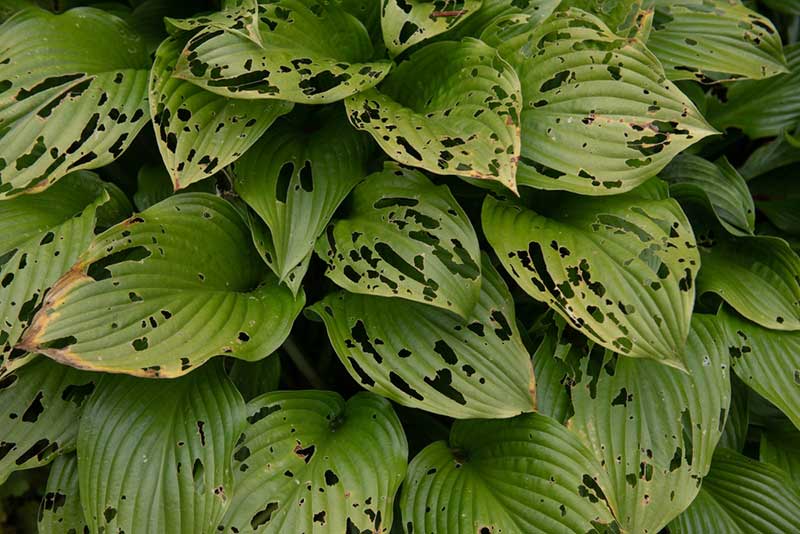
When determining the need for division, pay attention to your hostas’ overall health and appearance. Clumps that have become overcrowded or have a sparse center are prime candidates for division.
With a little care and attention, you can easily multiply your hosta collection and keep your garden looking lush and vibrant for years.
Identifying the Right Time to Divide Hostas

Seasonal Timing
Dividing hostas can greatly benefit their health and appearance. To determine the ideal time for this task, consider the seasons. Spring is a great time to divide your hostas as the soil begins to warm up and your plants grow.
It’s easier to see the fresh shoots and assess their health. Fall is another good option, but divide at least a month before the first frost, giving the roots enough time to establish themselves before winter sets in.
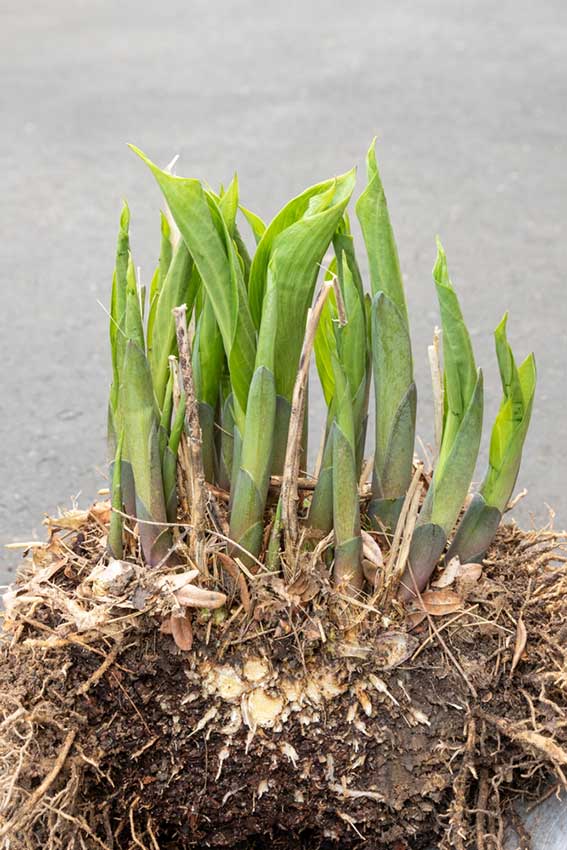
Hosta Growth Stages
In addition to seasonal timing, it’s essential to recognize your hosta’s growth stage for successful division. The ideal time is when new shoots, also known as “eyes,” emerge from the ground. This is usually in early spring, but can vary depending on your climate. Keep an eye on your hosta plants and look for these key indicators:
- Spring: Watch for the appearance of new shoots or “eyes.”
- Fall: Observe the plant’s foliage, which should still be lush and green.
Remember, dividing hostas during their dormant stage or when they are actively flowering is not ideal and can lead to stress or reduced health.
Preparing for Division
Gathering Tools
Before dividing your hostas, you’ll need to gather a few essential tools. These will make the process much smoother and easier for you:
- A sharp, clean spade or garden fork
- Pruning shears or scissors
- A large container or bucket for soaking your hosta
- A tarp or an old blanket to catch soil or place your divided hosta on
Make sure your tools are clean and sharp, as this will reduce the risk of damaging or harming your hosta during the process.
Watering Hostas
Proper hydration is key when dividing hostas. Water your hostas thoroughly a day or two before you plan to divide them. This will ensure the plants are well-hydrated, making the division process less stressful for them.
When you’re ready to divide your hostas, have a container or bucket filled with water nearby. As soon as you’ve divided the hosta, you’ll want to soak the exposed roots in water for a few minutes to minimize the risk of the roots drying out. This will keep your hostas healthy and ensure they recover more quickly after division.
Dividing Hosta Plants
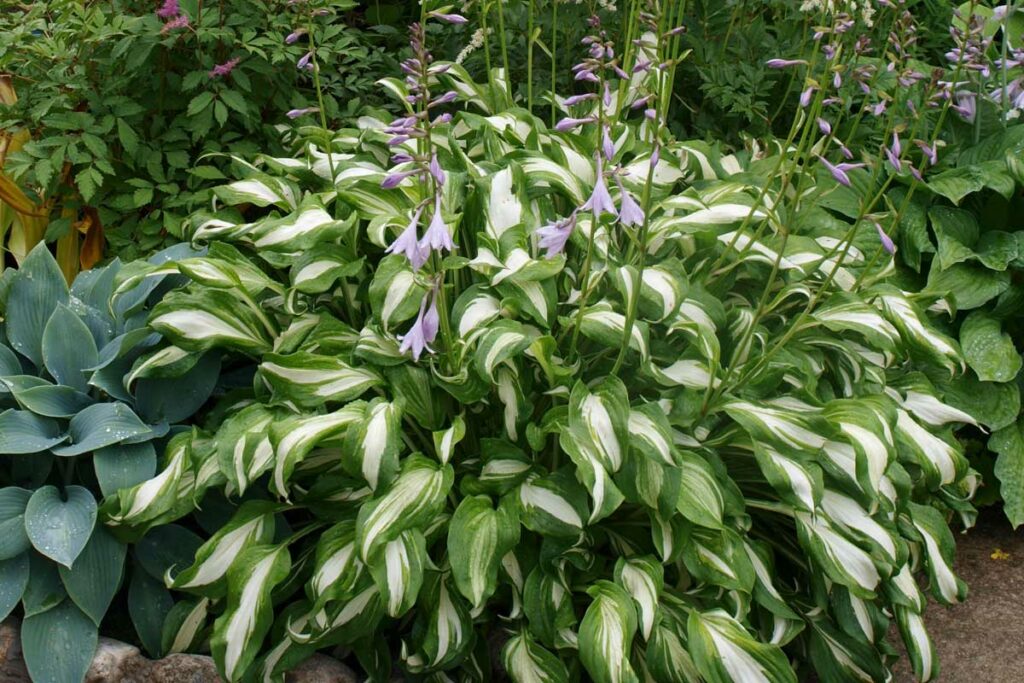
Hostas are low-maintenance and hardy perennials that grow well in shaded areas. They are known for their attractive foliage and ability to fill in garden spaces. Dividing hosta plants not only helps them stay healthy, but it also provides an opportunity to propagate more plants for your garden or to share with friends. Let’s explore the process of dividing hosta plants.
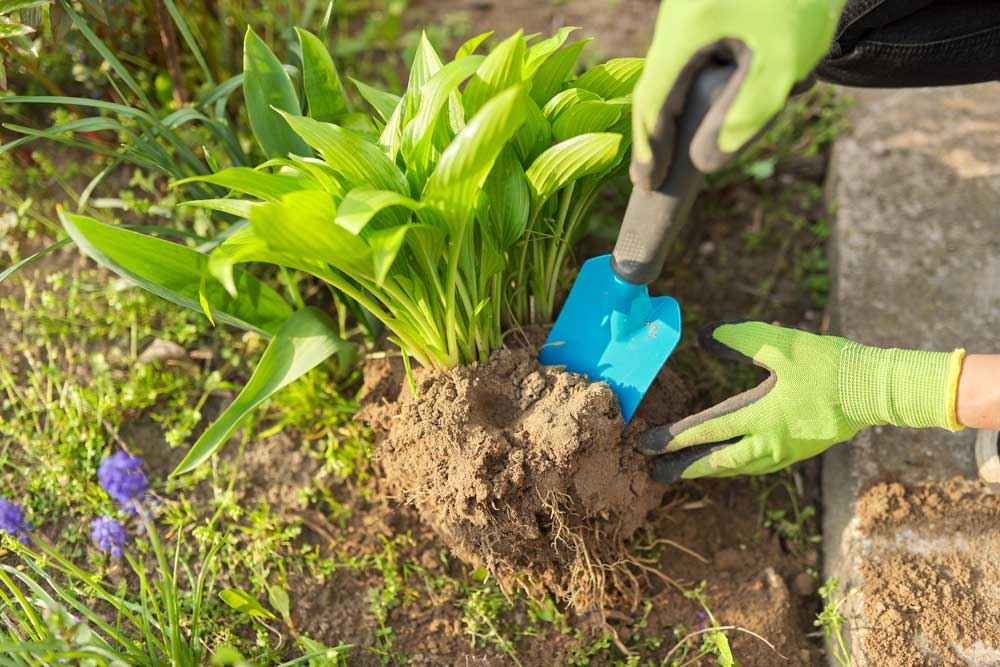
Digging Out the Plant
The best time to divide hostas is during spring or early fall when the plants are not actively growing. To begin, prepare the area around the plant:
- Water the plant a day before dividing to ensure its roots are well-hydrated, making the division process easier.
- Clear the area around the hosta by removing debris and weeds.
- Loosen the soil about 6-12 inches from the base of the plant using a spade or fork, taking care not to damage the roots.
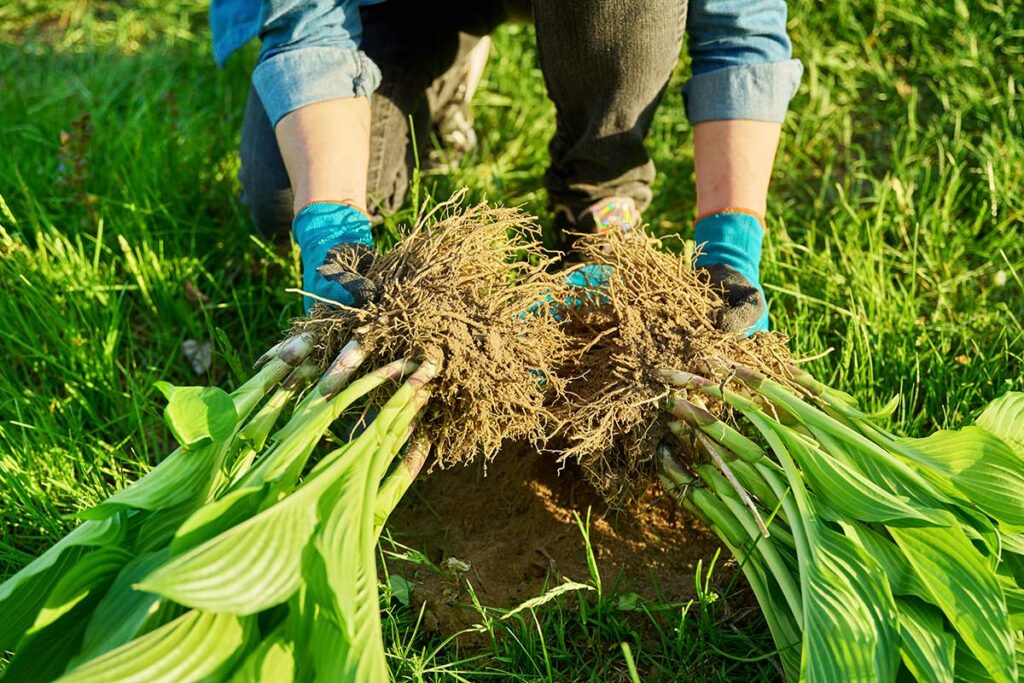
Once the area is prepared, carefully dig down and around the hosta to a depth of 6-8 inches. Gently lift the entire root ball out of the ground, and remove any excess soil from the roots.
Separating the Clumps
Now that you have the hosta out of the ground, you can begin separating the clumps:
- Examine the roots and look for natural divisions between the clumps. Most hostas will have several clumps connected by their root systems.
- Use a clean, sharp tool such as a garden knife or spade to separate the clumps. Make clean cuts, ensuring each clump has a generous amount of roots.
- Divide large clumps by cutting them into smaller sections, each containing a minimum of two to three healthy leaves and an adequate root system.
After dividing the hosta plants, you can now replant them in your garden or share them with friends. Be sure to space them appropriately to give them room to grow and ensure they receive the appropriate amount of water and nutrients for optimal growth.
Replanting Divided Hostas
After dividing your hostas, it’s important to properly replant them to ensure their growth and health. Here’s how to choose a location and plant the divisions for the best results.
Choosing a Location
Hostas thrive in well-drained soil with partial to full shade, so selecting the right spot is vital. Make sure to choose a location with appropriate sunlight, ideally dappled or filtered sunlight throughout the day. Plant the divisions away from tree roots to avoid competition for water and nutrients. To help hostas retain moisture and stay healthier, opt for a spot with some wind protection, such as near a structure or other plants.
Planting the Divisions
Here are the steps to properly plant your divided hostas:
- Prepare the soil: Amend the planting area with compost, peat moss, or other organic matter to improve soil drainage and fertility.
- Dig holes: For each hosta division, dig a hole about twice the width of the rootball and deep enough to accommodate the roots comfortably.
- Position the hosta: Place the division in the hole, spreading its roots out evenly. Ensure the crown—the point where the roots meet the plant’s stem—is slightly above the soil level to prevent rot.
- Backfill the hole: Fill in the hole carefully with the amended soil, ensuring that the plant’s roots are completely covered.
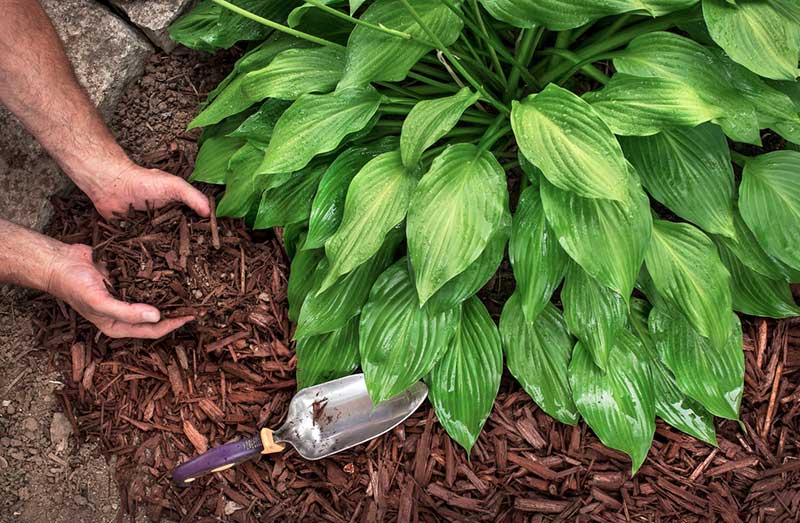
- Water and mulch: Water each hosta thoroughly and apply a layer of mulch around the base to help retain moisture and suppress weeds.
By following these steps and observing the specific planting and location requirements, your newly divided hostas will have the best chance to grow and thrive.
Frequently Asked Questions
When is the best time to divide hostas?
The ideal time to divide hostas is early spring or early fall. In spring, divide your hostas when you see the new shoots (also known as “eyes”) emerging from the ground, before the leaves fully develop. In fall, divide hostas at least four weeks before the first expected frost, allowing adequate time for the roots to establish before winter sets in.
How often should I be dividing my hostas?
Hostas don’t need frequent division, and most varieties can be left undisturbed for 3-5 years. However, if you notice your plant is becoming overcrowded or if you want to create more hostas for your garden, then dividing them is a great option. Keep an eye on the health and vigor of your plants, and divide them as needed.
What is the proper technique for dividing hostas?
- Water the hostas well a day before you plan to divide them.
- Use a spade or garden fork to dig around the plant’s perimeter, about 6-8 inches away from the shoots.
- Carefully lift the entire clump out of the ground, keeping as much of the root system intact as possible.
- Gently clean off any excess soil around the roots and identify the natural divisions between the crowns.
- Using a clean, sharp garden knife, cut through the crowns to separate them into individual divisions. Aim for at least 2-3 shoots per division.
- Replant the new divisions at the same soil depth as they were before, spacing them 18-24 inches apart to give them room to grow.
- Water the divisions well, adding a layer of mulch around them to help retain moisture and suppress weeds.
Is it possible to divide hostas during the growing season?
While it’s advised to divide hostas in early spring or fall, it is possible to divide them during the growing season, although it might be a little bit more stressful for the plant. If you must divide them during the summer, try to do it on a cloudy day and provide extra water to help reduce transplant shock. Be prepared for the leaves to wilt a bit but they should recover with proper care.
Do hostas have any special care requirements after dividing?
After dividing your hostas, ensure they receive adequate water, especially during the first few weeks. Keep the area around the divisions weed-free and add a layer of mulch to conserve moisture. Avoid fertilizing newly divided hostas for the first few weeks, as this can encourage excessive top growth before the roots have a chance to establish themselves.