I killed my first orchid with kindness.
At least, that’s what I told myself.
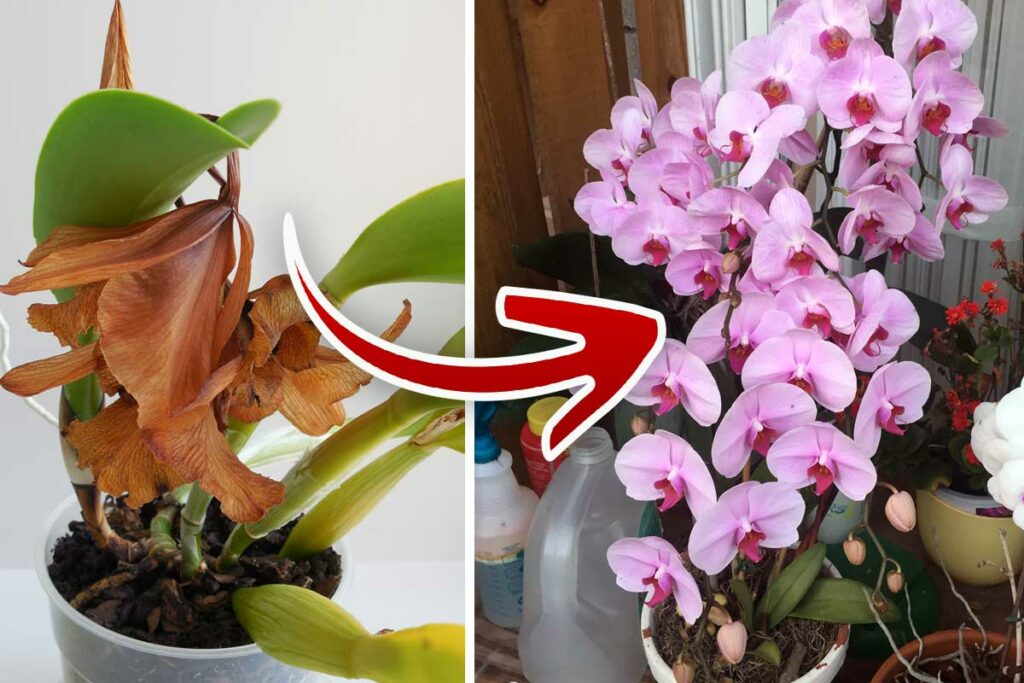
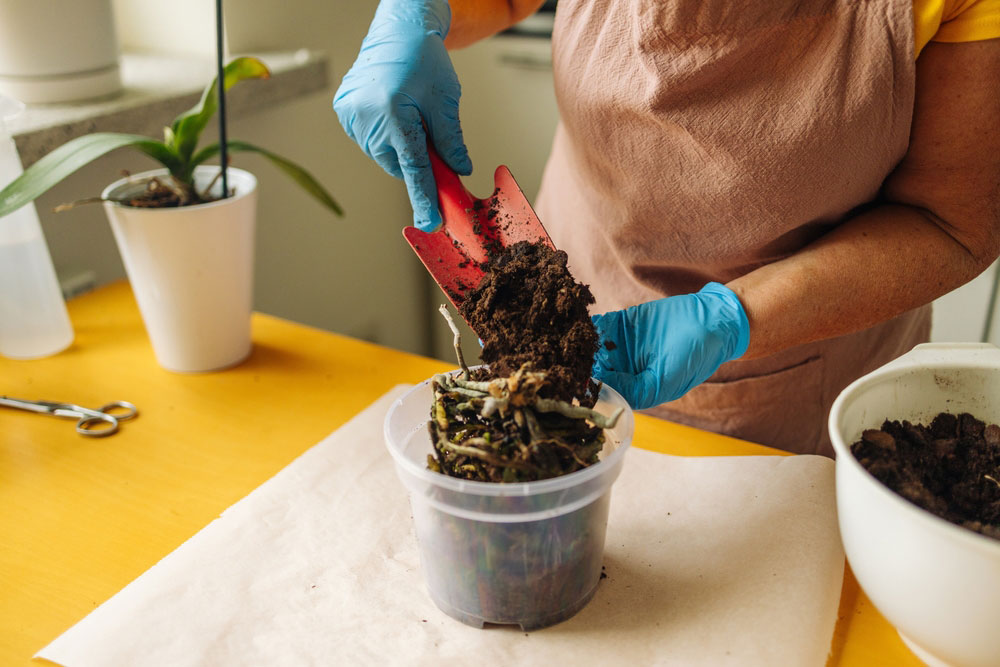
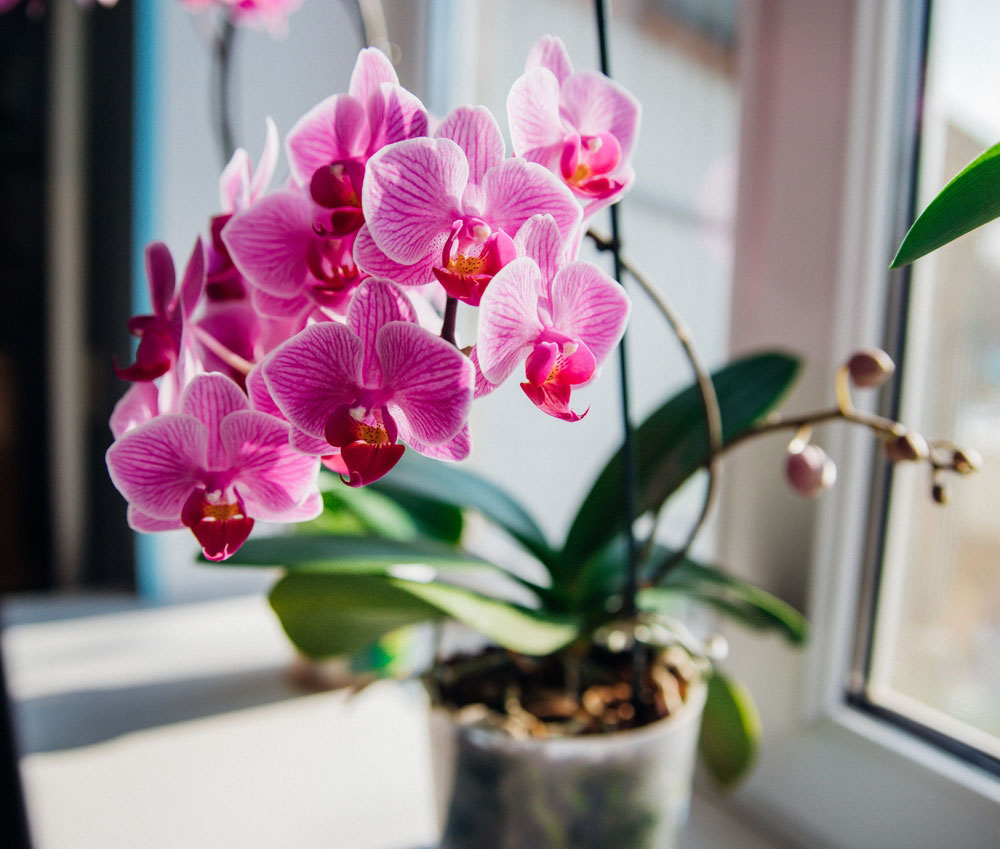
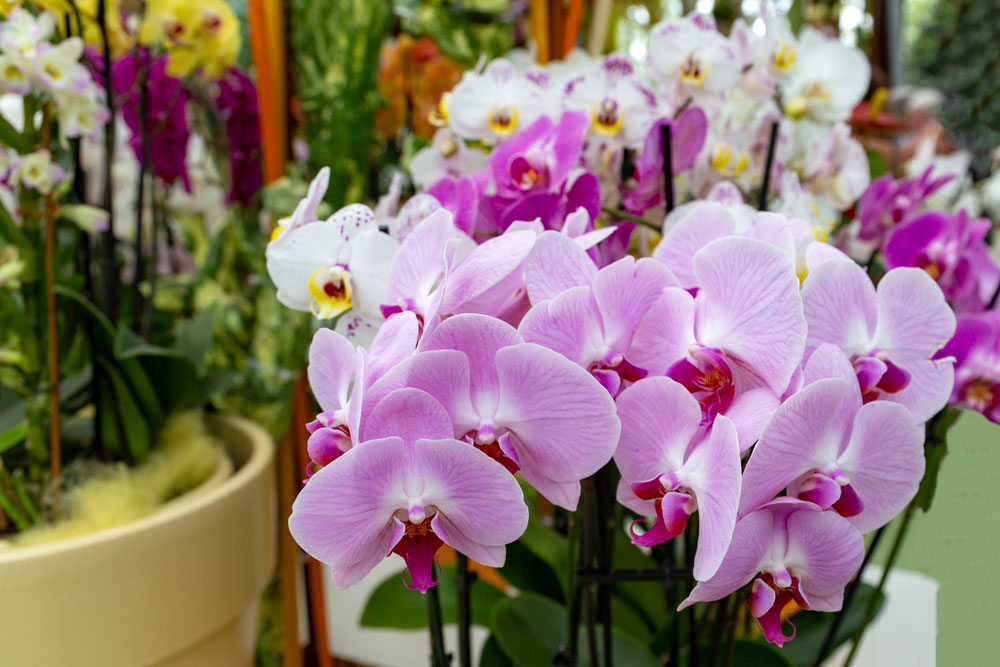
I had brought home one of those perfect grocery store orchids with glossy leaves and elegant blooms, and I decided it deserved an upgrade. So I repotted it into rich, dark potting soil — the same kind I use for my begonias and ferns.
More nutrients, happier plant, right?
Not even close.
Six weeks later, the roots were brown and mushy, the pot smelled faintly like pond water, and the whole plant looked like it regretted coming home with me.
Note to self: orchids are not regular houseplants.
Many common indoor orchids, especially moth orchids, naturally grow attached to trees rather than buried in soil. Their roots are built to cling to bark, breathe freely, and dry out between rounds of moisture.
So when we tuck those roots into the wrong potting setup, even with the best intentions, we can slowly suffocate them.
If your orchid has wrinkled leaves, mushy roots, or potting mix that never seems to dry, one of these mistakes might be the reason.
1. Using Regular Potting Soil
This is the big one.
Regular potting soil may look rich and healthy, but for many common orchids, it can hold far too much moisture. It packs around the roots, squeezes out air pockets, and stays damp longer than orchid roots can handle.
That’s how root rot starts.
Orchid roots need moisture, but they also need air. Regular soil can trap them in a soggy environment where they can’t breathe.
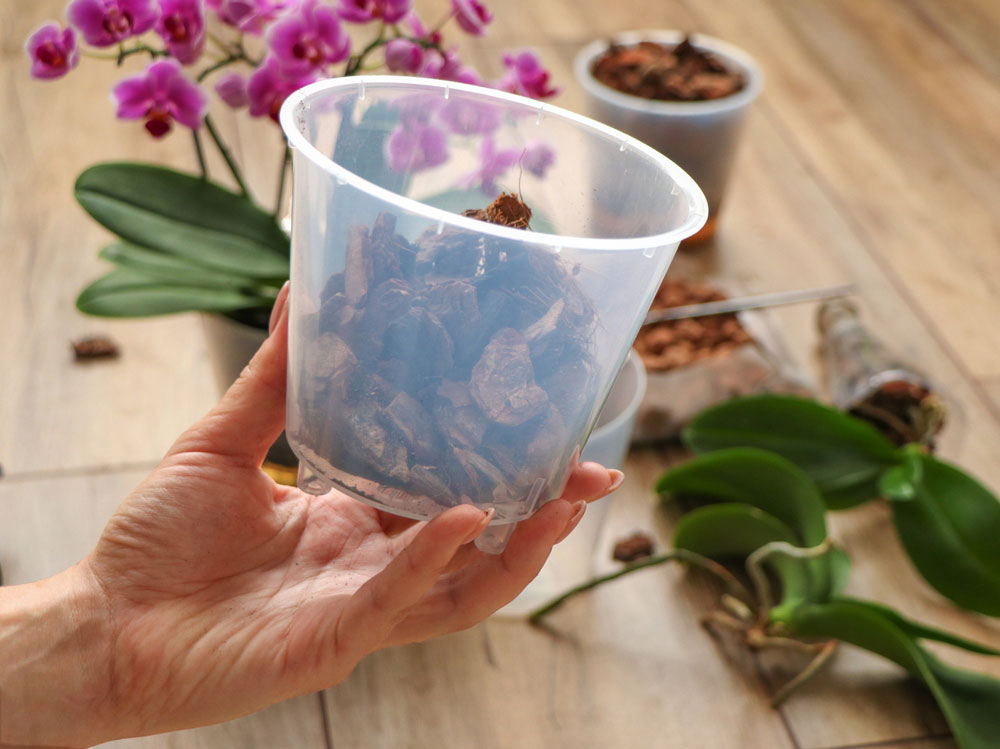
A better choice for most moth orchids is a chunky orchid bark mix. It may look more like mulch than soil, but that’s the point. The gaps between the bark pieces allow water to drain and air to move around the roots.
Good enough for me. And apparently, much better for the orchid.
2. Choosing a Pot With No Drainage Holes
Decorative orchid pots are tempting. Some of them look like they belong in a spa lobby.
But if the pot has no drainage holes, be careful.
Water needs somewhere to go. If it collects at the bottom, the lowest roots may sit in soggy mix for days. Even if you water carefully, the bottom of the pot can become a tiny orchid swamp.
Not exactly the tropical paradise we had in mind.
The easiest fix is to keep your orchid in a plastic nursery pot with drainage holes, then place that inside a decorative outer pot. When you water, remove the inner pot, let it drain completely, and then slip it back in.
Pretty pot, happy roots. Everybody wins.
3. Packing the Bark Too Tightly
After switching to orchid bark, it’s easy to make another mistake: packing it down too firmly.
I get the urge. The plant feels wobbly, the bark pieces seem too loose, and you want to tuck everything in nice and snug.
But orchid bark is supposed to have open spaces. That’s what lets the roots breathe.
If you cram the bark tightly around the roots, you lose the airflow that makes bark useful in the first place. The orchid may look more stable at first, but the roots can suffer underneath.
Instead, gently work the bark around the roots and tap the pot to help it settle. The plant should be supported, but not packed like a suitcase before vacation.
If it still wobbles a little, use a stake or clip while it settles in.
4. Leaving Old Bark in the Pot Too Long
Fresh orchid bark is chunky and airy.
Old orchid bark? Not so much.
Over time, bark breaks down into smaller pieces. Those pieces hold more water, drain more slowly, and close up the air spaces around the roots. So even if you started with the right mix, it can eventually behave more like soggy mulch.
This is one of those sneaky problems because it happens slowly.
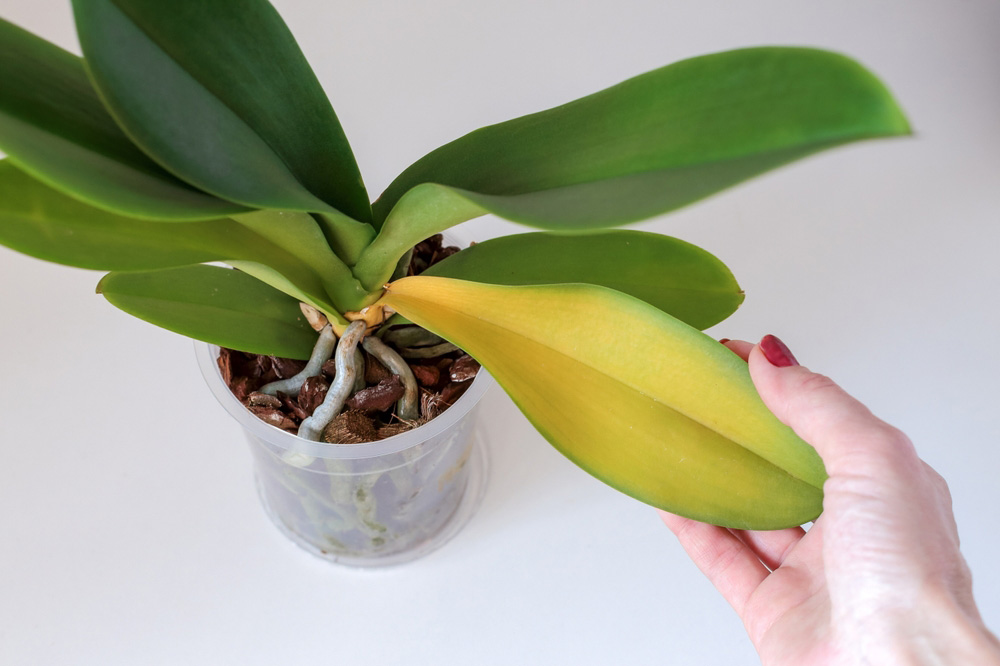
Your orchid may look fine for a while. Then you notice the pot stays wet longer than it used to. The bark looks dark and crumbly. The leaves start wrinkling even though you’ve been watering.
That last part is especially confusing. When roots rot, they can’t take up water properly, so the plant can look thirsty even when the pot is too wet.
A delightful little trap, isn’t it?
If your orchid has been in the same bark for a couple of years, it may be time to repot.
5. Going Overboard With Sphagnum Moss
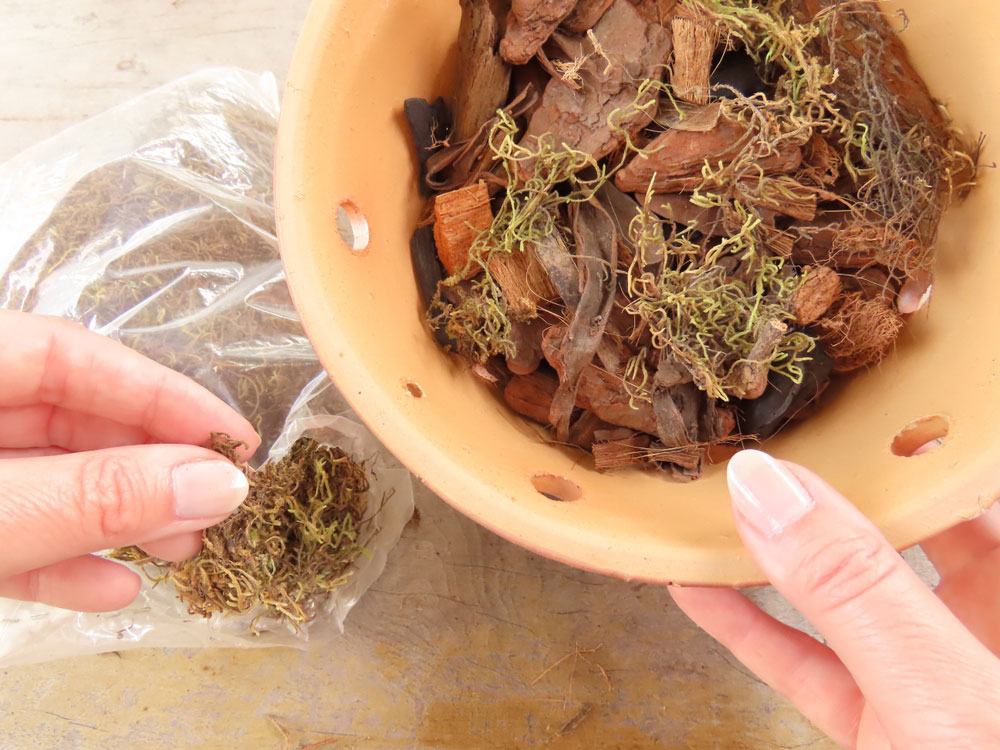
Sphagnum moss is not bad. Let’s be fair.
It can be useful for orchids, especially in dry homes or smaller pots. Some orchids are sold in moss and do perfectly well when watered correctly.
The problem is that moss holds a lot of moisture. If it’s packed tightly around the roots, it can stay wet long enough to cause rot.
This is where orchid care gets a little annoying, because the answer is not simply “bark good, moss bad.”
It depends.
A little moss mixed into bark can help hold moisture. A dense plug of wet moss stuffed around the roots can suffocate them.
If your orchid is planted in moss, check how long it stays wet. If it feels soggy for days, smells sour, or hides mushy roots, it may be time to switch to a looser mix.
For many beginners, chunky bark is simply easier to manage.
6. Moving the Orchid Into a Pot That’s Too Large
With many houseplants, moving up to a bigger pot feels generous.
More room! More soil! More possibilities!
With orchids, too much room can backfire.
A pot that is too large holds more potting mix than the root system can use. That extra mix stays wet longer, especially in the center of the pot where air movement is limited.
So instead of helping the orchid grow, the oversized pot can keep the roots too damp.
Most orchids prefer a snug pot. Not tight enough to crush the roots, of course, but not huge either. Choose a pot that fits the current healthy roots with just a little room for growth.
This is not the time to give your orchid a mansion.
Think cozy apartment, not echoing ballroom.
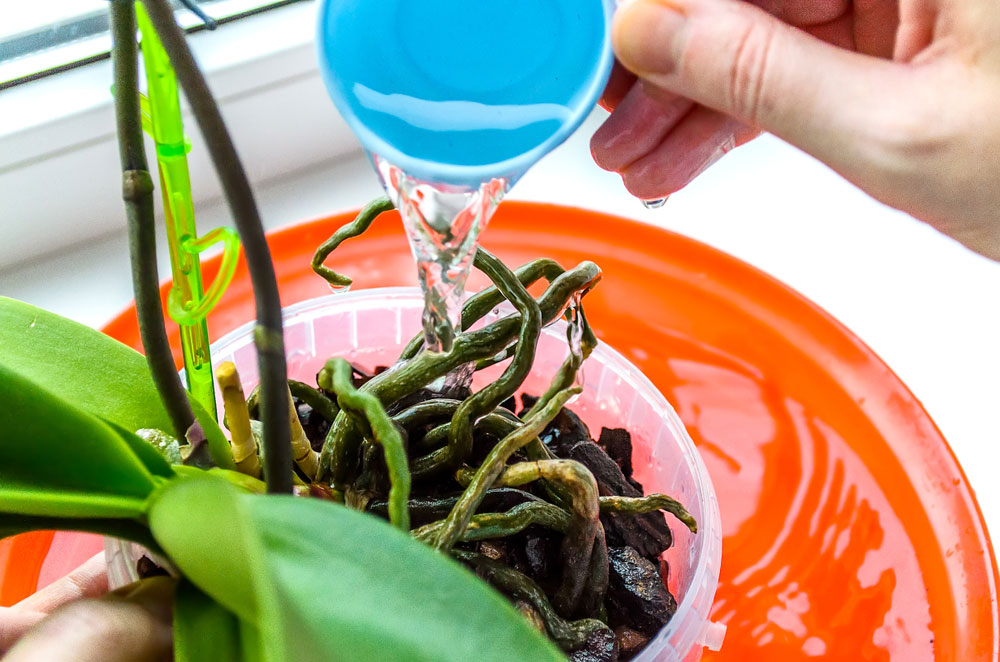
7. Watering the New Mix Like the Old One
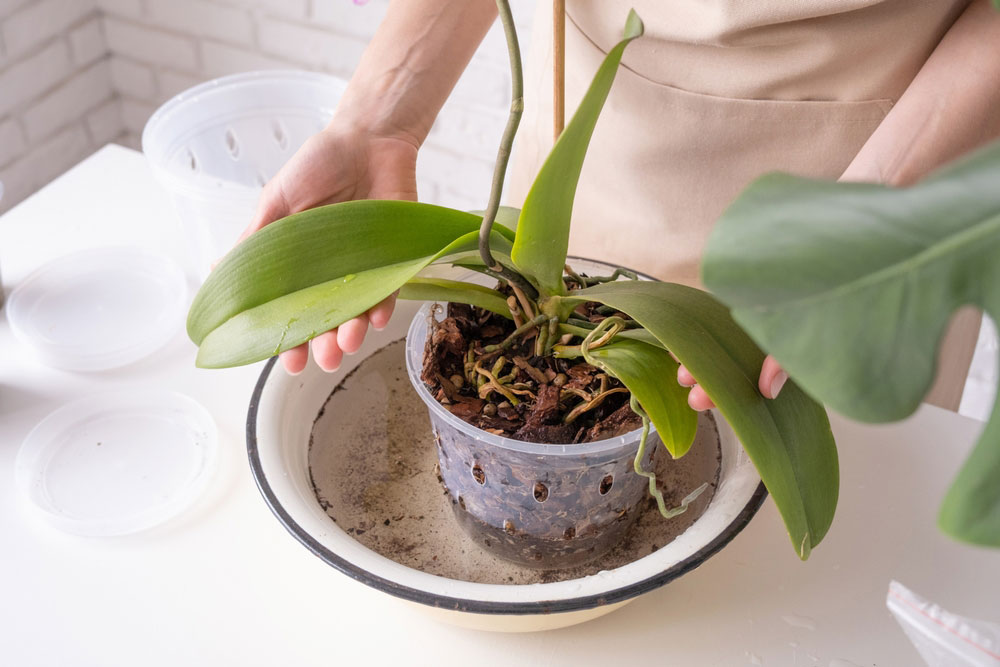
Repotting changes how fast the pot dries.
If you move an orchid from dense moss into chunky bark, it may dry faster. If you move it from old broken-down bark into fresh bark, it may drain differently. If you switch from plastic to terra cotta, that changes things too.
In other words, your old watering schedule may not work anymore.
This is where many orchid owners get into trouble. They keep watering every Saturday because that’s what they’ve always done, even though the new mix behaves completely differently.
Instead of watering strictly by the calendar, check the plant.
Look at the roots if the pot is clear. Feel the weight of the pot. Notice whether the bark still looks dark and damp or light and dry. Pay attention to how quickly water runs through.
Your orchid may need a little time to adjust after repotting. Mine once sat there doing absolutely nothing for weeks, which I took personally. Then it finally pushed out a new leaf like it hadn’t just caused a full emotional crisis.
Plants are dramatic. Orchids especially.
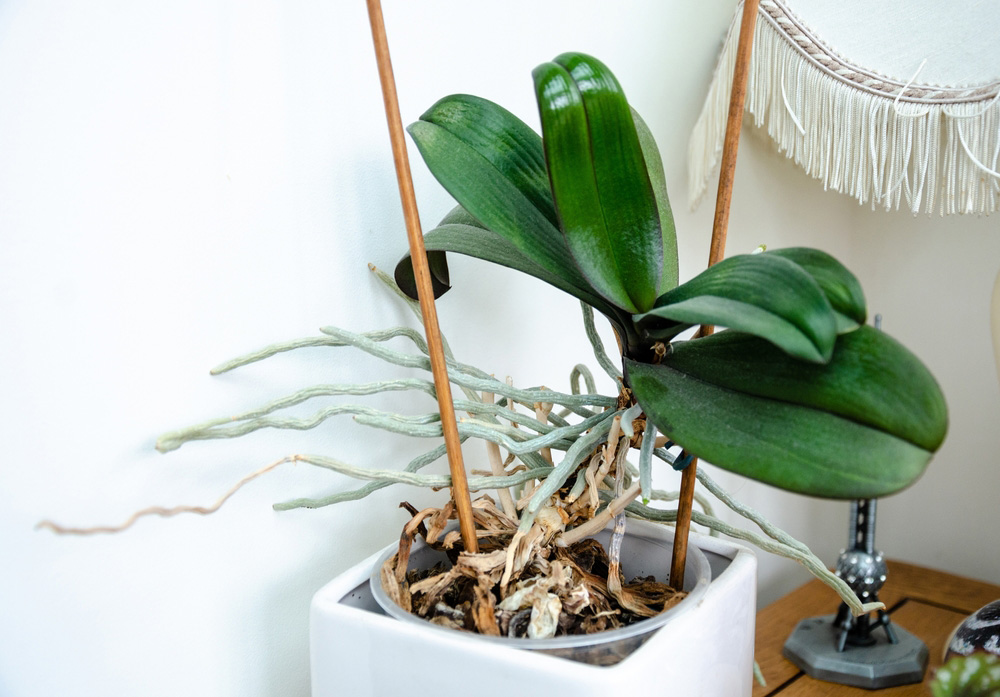
Signs Your Orchid Roots May Be Suffocating
The tricky thing about orchid root problems is that the top of the plant may not tell the whole story right away.
Watch for these warning signs:
- Brown, black, mushy, or hollow roots
- A sour or musty smell from the pot
- Potting mix that stays wet for a week or more
- Wrinkled leaves even though you’ve been watering
- Yellowing leaves along with soggy mix
- Bark that looks crumbly or compacted
- Water that does not drain freely
If you notice one of these signs, don’t panic. Orchids can be surprisingly forgiving once the roots get a better environment.
If you notice several of them, it’s probably time to check the roots.
What to Use Instead
For many common indoor orchids, especially moth orchids, a chunky bark-based orchid mix is usually a good place to start.
These mixes often include fir bark, perlite, charcoal, and sometimes a little sphagnum moss. The goal is simple: the mix should hold some moisture, but still drain well and leave space for air.
That balance matters.
Too wet, and the roots can rot. Too dry, and the orchid struggles to stay hydrated. The right mix gives the roots moisture without trapping them in a soggy mess.
If you’re a beginner, look for an orchid mix labeled for Phalaenopsis or moth orchids. Avoid regular all-purpose potting soil unless you know you’re growing a terrestrial orchid that actually wants a more soil-like medium.
And if you bought your orchid at the grocery store, there’s a good chance it’s a moth orchid.
The Bottom Line
The biggest orchid potting mistake is treating an orchid like every other houseplant.
Regular soil, poor drainage, packed bark, old mix, soggy moss, oversized pots, and the wrong watering routine can all lead to the same problem: roots that stay too wet and don’t get enough air.
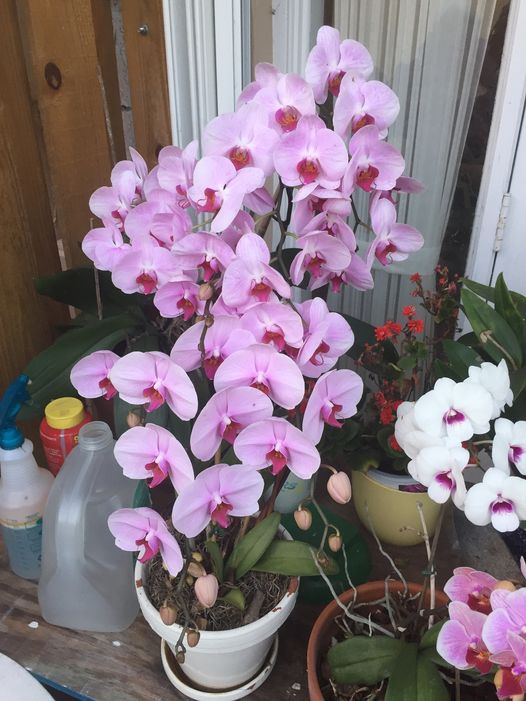
The good news is that orchids are not impossible. They just have different rules.
Give the roots air, drainage, and the right kind of potting mix, and your orchid has a much better chance of bouncing back.
If you’ve somehow kept an orchid alive in regular potting soil for years, more power to you. I clearly never unlocked that level of plant magic.
But for the rest of us, chunky bark and drainage holes are a very good place to start.