Ever wondered how to coax your orchids into blooming year after year? You’re not alone. Many plant lovers find themselves asking that very question.
Orchids, with their exotic beauty and stunning blooms, can be a bit of a mystery when it comes to encouraging them to flower again. But don’t worry, we’ve got a few tricks up our sleeve that we’re excited to share with you.
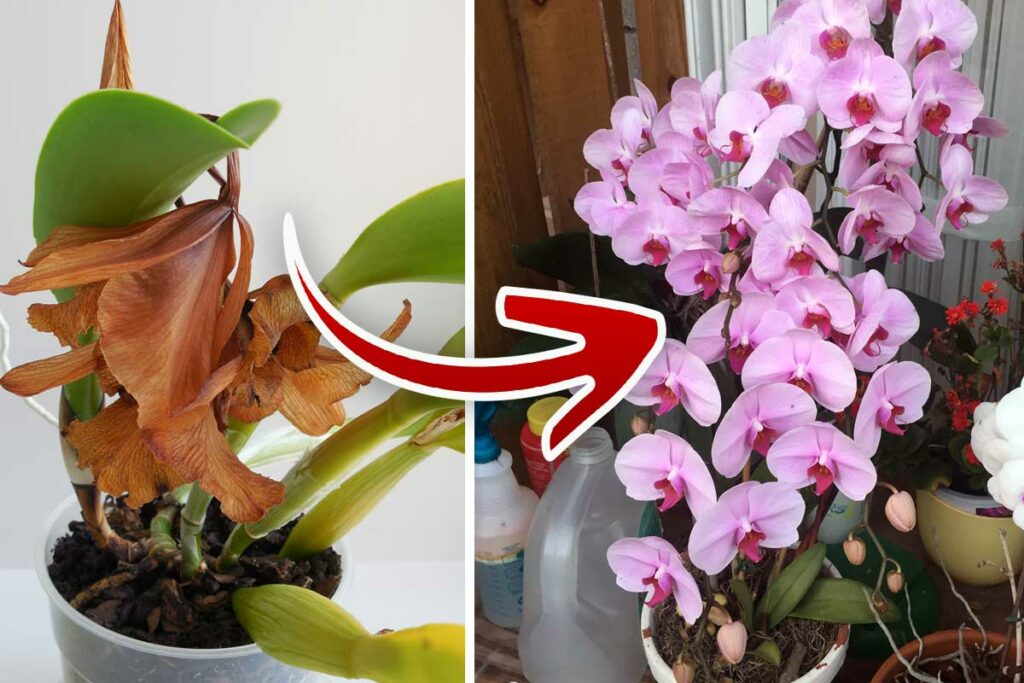
Imagine the joy of seeing your orchids, once exhausted and weary, bursting into bloom again. It’s not just possible, but with a little know-how, it’s something you can achieve in your own home.
From understanding their natural cycle to simulating the conditions they thrive in, we’re going to dive into the wonderful world of orchids and their blooming secrets.
So, if you’re ready to transform your green thumb into a blooming success, let’s get started on this floral journey.
Essential Care for Optimal Orchid Blooming
Orchid care necessitates a delicate balance of several factors. Achieving this balance will aid in having a healthy plant that blooms regularly. Detailed below are crucial factors to monitor:
Proper Watering Techniques
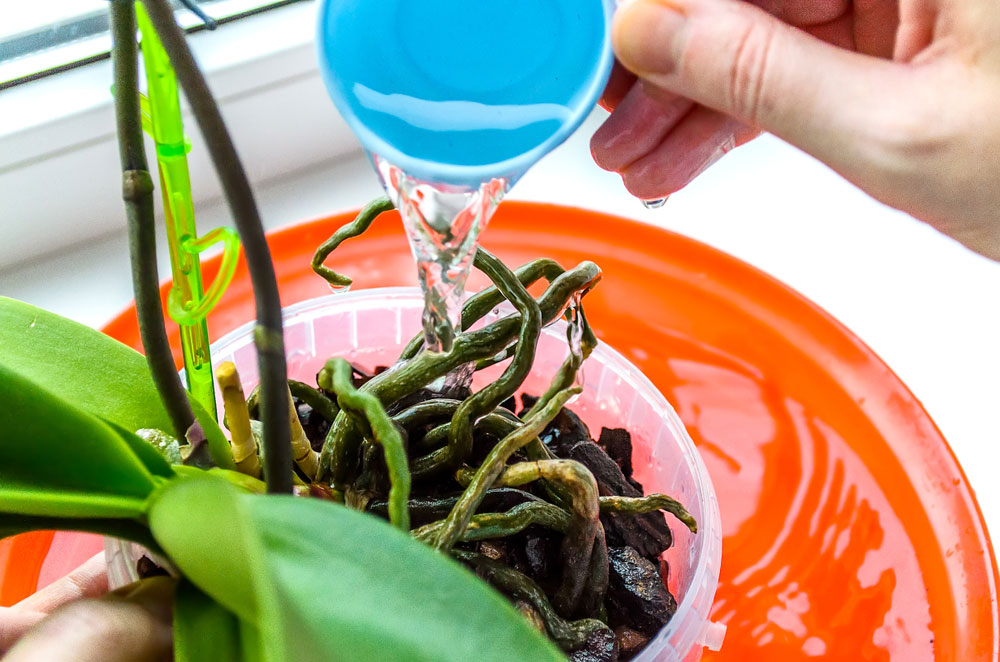
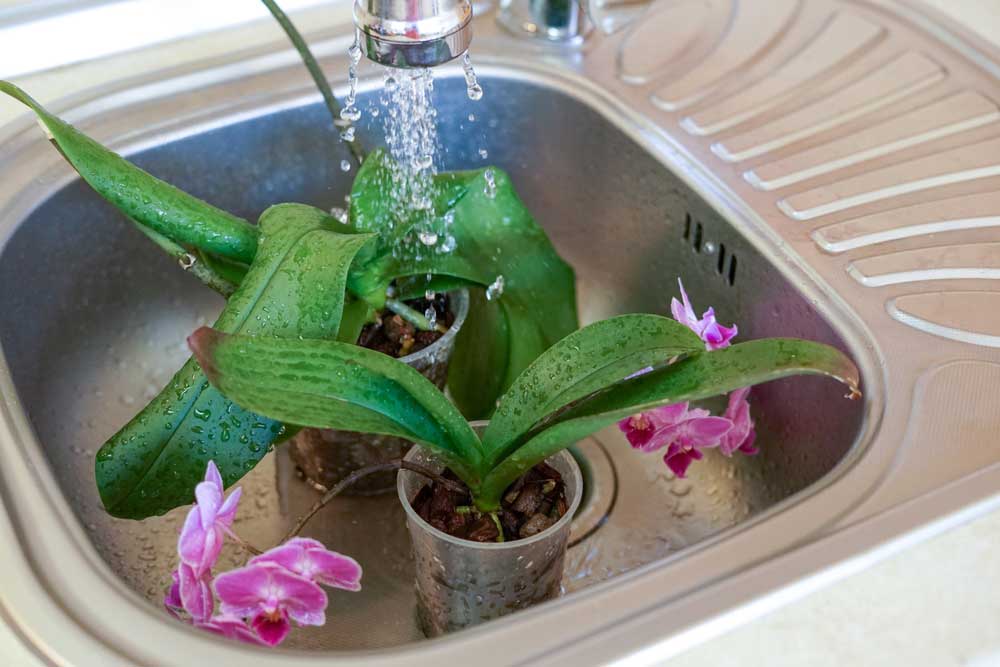
Orchids aren’t ordinary plants; they don’t thrive in typical potting soil and excessive water can be detrimental. As such, orchids should ideally be planted in a well-draining mix and watered just enough to keep barely damp.
Overwatering can lead to root rot, conversely, underwatering can put stress on the plant, both can hinder blooming. Regularity also counts, with consistent watering routines being the building block to keeping your orchid healthy, leading to vibrant and extended blooms.
The Right Lighting Conditions
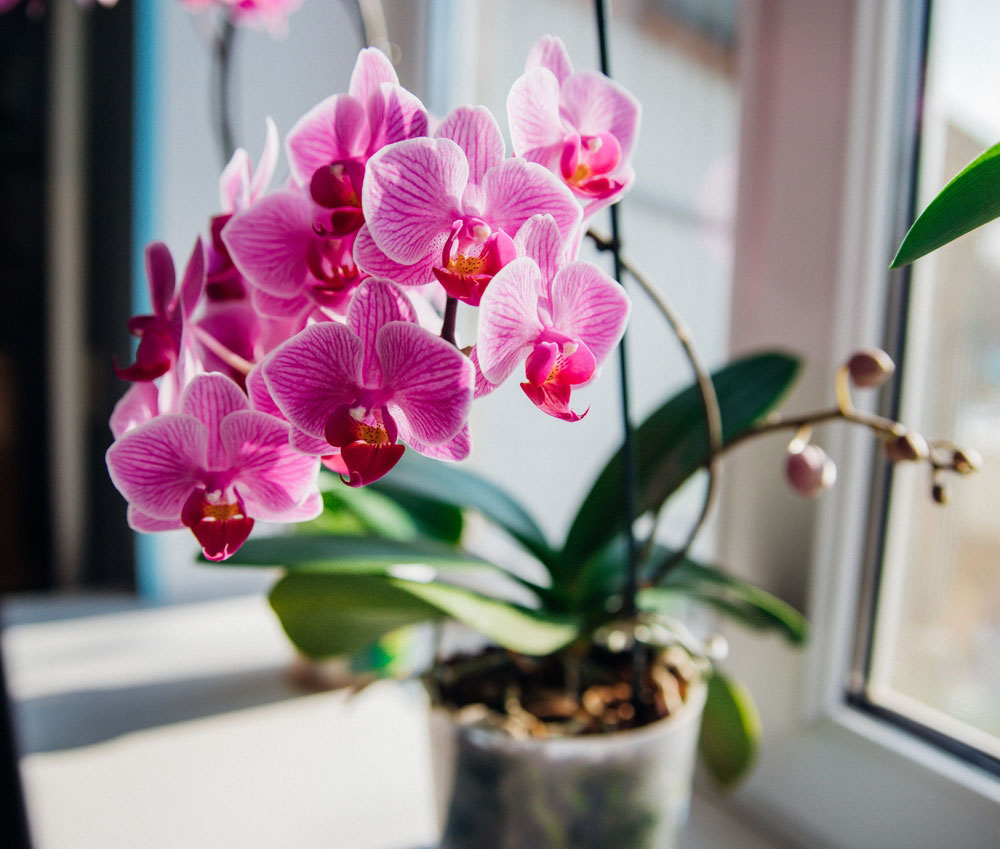
Orchids have specific light needs that differ by genus. For example, commonly cultivated Brassia orchids thrive at a light intensity between 2,000 – 3,000 foot-candles. That’s approximately 21,528 – 32,292 lux. Similarly, Cattleya orchids flourish at light intensities between 2,000 – 4,000 foot-candles, corresponding to 21,528 – 43,055 lux. Monitor your orchids closely and adjust the lighting conditions as needed to further stimulate the blooming process.
Optimal Humidity Levels
Orchids are tropical plants, and like most tropicals, they enjoy humid environments. Orchids tend to thrive in humidity ranging between 50%-70%. However, if your habitat’s humidity levels are naturally low, you might want to consider adding a humidifier to the room or placing the pot on a water-filled tray with a layer of pebbles. You will notice his leading to healthier, stronger, and more frequent blooms. It’s a small change with substantial returns on the beauty front.
Nutritional Needs for Blooming Orchids
Adequate nutrition plays a pivotal role in getting orchids to bloom successfully. Let’s delve into this significant aspect of orchid care to ensure vibrant and plentiful blooms.
The Role of Fertilizers
Orchids, like all plants, are dependent on certain essential nutrients that they derive from their surroundings. Naturally, as epiphytes, they’re accustomed to deriving these from the rain, air, and even nearby decaying matter in their original habitats. Orchids obtain nitrogen, phosphorous, and potassium – vital nutrients for their growth and blooming process – from these unconventional sources.
One popular saying among orchid enthusiasts is “Feed weakly, weekly.” This suggests that orchids benefit from a consistent but moderate supply of well-balanced orchid fertilizer. The fertilizer diluted to half the strength recommended on the packet and applied weekly, aligns well with their natural expectations for nutrients.
But the key here isn’t just to fertilize consistently; it’s equally important to ensure the fertilizer you use suits the specific needs of your orchid genus. For instance, the Brassia orchid with a light intensity requirement of 2000-3000 foot-candles or 21528-32292 lux, might have distinct nutritional needs compared to the Cattleya orchid that thrives in higher light intensity of 2000-4000 foot-candles or 21528-43055 lux.
Understanding Orchid Growth Cycles
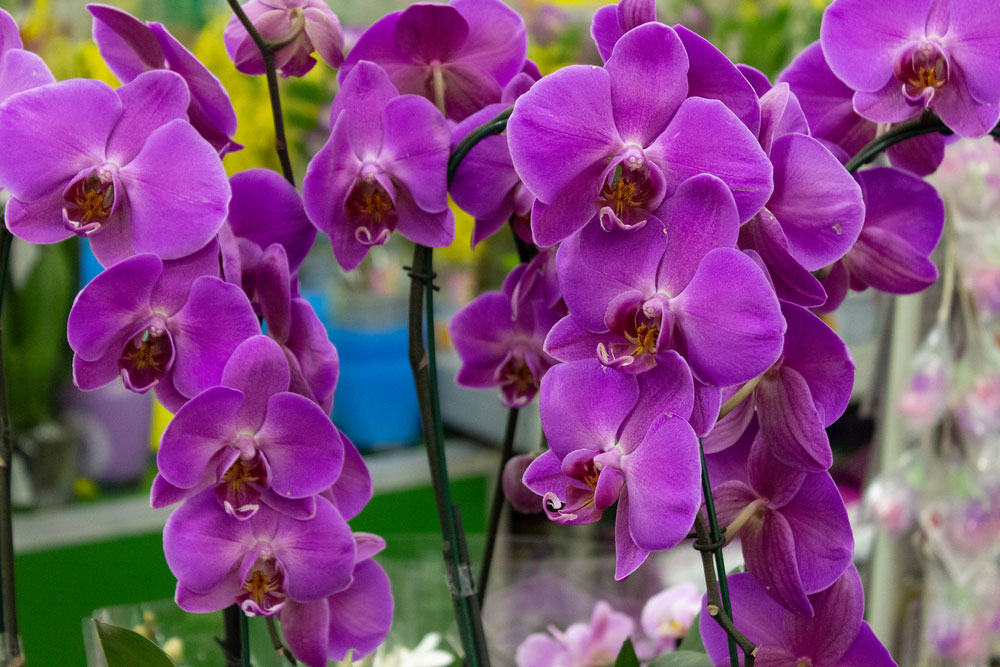
Possessing a basic understanding of orchid growth cycles makes it easier to meet their nutritional needs effectively. Generally speaking, orchids have two primary phases in their growth cycle: the vegetative growth stage and the blooming stage.
During the vegetative growth stage, orchids focus their energy on creating new roots, leaves, and pseudobulbs. They need an abundance of nitrogen at this stage. But as the orchid approaches the blooming stage, its requirement changes; phosphorous and potassium become more critical to support flower development.
Switching to a bloom-booster fertilizer, rich in phosphorous and potassium, encourages more abundant and vibrant blooms. Importantly, this switch needs to tie into the orchid’s natural growth cycle to avoid confusing the plant and causing stress that impedes its blooming process.
By meeting the nutritional needs of your orchids and understanding their growth cycles, you can undoubtedly help them put on a fantastic floral display. It just requires a little understanding, patience, and consistent, tailored care.
Environmental Factors Influencing Orchid Bloom
Orchids, particularly the Phalaenopsis genus, thrive in specific environmental conditions. To induce blooming in these beauties, understanding and mimicking these conditions is critical.
Temperature Requirements for Bloom Initiation
Your job, replicate the special circumstances related to light and temperature, as that’s the mode of blooming when these orchids are first grown. They undergo stringent temperature regulations – needing cooler, consistent temperatures to initiate the blooming process.
Katherine Gohmann, a Professional Gardener in Texas, suggests exposing your orchids to cooler temperatures for a while. This slow growth, she explains, is typical for orchids. But, patient and correct care will yield those highly desired blooms. You could start with moving your orchid to a cooler, unheated room in your house temporarily. Ideally, this temperate change should be for around a month, but two weeks can also do the trick.
Seasonal Changes and Their Effects
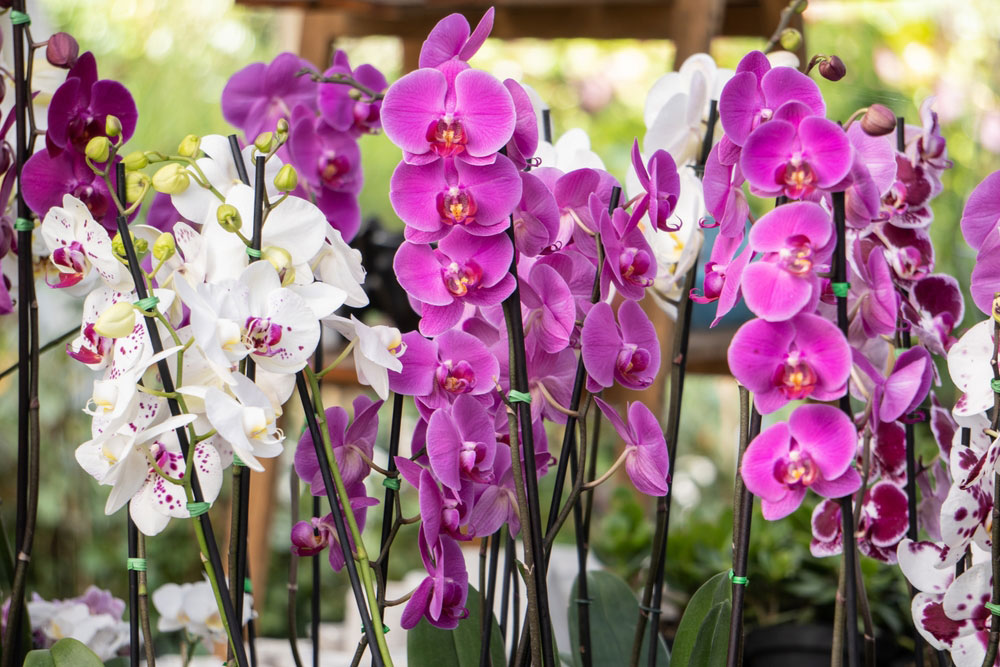
Seasonal changes, particularly the transition from summer to autumn, can be used to induce blooming. Orchid lovers often strategically move their plants outdoors to a greenhouse or near a window for some weeks during this time. The crucial goal here is to allow the orchids to experience the cooler nighttime temperatures of the autumn season. This step is reliant on the lows in your region, so a consistent eye on temperature fluctuations is key. Ensure to bring them indoors again when overnight temperatures drop below 15℃.
Phalaenopsis orchids, being among the most popular indoor orchids, are known to prefer a temperature range similar to what we find comfortable. This trait adds another reason for their widespread popularity among indoor gardeners, reiterating the need to manage temperatures wisely in your quest to see your Phalaenopsis orchid bloom.
Advanced Tips for Consistent Blooming
Blooming orchids are a sight to behold, but they require extra care compared to other houseplants. In the following sections, advanced tips for ensuring consistent and healthy orchid blooms are covered.
Repotting: Timing and Techniques
Repotting is often daunting, it’s necessary for the health of your orchid. Best time to repot your orchid is after flowering when it has entered a growth stage. Be patient if the plant doesn’t immediately respond positively after repotting will adjust with time.
Choosing the right mix is crucial. In their natural habitat, most orchids are epiphytes, meaning they grow on other plants, not in soil. A mix of bark pieces and sphagnum moss often works well.
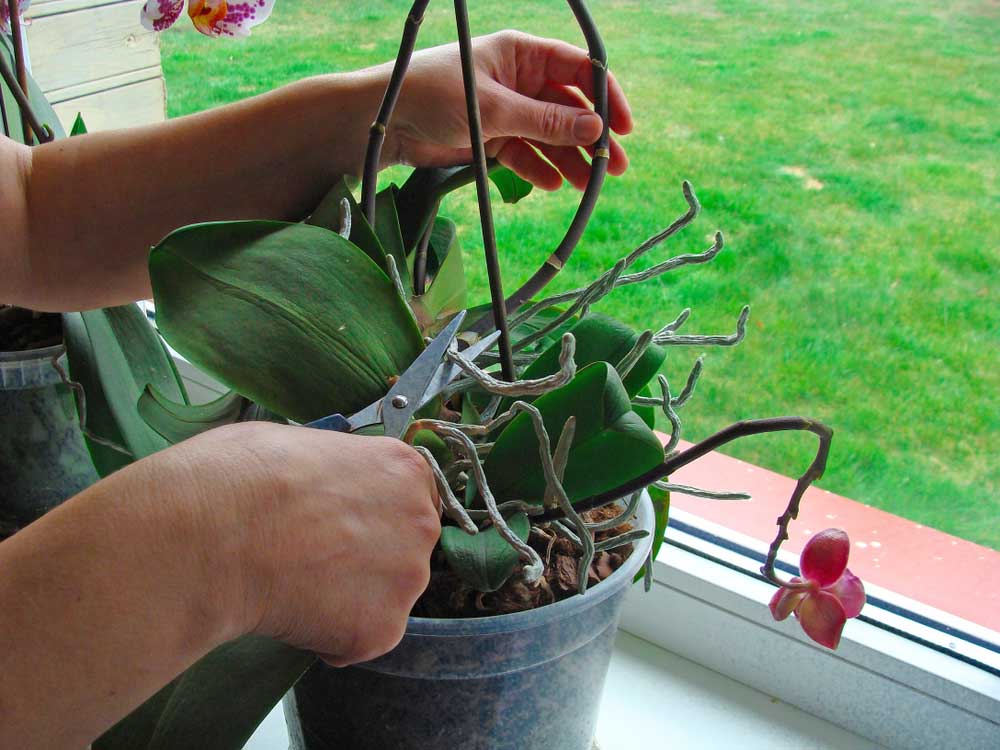
Here’s a repotting technique: remove the orchid gently from its current pot, dust off old potting mix, trim any soft, limp roots, then place it in a new pot with the fresh mix. Root top should sit just below the pot rim. After repotting, wait for a week before watering to allow cut roots to heal.
Managing Flower Spikes After Bloom
Once your orchid has flowered, care does not stop. Keep an eye on the flower spike. If it remains green, it might produce more blooms. In this case, trim the spike above a visible joint (node). However, if it turns brown or yellow, trim it down at the base. Your orchid will enter a rest period, signifying the start of the next life cycle.
Recognizing and Solving Common Issues
Orchids might encounter problems, but don’t fret. Recognizing them early helps save your plant. A common issue is overwatering leading to root rot. If the leaves turn yellow or droopy and the roots appear brown and mushy, you might be watering too much. Reduce watering frequency and ensure proper drainage.
Another widespread problem is insufficient light. If your orchid’s leaves are dark green, it might not be getting enough light. Move it closer to a window or supplement natural light with fluorescent light.
Taking care of orchids may seem daunting, but understanding their needs makes it rewarding. By adapting these advanced tips, you can get your orchid to bloom again and again, gracing your home with its exotic allure.
Special Considerations for Different Orchid Varieties
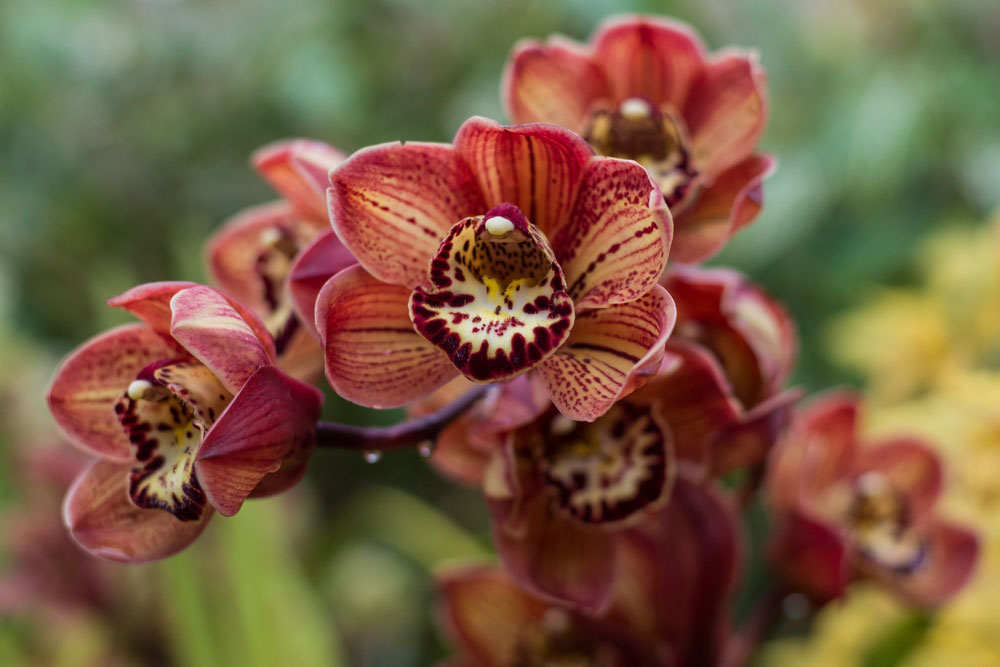
Just like the people you know, orchids are unique beings, each with their own set of specific requirements. Diving a bit deeper into the so-called “special considerations”, you’ll find the creation of a blooming haven for your orchids achievable.
Species-Specific Blooming Triggers
Let’s start with the first point, species-specific blooming triggers. These are the factors that stimulate flowering in different orchid varieties. Take the example of phalaenopsis, paphiopedilum, and dendrobium. They thrive and bloom best when grown in similar conditions, helping you to extend blooming periods. Also, growing multiple orchids of the same genus might surprise you with prolific blooming. Think about it, several phalaenopsis orchids taking turns in blooming- isn’t that a sight to yearn for?
Also, it’s not uncommon for orchid enthusiasts to focus on one type, like cattleyas. This allows them to meticulously account for each orchid’s specific needs. They even go as far as buying cattleyas set to bloom in different seasons, ensuring they enjoy these captivating flowers year-round.
Peak Blooming Seasons
Understanding peak blooming seasons goes a long way in cultivating thriving orchids. Remember, achieving a lush and vibrant display requires timing. By the time the desired blooming season rolls around, your bullet-proof care routine should have put the plant in optimal health.
Take a moment to consider the temperature tolerance of your orchid variety. For instance, some orchids prefer daytime temperatures between 70-85°F (21-29°C) and nighttime temperatures between 60-68°F (15-20°C). Always checking and maintaining this temperature range promotes healthier, more vibrant blooms.
Also, investing in a variety of orchids that bloom at different times creates a never-ending blooming cycle. Isn’t that the dream of every orchid enthusiast? So, understanding these factors and timing your care efforts appropriately is paramount.
In a nutshell, providing special considerations to your various orchids based on their species-specific blooming triggers and recognizing their peak blooming seasons lays a foundation for bountiful blooming. Armed with this wealth of knowledge, transform your living space into an extravagant orchid haven. It could be the beginning of a blooming love affair.

