Are your orchids looking a bit lackluster after their blooming cycle? Don’t worry – with the right pruning techniques, you can help your beautiful orchids produce even more stunning flowers in their next bloom.
Whether you’re a seasoned orchid enthusiast or just starting your journey with these elegant plants, this guide will walk you through everything you need to know about pruning orchids for maximum flowering potential.
Why Proper Pruning Matters
Pruning isn’t just about keeping your orchids looking neat and tidy. It’s a vital practice that helps redirect your plant’s energy toward producing new growth and beautiful blooms.
Think of pruning as giving your orchid a fresh start – removing spent flower spikes allows the plant to focus its resources on developing strong roots and preparing for the next spectacular display.
1. Perfect Your Timing
Getting the timing right is crucial for successful orchid pruning. The best moment to prune arrives after all the flowers have naturally dropped from your orchid’s stem. This typically happens during the plant’s dormant phase in fall, but don’t worry too much about the calendar. Instead, let your orchid tell you when it’s ready.
Look for these signs:
- All flowers have fallen off naturally
- The flower spike has turned brown or yellow
- The plant has stopped producing new buds
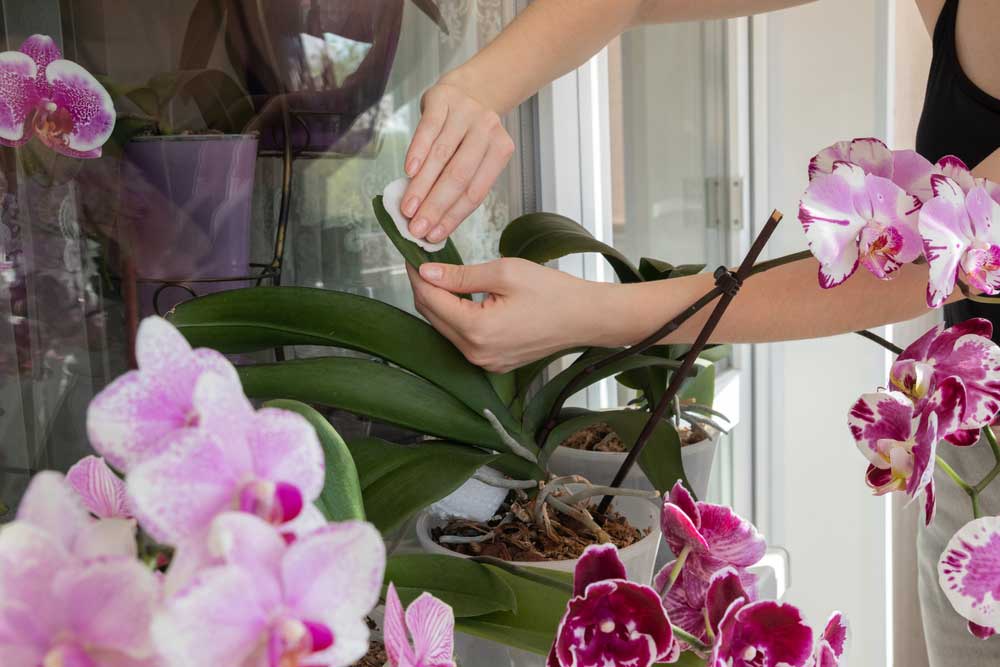
2. Gather Your Tools
Success starts with the right equipment. Using proper tools isn’t just about making clean cuts – it’s about protecting your precious orchids from harmful bacteria and diseases.
Here’s what you’ll need:
- Sharp scissors or pruning shears
- Rubbing alcohol or isopropyl alcohol
- Clean cloth or cotton balls
- Optional: kitchen torch for tool sterilization
Pro tip: Never skip the sterilization step! Clean your cutting tools before moving between different orchids to prevent the spread of diseases. A quick wipe with rubbing alcohol or a pass with a kitchen torch will do the trick.
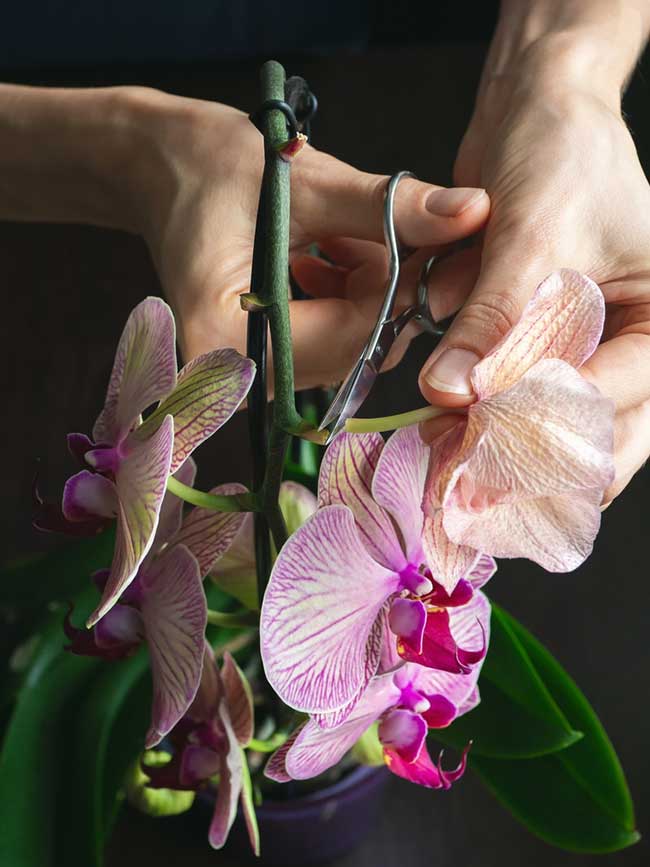
3. Master the Cutting Technique
Different orchid varieties need slightly different approaches, but let’s start with the most common type – the Phalaenopsis or moth orchid. These beauties offer clear signals about where to make your cuts.
Find the nodes (small bumps) along the flower spike. These are your guideposts for pruning. For standard maintenance pruning:
- Locate the node just below where the lowest flower grew
- Position your sterilized cutting tool about one inch above this node
- Make a clean, angled cut to prevent water from collecting on the cut surface
4. Know Your Orchid Type
Not all orchids should be pruned the same way. Understanding your specific variety will help you make the right cuts in the right places.
Phalaenopsis (Moth Orchids):
- Can be cut back to about an inch above a healthy node
- May rebloom from the same spike if cut above a node
- Usually produce the most impressive second blooms
Dendrobium Orchids:
- Only remove spent flower clusters
- Never cut the canes (they store vital nutrients)
- Allow old canes to remain on the plant
Cattleyas and Oncidiums:
- Remove flower spikes at the base after blooming
- Don’t cut into or remove pseudobulbs
- Preserve all healthy green tissue
5. Work With Green Spikes
Sometimes you’ll encounter a flower spike that’s still green and healthy after the blooms have fallen. This presents an exciting opportunity! A green spike might surprise you with a second round of flowers.
For green spikes:
- Cut just below where the lowest flower was attached
- Keep the spike if it’s still firm and green
- Watch for new buds to develop along the remaining stem
Remember that second blooms might be smaller than the first round, but they’re still a delightful bonus!
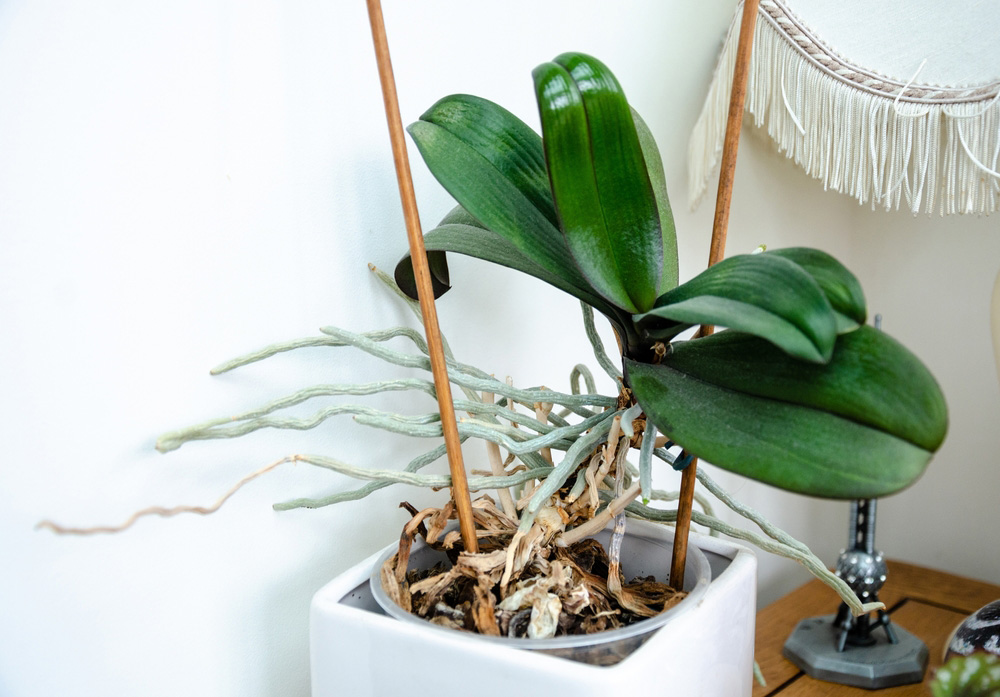
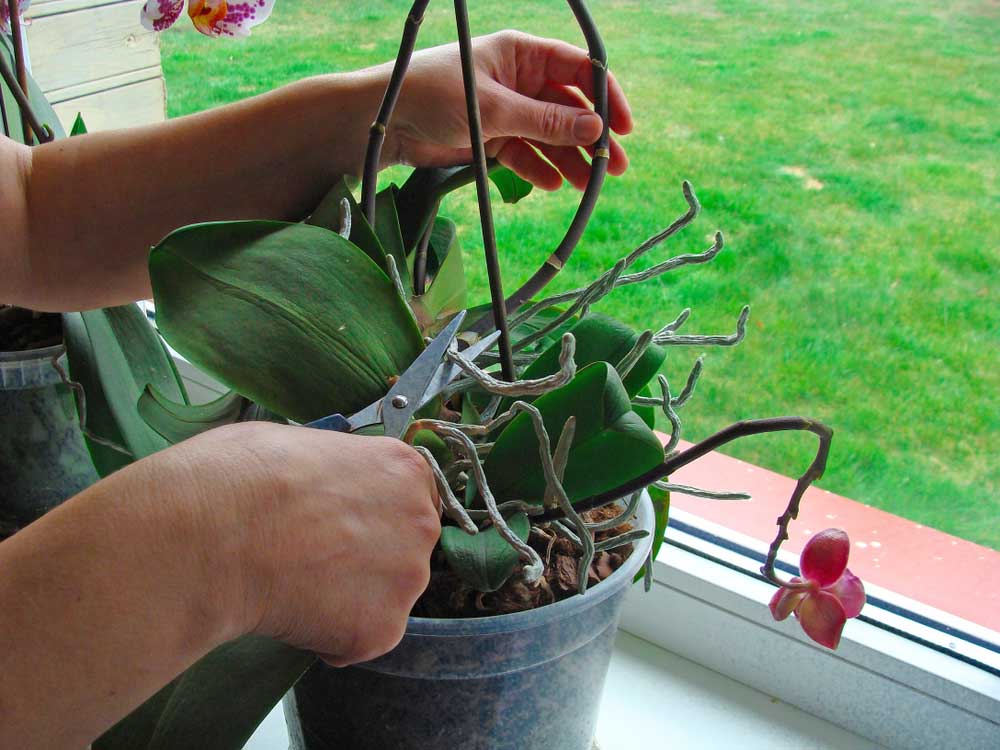
6. Remove Dead or Dying Parts
Your orchid will thank you for removing any dead or dying tissue. This isn’t just about aesthetics – it’s about plant health. Dead plant material can harbor diseases and pests, potentially threatening your orchid’s wellbeing.
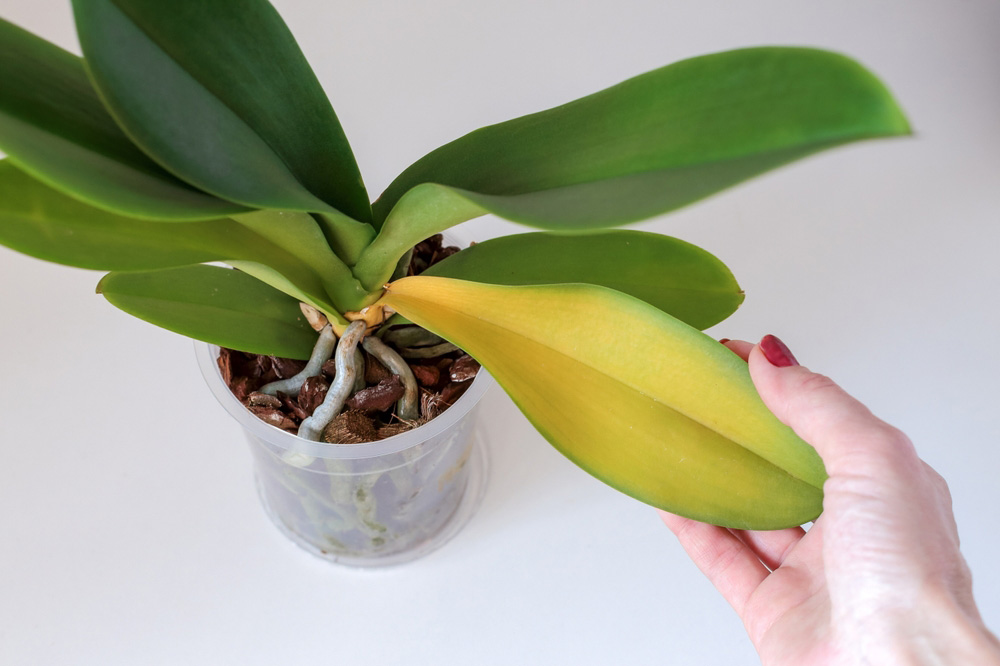
Look for and remove:
- Brown or yellowing stems
- Shriveled pseudobulbs
- Dead roots (they’ll be brown and papery)
- Damaged or diseased leaves
Make clean cuts and always err on the side of caution. If you’re unsure whether tissue is dead, give it a little more time to show clear signs.
7. Consider Overall Shape
When you have an orchid with multiple flower spikes, think about the plant’s overall appearance. Strategic pruning can encourage balanced growth and create a more attractive plant.
Try this approach:
- Cut one spike near the base
- Trim another just above a node
- Alternate these pruning heights for a natural look
This method not only creates visual interest but also gives your orchid different options for future growth patterns.
8. Practice Restraint
One of the most common mistakes in orchid care is over-pruning. Remember, these aren’t garden shrubs that need regular shaping. Less is often more when it comes to orchid maintenance.
Never prune:
- Healthy roots (even aerial roots)
- Green leaves
- Pseudobulbs
- Healthy canes on Dendrobiums
Focus your pruning efforts solely on flower spikes and clearly dead or diseased parts.
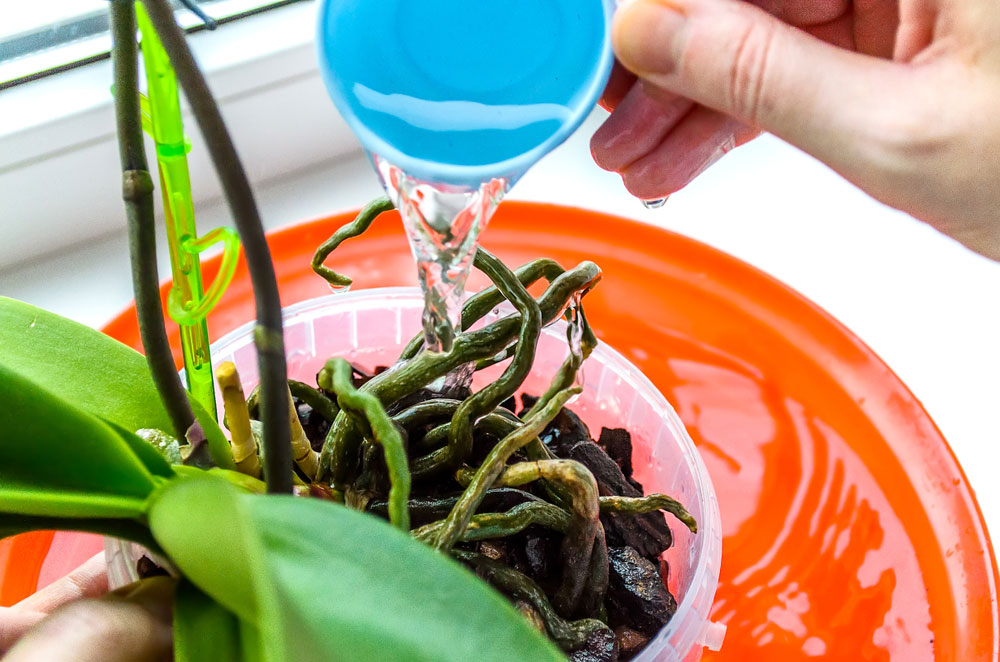
9. Support Post-Pruning Recovery
After pruning, your orchid needs some TLC to bounce back and prepare for its next blooming cycle. Create the perfect recovery environment to encourage healthy growth.
Recovery essentials:
- Bright, indirect light
- Consistent humidity (50-70%)
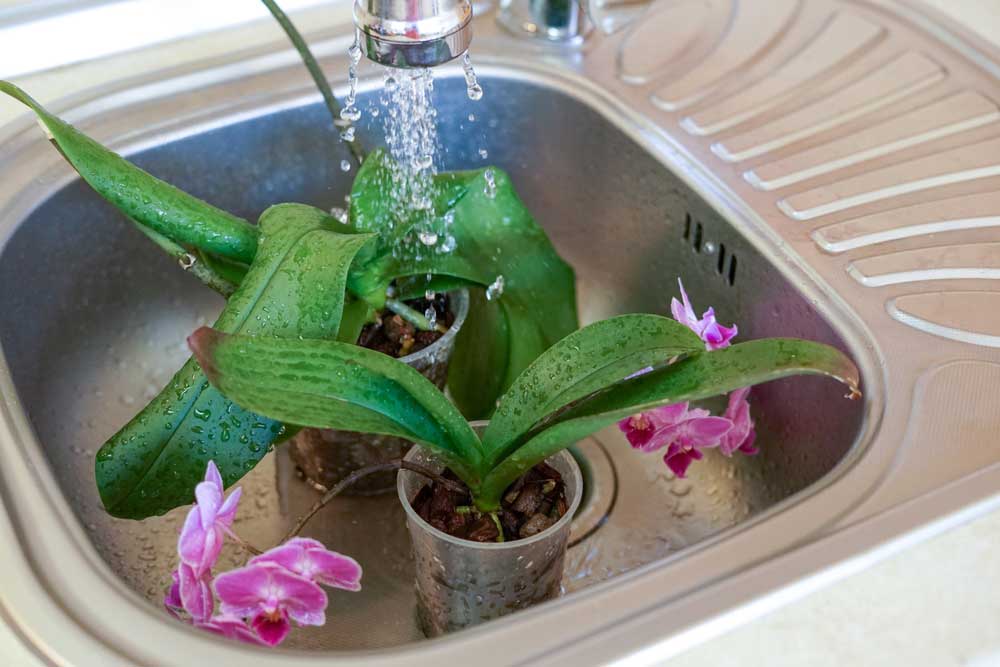
- Regular watering schedule
- Proper air circulation
Avoid moving your orchid around too much during this time. Let it settle into its recovery phase without additional stress.
10. Use Temperature to Your Advantage
Here’s a clever trick for Phalaenopsis orchids – use temperature changes to encourage new flower spikes. After pruning, expose your orchid to slightly cooler nighttime temperatures, about 20°F lower than daytime temperatures.
This temperature variation:
- Mimics natural conditions
- Signals blooming time to your orchid
- Can trigger new flower spike development
Try this technique for a few weeks after pruning, especially in fall when natural temperature drops occur.
Special Considerations
Remember that some orchids don’t need regular pruning at all. Species varieties often continue blooming on the same stem for years. When in doubt, research your specific variety or consult with local orchid enthusiasts.
Watch for these signs that your orchid is responding well to pruning:
- New root growth
- Fresh leaf development
- Flower spike emergence
Conclusion
Pruning your orchids doesn’t have to be intimidating. With these tips and a gentle approach, you can help your orchids thrive and produce gorgeous blooms year after year. Remember that each orchid is unique – pay attention to your plant’s specific needs and responses to pruning.
Start with these guidelines, but don’t be afraid to adjust your approach based on how your orchids respond. Soon you’ll develop an intuitive understanding of when and how to prune for the best results.