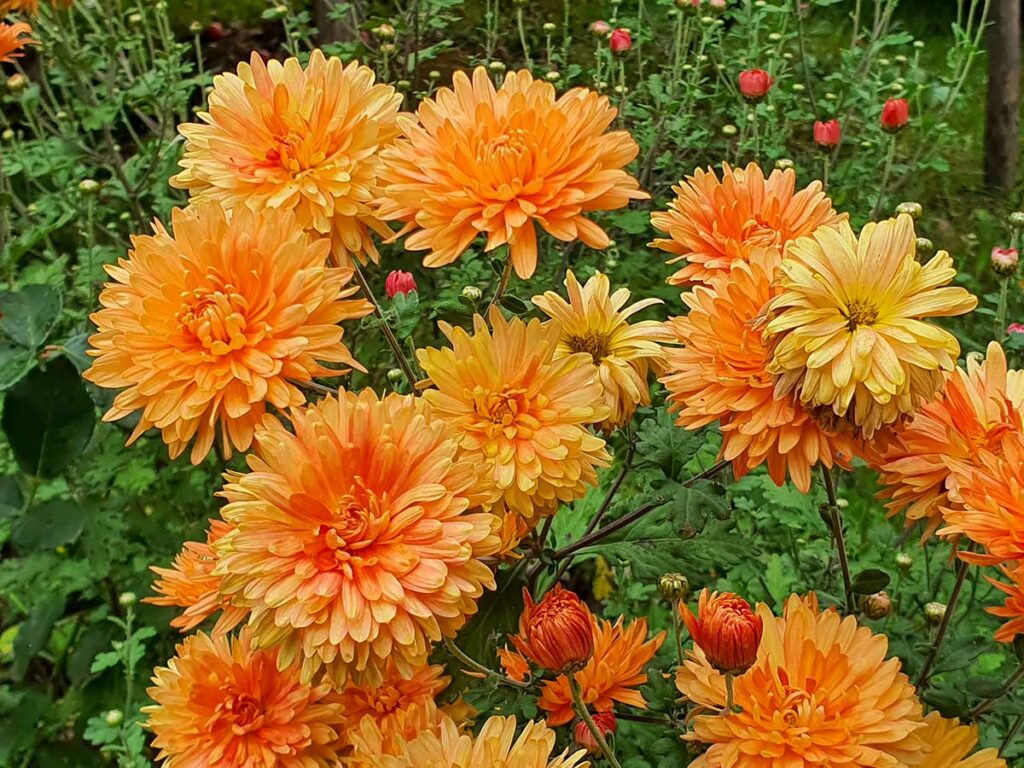
Deadheading mums is a simple gardening task that can greatly enhance the appearance and longevity of your beautiful blooms. Mums, or chrysanthemums, are popular fall flowers known for their vibrant colors and ability to thrive in various climates.
By regularly removing spent blossoms, you encourage the growth of new flowers, maintain your plant’s health, and ensure a stunning display of blooms year after year.
To get started, all you’ll need is a pair of clean, sharp pruners or scissors and a bit of time spent observing your mums. Deadheading not only removes unsightly wilted flowers but also reallocates the plant’s resources from producing seeds to generating fresh blossoms.
As you become familiar with the process, you’ll find that deadheading is a rewarding way to engage with your garden and play an active role in the life cycle of your mums.
In this article, we’ll walk you through the steps to deadhead your mums effectively. With a little practice and patience, you’ll soon master this essential gardening technique, leaving you with lush, vibrant mums that brighten up your garden season after season.
Related Articles
- Getting Mums to Bloom Again?
- Why are my MUMS Turning Brown? (SOLVED)
- The Different Types of Chrysanthemums
Understanding Deadheading and Its Importance
What Is Deadheading?
Deadheading is the process of removing spent blooms from your plants. By doing this, you’re allowing your plants to refocus their energy on growth, rather than trying to maintain flowers that have already played their role in reproduction. T
his can lead to healthier, more vigorous growth and encourage more blooms to develop over time.

Why Deadhead Mums?
Deadheading mums is essential for keeping your plants looking their best and encouraging a longer blooming season. When you deadhead your mums, you’re promoting new growth and making room for more flowers to emerge. Here are some key reasons to deadhead your mums:
- Aesthetics: Removing faded or shriveled flowers keeps your mums looking fresh and well-kept. This adds a neat appearance to your garden, as it gets rid of unsightly browning.
- Continuous Blooming: By deadheading, you can encourage mums to produce more blooms throughout the season. The plant will focus on creating new buds, which prolongs the overall blooming period.
- Energy Conservation: Deadheading helps mums conserve energy. With the removal of spent flowers, the plant no longer needs to support those blooms, so it can direct its resources to producing new growth.
Each of these benefits contributes to a healthier, more vibrant plant that produces beautiful blooms year after year. Your garden will appreciate your efforts, and you’ll be rewarded with the stunning display of mums throughout the seasons.
Right Time to Deadhead Mums
Optimal Season
The best time to deadhead your mums is during their blooming season, which usually occurs from late summer to early fall. By deadheading at this time, you encourage new growth and ensure a continuous display of beautiful blooms throughout the season. Typically, this means you will be deadheading your mums from late August to early October.
It is important to deadhead mums regularly throughout the blooming season to promote healthy growth and prevent the plant from becoming too dense. Doing this will ensure a beautiful display of flowers year after year.
Indicators for Deadheading
To identify when it’s the right time to deadhead your mums, look for the following indicators:
- Faded blooms: Once the flowers have lost their vibrant color, it’s time to remove them. This makes room for new buds to develop.
- Wilted petals: When the petals start to wilt and droop, it’s a sign that the flower is spent and should be removed.
- Seed formation: If you notice seeds forming at the base of the flower, that’s a clear indicator that it’s time to deadhead.
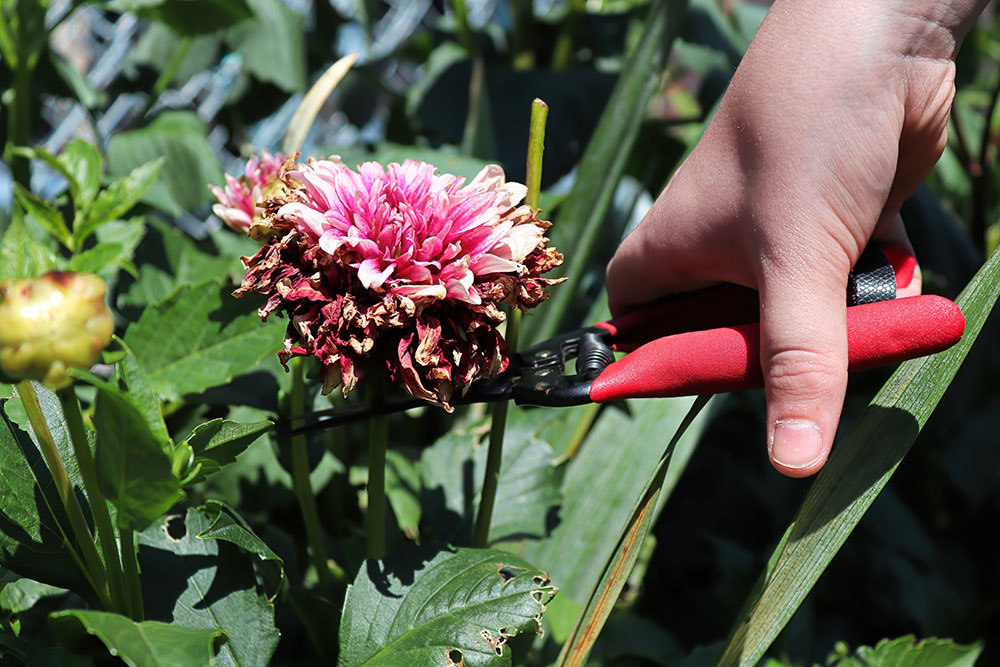
When deadheading your mums, be sure to use clean, sharp gardening tools. Simply snip off the wilted or spent blooms just below the flower head. This will encourage new growth and help maintain the plant’s overall health and appearance.
How to Deadhead Mums
Identifying Spent Blooms
To keep your mums looking their best, it’s important to remove spent blooms. Spent blooms are flowers that have wilted or started to dry out and lose their vibrant colors. Take a close look at your mums and keep an eye out for flowers that are fading, with petals falling off, or have already turned brown.
Recommended Tools
Having the right tools makes the deadheading process much easier. Here are some items to have on hand:
- Gardening gloves: Protect your hands from dirt and potential irritants.
- Pruners or scissors: Sharp, clean cutting tools are essential for a successful deadheading process.
- Bucket or container: Collect the spent blooms as you trim them off the plants.
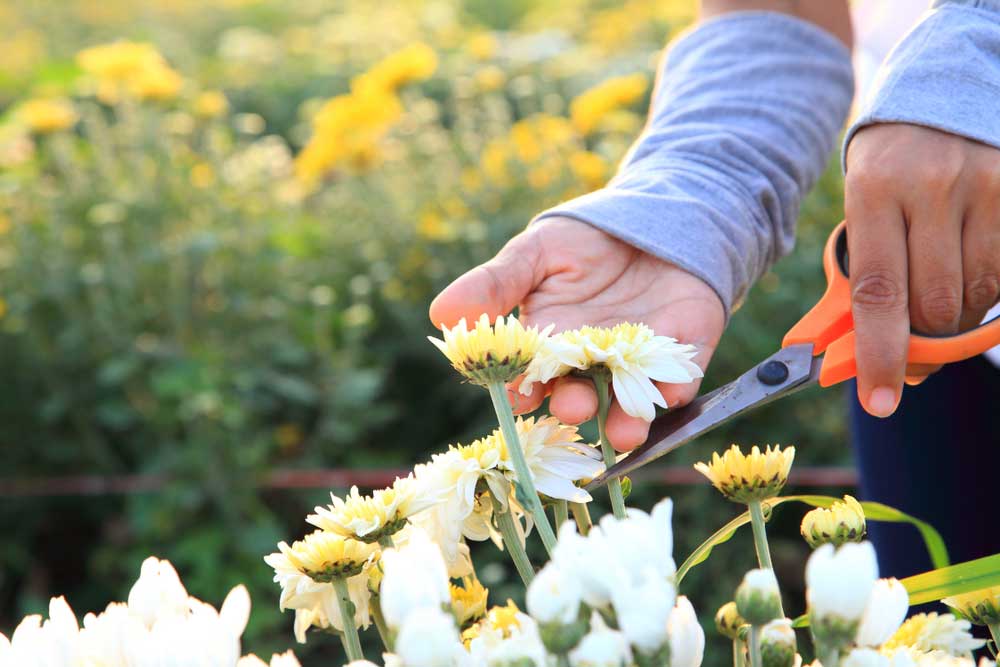
Step-by-Step Deadheading Process
Follow these steps to deadhead your mums:
- Put on your gardening gloves to protect your hands while working with the plants.
- Hold the spent bloom with one hand and position your pruners or scissors with the other hand, aiming to cut about a quarter-inch above the next set of leaves or branching point.
- Snip off the spent bloom using a clean, sharp cut. Be careful not to cut into the healthy part of the plant.
- Place the spent bloom in your bucket or container to keep your gardening area tidy.
- Continue deadheading all the spent blooms on your mums, working your way around the plant.
- Dispose of the spent blooms in a compost bin or yard waste container.
By following these steps, you’ll help your mums maintain their beautiful appearance and encourage new blooms to emerge, ensuring their beauty year after year.
Post Deadheading Care
Watering
After you’ve deadheaded your mums, it’s essential to keep them well-hydrated. Water your plants regularly, especially during dry periods. It’s best to water in the morning, so your plants have time to dry out before nightfall. This can help reduce the risk of disease. When watering, make sure to:
- Thoroughly soak the root zone.
- Avoid getting water on the leaves and flowers.
- Check the soil’s moisture before watering again.
Fertilizing
To promote healthy growth and beautiful blooms, you should provide your mums with proper nutrients. Use a balanced, slow-release fertilizer (for example, a 10-10-10 or 14-14-14 mix) during the growing season. Here’s a simple fertilizing schedule:
- Spring: Apply fertilizer when you see new growth.
- Summer: Feed your mums every 4-6 weeks.
- Fall: Stop fertilizing once your plants start blooming.
Positive Pruning Practices
Proper pruning is key to maintaining the shape of your mums and encouraging more blooms. Follow these pruning tips:
- Pinching back: Early in the growing season (spring to mid-summer), pinch back your mums’ tips to encourage bushier growth and more blooms. Stop pinching around mid-July to allow flower buds to develop.
- Trimming: Remove any dead or damaged branches, and trim back leggy growth to keep your plants compact.
- Cutting back: Once your mums have finished flowering, cut the stems back to about 3-4 inches above the ground. This helps maintain plant health and prepare for winter.
By following these post-deadheading care tips, you’ll encourage your mums to produce stunning blooms year after year. Remember, consistency in watering, fertilizing, and pruning will lead to the best results. Enjoy your beautiful garden!
Troubleshooting Common Issues
Mums Not Blooming
Sometimes, your mums may not bloom as expected. There are a few factors that can cause this issue. First, make sure you’re deadheading the spent flowers regularly, as this encourages new blooms to form. Additionally, ensure that your mums are getting enough sunshine, ideally 6 to 8 hours per day.
If your mums are still not blooming despite proper care, there’s a chance they may be overcrowded. In this case, consider dividing the plants and replanting them with more space, allowing for better air circulation and root growth.
Dealing with Pests
Pests can be a common problem when trying to grow healthy mums. Some common pests you might encounter are:
- Aphids: Small, soft-bodied insects that can cause distorted leaves and flowers.
- Spider Mites: Tiny mites that cause yellowing leaves and can lead to leaf drop.
- Whiteflies: Small white insects that leave a sticky substance called honeydew on leaves, leading to sooty mold growth.
To combat these pests, make sure to keep a close eye on your mums and take the following steps when necessary:
- Physical removal: If there are just a few pests, try removing them manually using a cloth or water spray.
- Insecticidal soap: Use a mild insecticidal soap to spray the affected areas, making sure to follow package instructions.
- Neem oil: Apply neem oil to the affected areas, which can help deter a wide range of pests.
- Beneficial insects: Introduce beneficial insects like ladybugs or lacewings to your garden, as they will help control pest populations by feeding on them.
Keep in mind that healthy plants are more resistant to pests, so ensure proper care and maintenance of your mums to minimize issues.
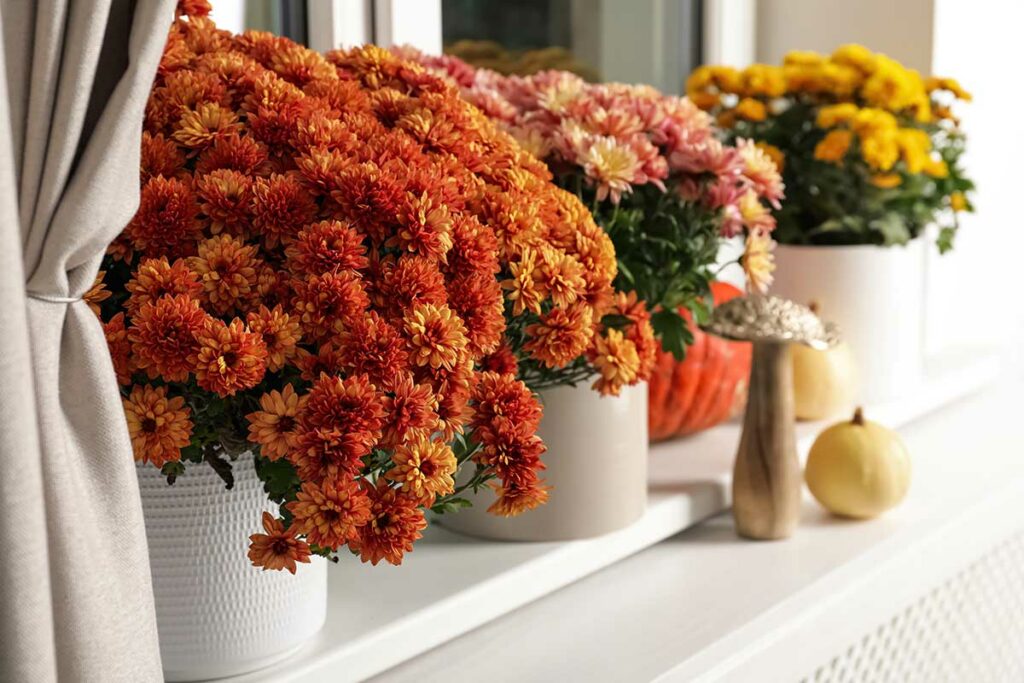
Beyond Deadheading: Encouraging Year After Year Blooming
Regular Dividing
Dividing your mums regularly can encourage healthy growth and more blooms. It is best to divide the clumps every 2-3 years. To divide your mums, follow these steps:
- Dig around the clump, carefully lifting it from the ground.
- Gently shake off excess soil and examine the clump’s root system.
- Separate the clump into smaller sections by pulling or cutting apart the roots.
- Replant the divisions, spacing them adequately to give each plant room to grow.
This process helps in revitalizing older plants, allowing them to produce more flowers annually.
Effective Overwintering Methods
To enjoy beautiful blooms from your mums year after year, you’ll need to protect them during the cold winter months. Here are some effective overwintering methods:
- Mulching: Apply a thick layer of mulch, about 4-6 inches, around the base of the plant to provide insulation. Use organic materials such as straw, leaves, or pine needles.
- Cold Frame: Construct a cold frame over your mums to shield them from frost, ice, and snow. Ventilate the cold frame on warmer days to prevent overheating.
- Bringing Indoors: For potted mums, consider bringing them indoors to a cool, dark place like a garage or basement. Water the plants sparingly throughout the winter.
These methods can help your mums survive the winter and produce beautiful blooms in the following season.
Creating Optimal Growing Conditions
To ensure your mums bloom abundantly year after year, it’s vital to provide them with optimal growing conditions:
- Sunlight: Make sure your mums receive at least 6 hours of direct sunlight daily. This encourages healthy growth and vibrant flowers.
- Water: Water your mums regularly, keeping the soil consistently moist but not waterlogged. Drought can stress the plants and reduce blooming.
- Soil: Provide well-drained soil enriched with organic matter, such as compost or aged manure. Mums prefer a slightly acidic to neutral soil pH of 6.0-7.0.
- Fertilizing: Apply a balanced, slow-release fertilizer every 4-6 weeks during the growing season to boost flower production.
By following these guidelines, you’ll create an environment where your mums can flourish and continue to produce stunning blooms year after year.

