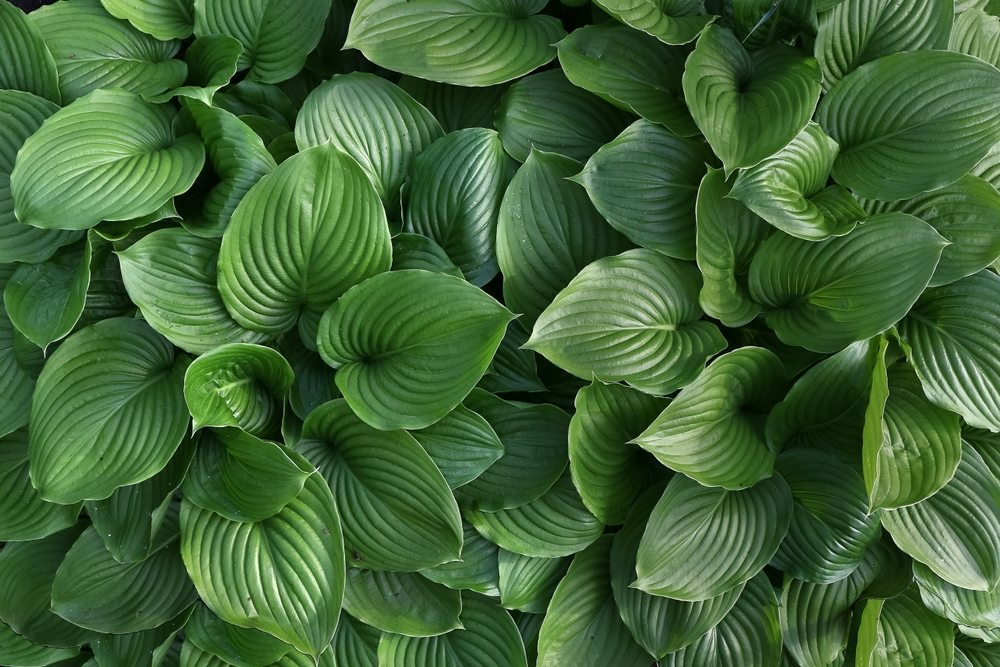
Hostas are a popular choice for gardeners because of their versatility and ability to thrive in various environments. They’re known for their lush foliage and ability to create stunning ground cover in shady areas.
However, there comes a time when you might need to move or divide your hostas to rejuvenate them, increase their size, or redesign your garden.
Transplanting hostas is a fairly simple process but it’s essential to pick the right moment to minimize stress to the plant and ensure success.
Generally, the best time to transplant hostas is during early spring, just as they’re emerging from dormancy, or during the late summer to early fall when they’re starting to prepare for winter.
Avoid transplanting during the hot summer months when they’re actively growing and more prone to stress from the process.
Key Takeaways
- Transplant hostas during early spring or late summer to early fall
- Avoid transplanting during hot summer months when they’re actively growing
- Ensure proper preparation and post-transplant care for successful transplantation
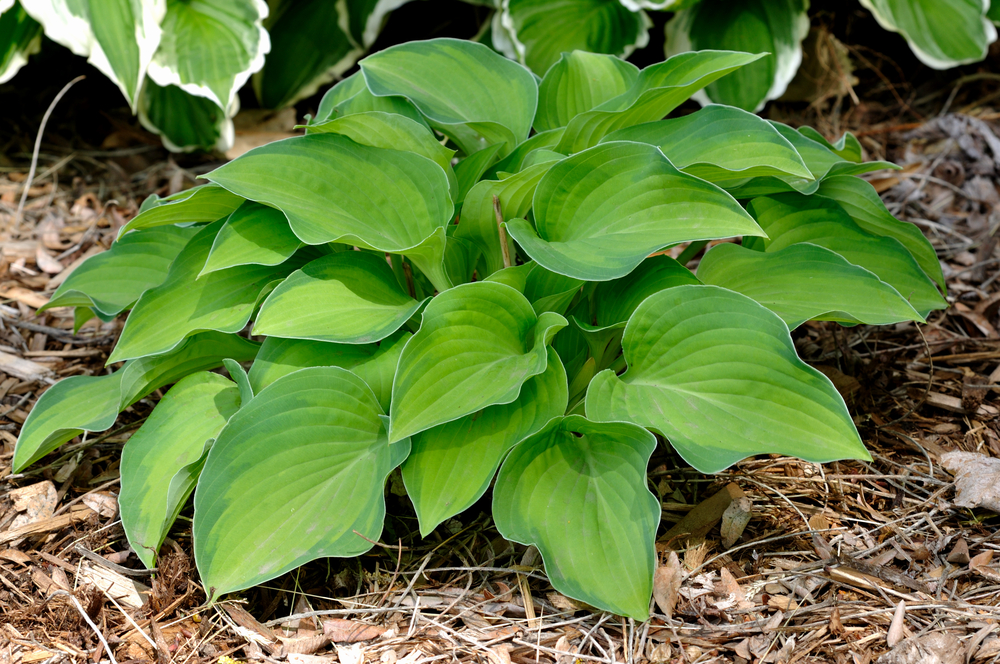
Understanding Hostas: A Brief Overview
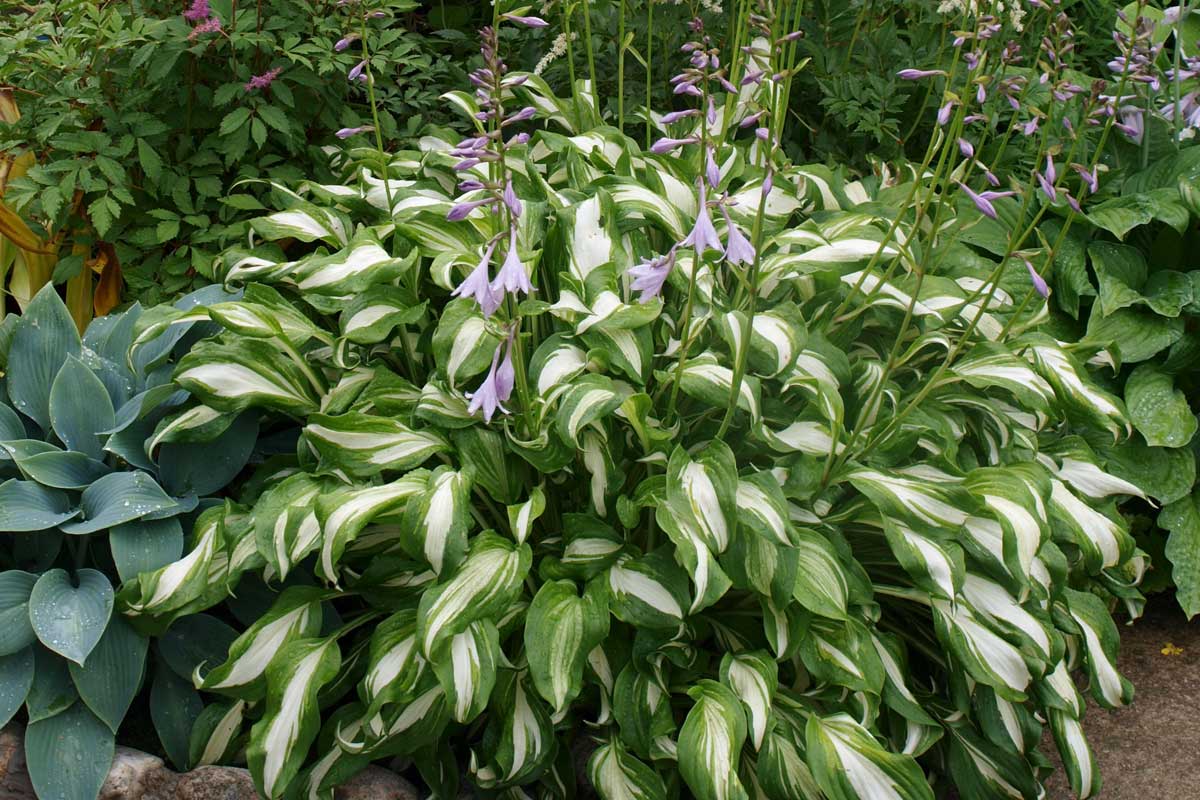
Hostas are herbaceous perennial plants, native to northeast Asia, known for their attractive foliage and beautiful flowers. They thrive in shaded environments and come in a variety of shapes, sizes, and colors.
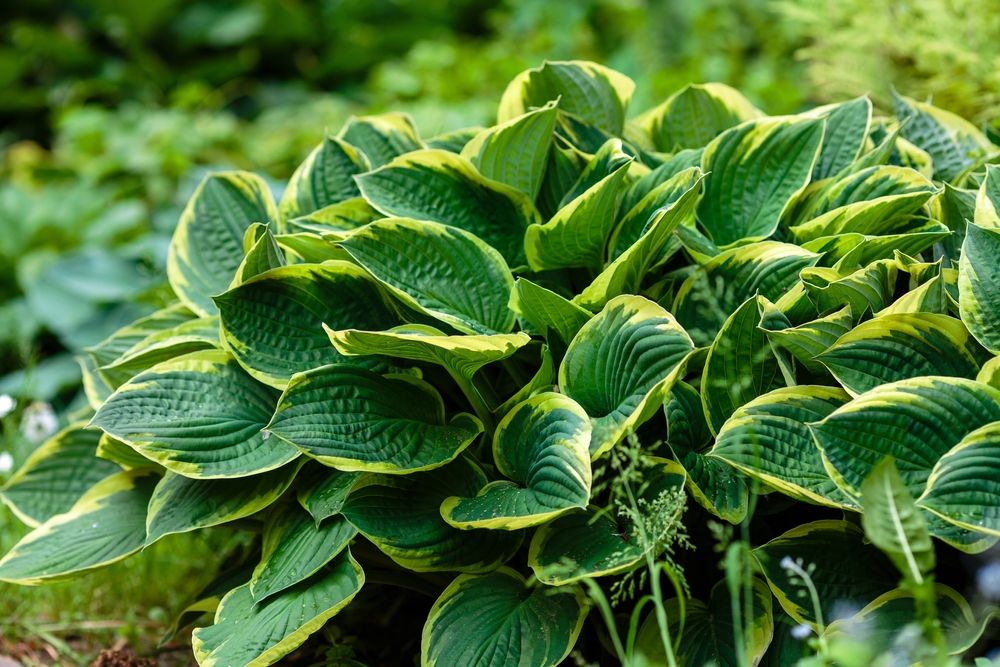
There are many different species and hybrids of hostas to choose from, offering gardeners the opportunity to create an interesting mosaic of colors and textures. Some have smooth leaves, while others display corrugations or fine hairs on their surface.
Proper care of hostas includes regular watering, fertilization, and occasional division. They benefit from well-draining soil with a good amount of organic matter. Hostas prefer a pH level of about 6.5, which is just slightly acidic.
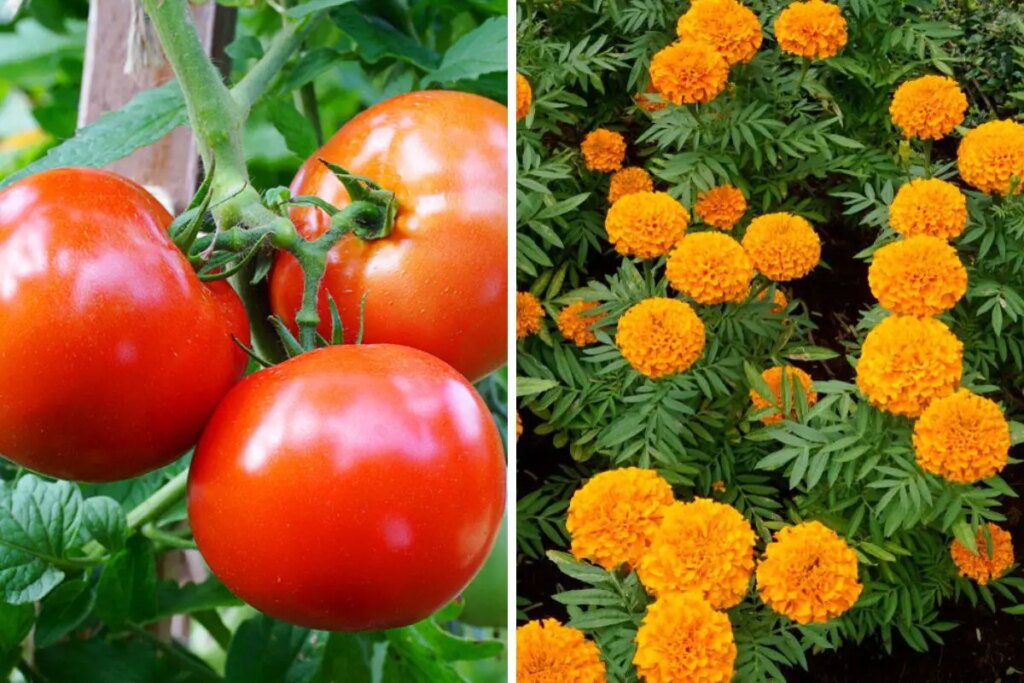
Hostas are largely resistant to pests and diseases, but watch out for slugs and snails, which can be particularly troublesome, especially during damp weather. Applying a natural slug control method, such as diatomaceous earth, can help keep these pests at bay.
Planting hostas in the right spot is essential to ensure healthy growth. They generally prefer shade and can tolerate dappled sunlight, but avoid direct sun, as this can lead to scorched leaves.
Best Time to Transplant Hostas
Hostas are easy-going plants that brighten up shady spots in the garden. It’s important to transplant them at the right time to ensure they establish well and flourish. The best time to transplant hostas is during their dormant season, which is usually the early spring or the fall.
In the early spring, hostas are just beginning to emerge from the ground, and their root systems are more compact. This means that they’re less likely to suffer from transplant shock. Ideally, you should transplant hostas just as they are poking through the soil, before the leaves unfurl completely and start growing.
On the other hand, the fall is also suitable for transplanting hostas because the plants are winding down their growth for the season and a cooler temperature allows for a smoother transition to their new location. Just be sure to transplant them at least one month before the first frost date to allow enough time for the roots to settle into their new home.
When transplanting hostas, keep these tips in mind:
- Make sure the new location has well-draining soil, as hostas don’t like to sit in overly wet conditions.
- Dig a hole that is wider than the hosta’s rootball, but not deeper. This allows the roots to spread out but ensures that the crown remains at the right depth.
- Water the plant well after transplanting and continue to water it regularly until it has fully established.
Remember, transplanting hostas at the right time helps ensure their health and success in your garden, so choose either early spring or fall to give them the best start in their new location.
Preparing for Transplant: Necessary Tools and Techniques
Hosta transplanting may seem like a daunting task, but with the right tools and techniques, it can be simple and smooth.
Garden Tools
To start, gather the following essential tools:
- Spade or garden fork: This will help you dig around the plant without damaging the roots.
- Gardening gloves: Wearing gloves will protect your hands from cuts and soil.
- Pruner or garden scissors: Use these to trim any damaged or excess roots and leaves.
Transplant Techniques
Now that you have the essential tools, let’s discuss a few transplant techniques.
- Timing: Ideally, transplant hostas in early spring or late summer/early fall. This will allow the plant to settle in its new location before extreme temperatures set in.
- Location: Hostas prefer partial shade. Choose a spot that has well-draining soil, which is vital for the plant’s health.
- Digging process: Use the spade or garden fork to create a wide circle around the plant. This ensures that you don’t damage the roots while digging. Gently lift the plant out of the ground, taking care to keep the roots intact.
- Root inspection: Before transplanting, check the hosta’s roots. Trim away any dead or damaged roots, as well as excess roots that might cause crowding in the new location.
- Replanting: Dig a hole in the new location slightly larger than the root ball. Place the hosta in the hole, making sure its crown is level with the soil surface. Fill in around the roots with soil and water the plant thoroughly to help it settle.
How to Transplant Hostas Step-By-Step
Digging Up the Hostas
Begin by watering the hostas thoroughly a day before transplanting, to prepare them for the transplant process. To dig up your hostas, you should:
- Use a sharp spade to cut a circle around the hosta, ensuring it’s a few inches away from the plant’s leaf tips to avoid damaging the roots.
- Carefully dig down and around the hosta, taking care not to sever too many roots.
- Gently lift the rootball out of the ground, taking care to keep as much soil around the roots as possible.
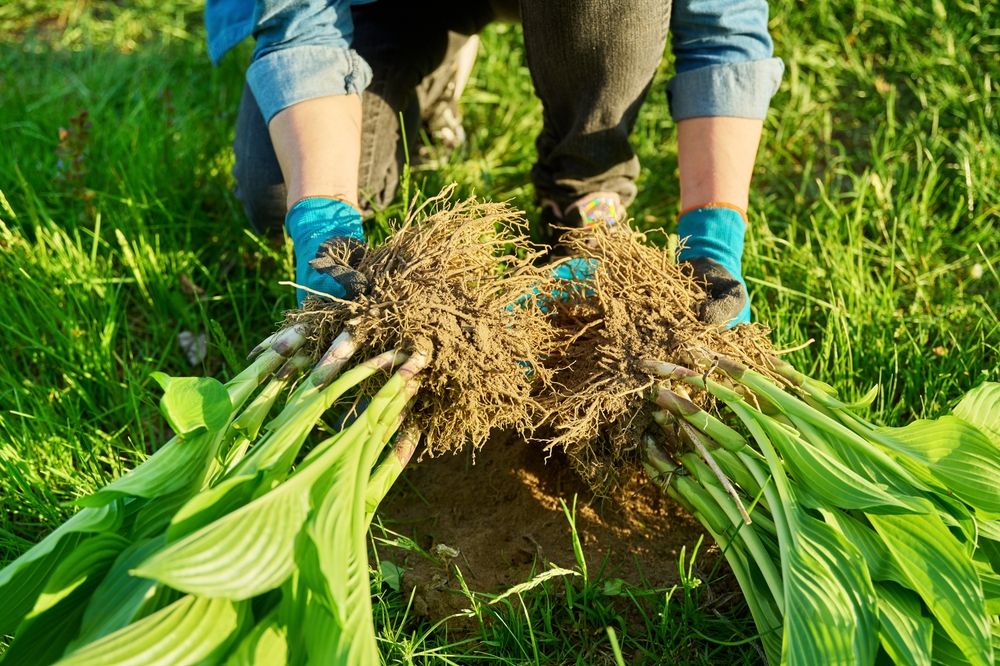
Dividing the Hostas
Dividing hostas is an excellent way to multiply your plants and can encourage new growth. To divide your hostas, follow these steps:
- Place the hosta on a flat surface and look for natural divisions in the rootball, usually formed by distinct crowns or clusters of leaves.
- Use a sharp, clean knife to cut through the rootball, separating the divisions. Aim to keep at least two or three leaves per division and make sure each division has a healthy amount of roots.
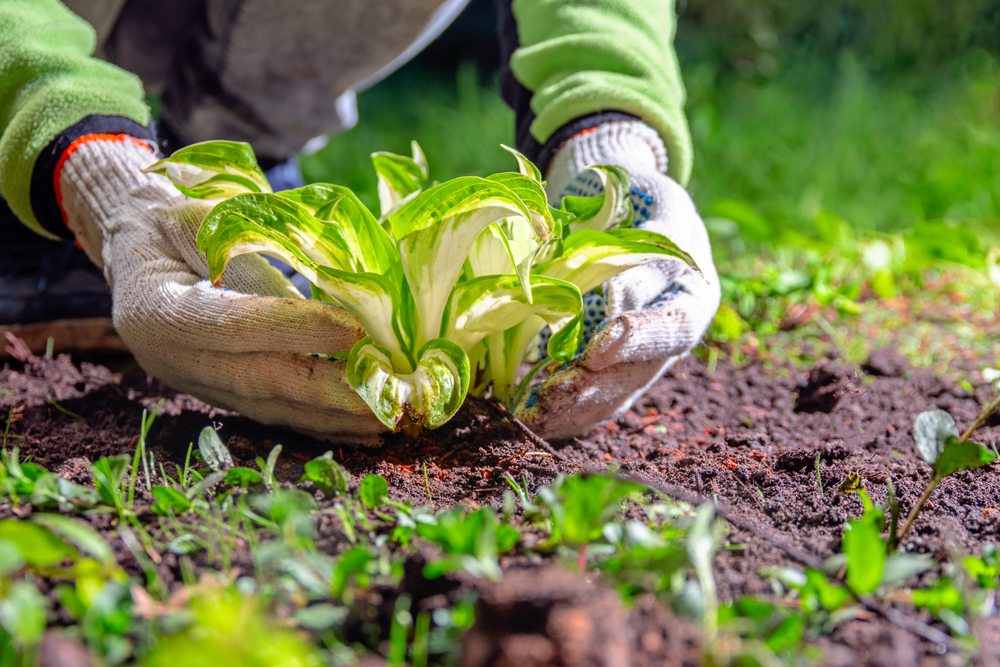
Replanting the Hostas
Now it’s time to replant your hostas in their new location. Keep these steps in mind:
- Prepare the planting hole by digging it slightly larger and deeper than the size of the rootball, and mixing in some organic compost to enrich the soil.
- Place the hosta division in the hole, with the crown slightly above ground level. Spread the roots out evenly in the hole.
- Fill the hole with soil, gently firming it down around the plant to remove air pockets.
After you have replanted the hostas, give them a generous watering to help them establish in their new location. It’s essential to keep the soil consistently moist for the first few weeks after transplanting, so your hostas can properly settle in and thrive.
Post-Transplant Care for Hostas
Hostas are popular perennial plants known for their attractive foliage and easy care. Proper post-transplant care is crucial to give your hostas the best chance to thrive. In this section, we’ll discuss the essential aspects of post-transplant care: watering, fertilizing, and mulching.
Watering
Hostas need consistent moisture, especially after transplanting. For the first few weeks, make sure to:
- Water your hostas deeply and slowly at least once a week.
- Water in the morning to reduce the risk of diseases caused by standing water overnight.
- Use a soaker hose or drip irrigation system to deliver water at the plant base, avoiding wetting the leaves.
After the initial few weeks, gradually reduce the frequency of watering while maintaining the same deep watering technique, keeping an eye on your hostas to make sure they’re staying well-hydrated.
Fertilizing
Newly transplanted hostas benefit from some extra nutrients to help them establish a strong root system. Here’s what to do:
- Apply a granular, slow-release fertilizer around the base of the plant, following the manufacturer’s instructions.
- Choose a fertilizer with a balanced N-P-K ratio, such as 10-10-10 or 14-14-14.
- Fertilize your hostas as part of your regular garden routine, typically once in the spring and again mid-summer.
Mulching
Mulching provides several benefits to transplanted hostas, such as retaining soil moisture, controlling weeds, and regulating soil temperature. To help your hostas thrive, consider these mulching tips:
- Use a 2-3 inch layer of organic mulch, such as chopped leaves, pine needles, or shredded bark.
- Keep the mulch 1-2 inches away from the base of the plant to prevent rot.
- Refresh the mulch as needed throughout the growing season, checking for areas that have thinned out or broken down.
By following these guidelines for watering, fertilizing, and mulching, you’ll be well on your way to giving your newly transplanted hostas the best care possible.
Common Mistakes When Transplanting Hostas
Incorrect Timing
Transplanting hostas requires proper timing. It’s best to transplant them in early spring or late summer to early fall when they are dormant. Avoid transplanting them during the peak growing season as it can stress the plants and hinder their growth.
Poor Soil Preparation
Hostas thrive in well-drained, rich soil. Before transplanting, prepare the soil by adding organic matter like compost or well-rotted manure. This improves the soil structure and retains moisture, creating a better environment for the hostas to grow. Do not plant hostas in areas with heavy clay soil or poor drainage conditions, as this can lead to root rot.
Inadequate Watering
Proper watering is essential when transplanting hostas. After transplanting:
- Water the plants thoroughly to ensure the roots are hydrated and to help settle the soil around them
- Continue to water deeply and consistently, especially during the first few weeks after transplanting
- Keep the soil consistently moist, but never over-water to the point of saturation
Monitoring the plants’ water needs and adjusting accordingly can help prevent many problems associated with transplanting.
Frequently Asked Questions About Transplanting Hostas
When is the best time to transplant hostas?
Hostas should ideally be transplanted in early spring or late summer/early fall. This allows them to establish roots before the season’s temperature extremes.
How do I properly divide and transplant hostas?
To divide and transplant hostas:
- Water the hosta a day before dividing.
- Use a sharp garden spade to dig around the plant, keeping it several inches away from the base.
- Carefully lift the plant, maintaining as much of the root system as possible.
- Separate the plant into smaller divisions by gently pulling the clumps apart, or use a knife to cut through the root mass.
- Replant the divided hostas in holes as deep as their root ball, and water them thoroughly.
How often should hostas be divided and transplanted?
Hostas are low-maintenance plants and may not require dividing for 3-5 years or longer. Divide them when the clump has grown too large or crowded for its space.
What type of soil should I use when transplanting hostas?
Hostas prefer well-draining, organically rich soil. Adding compost or well-rotted manure can improve your garden soil for hostas. Don’t forget to maintain a soil pH of about 6.5 to 7.0.
Do hostas require specific light conditions after transplanting?
Hostas are shade-loving plants, but they also do well in dappled sunlight. After transplanting, ensure your hostas receive a few hours of morning sun but are protected from hot afternoon sun, which can scorch their leaves.
How often should I water transplanted hostas?
Water hostas deeply once or twice a week, allowing the soil surface to dry out slightly between waterings. This will help prevent root rot. On hotter days or during drought conditions, you may need to water more frequently to keep the soil consistently moist.