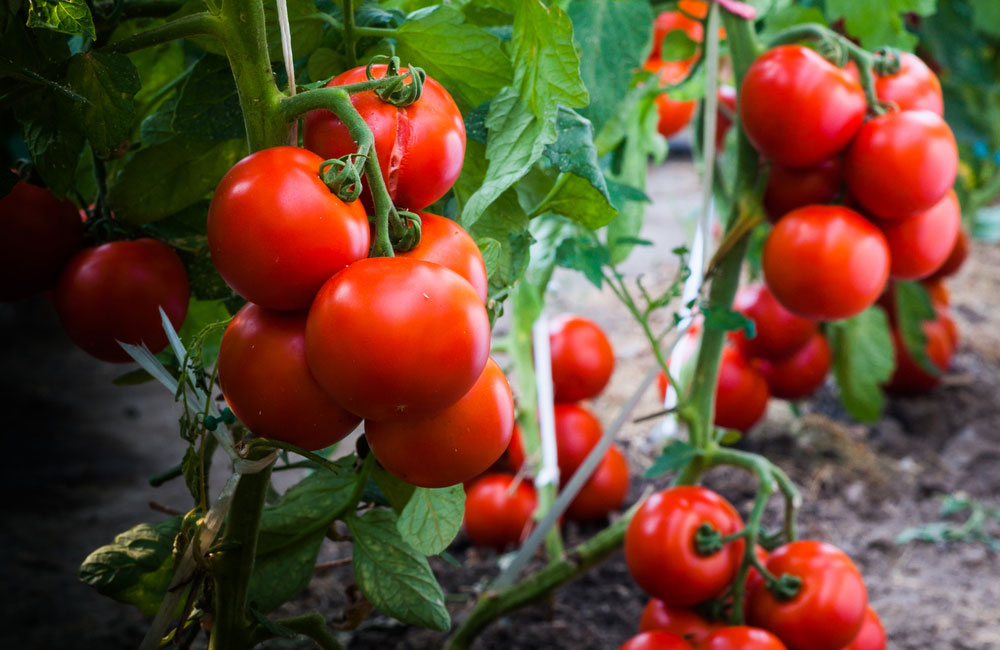
Growing tomatoes from seed can be a rewarding experience that offers you more control over your garden selections.
Starting tomatoes from seed allows you to choose from a wide variety of types that may not be available as transplants.
Embarking on this process provides an opportunity to watch the life cycle of a tomato from the very beginning and can be a great project for both experienced and novice gardeners alike.
For successful germination, tomato seeds require warmth, consistent moisture, and a suitable growing medium.
Once seeds are planted, keeping the soil evenly moist and in a warm environment helps to ensure a good start. Additionally, providing adequate light is essential once the seedlings emerge.
This early stage is critical in establishing a foundation for strong and healthy plants.
As your seedlings grow, thinning them out and eventually transplanting them to larger containers or directly into the garden is a key step. This helps to avoid overcrowding and gives each plant ample space and nutrients to flourish.
Remember to harden off your tomato seedlings before moving them outdoors permanently to help them adjust to the outside conditions.
Carefully nurturing your plants at every stage will lead to an abundant harvest of homegrown tomatoes.
Selecting the Right Tomato Seeds
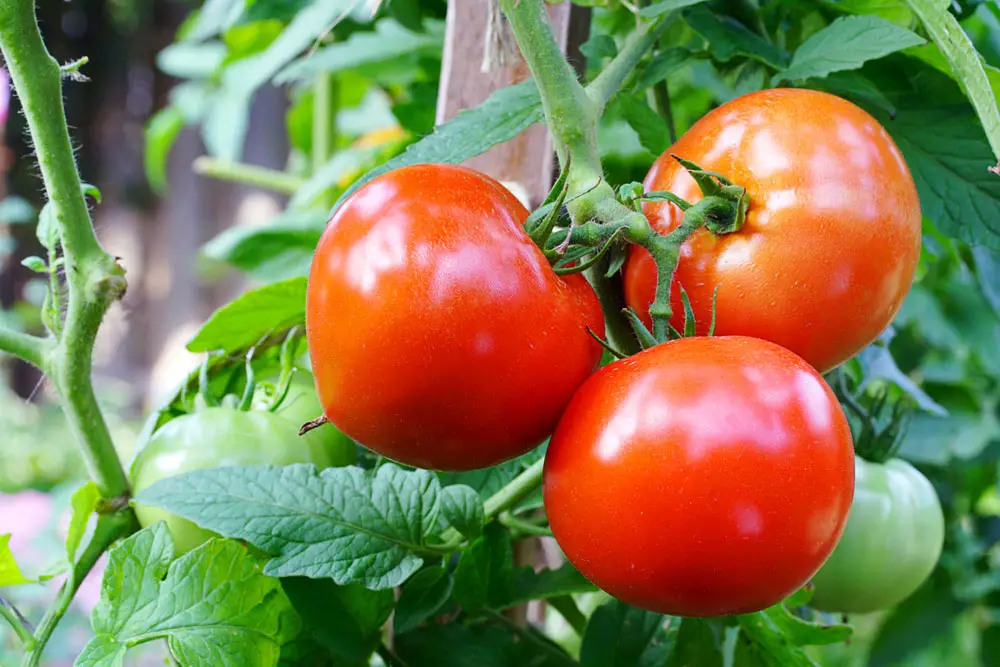
Choosing the right tomato seeds is crucial for a successful harvest. You’ll want to focus on the varieties that best suit your gardening space and climate, as well as those that offer the best disease resistance.
Understanding Seed Varieties
Heirloom: These seeds come from plants that have been passed down for generations. They are non-hybrid and can be saved at the end of the season for future planting. Examples:
- Brandywine: known for large, flavorful fruits
- Cherokee Purple: offers a rich, smoky flavor
Hybrid: These are the result of crossing two different varieties, aiming to produce a plant that contains the best features of both parents.
- Better Boy: yields a consistent and abundant crop
- Early Girl: great for a shorter growing season
Choosing Disease-Resistant Seeds
Selecting seeds that are resistant to diseases is vital for a thriving tomato crop. Look for these abbreviations on seed packets:
- V (Verticillium Wilt)
- F (Fusarium Wilt)
- N (Nematodes)
- T (Tobacco Mosaic Virus)
For example, a seed packet marked ‘VFNT’ indicates that the variety is resistant to all four of these common tomato plant ailments. Investing in disease-resistant seeds can save you a lot of trouble and increase your chances of a healthy harvest.
Seed Starting Basics
Starting seeds successfully is all about timing and the proper seed starting mix. Picking the right moment and preparing your soil well can make a significant difference in your tomato growing endeavor.
Timing Your Planting
To ensure your seedlings are ready to transplant after the last frost, count back 6-8 weeks from your area’s expected last frost date.
For example:
- If your last frost date is April 30, start seeds between March 5 and March 19.
- Planting too early might lead to overgrown seedlings, while too late can shorten your growing season.
Preparing Seed Starting Mix
You will need a light and fluffy seed starting mix, which allows for good drainage and easy root growth. You can either purchase a pre-made mix or create your own.
To make your own mix:
- Combine equal parts peat moss or coconut coir and perlite or vermiculite.
- Add a handful of worm castings or compost for nutrients.
Keep the mix moist but not waterlogged to prevent seed rot.
Caring for Tomato Seedlings
Once your tomato seeds have germinated, the real work begins to ensure your seedlings grow into strong and healthy plants.
Providing Adequate Light
Tomato seedlings require plenty of light to grow properly. Aim to give your seedlings at least 14-16 hours of bright light per day. If you’re using artificial lighting, position the lights 2-3 inches above the seedlings and raise the lights as the plants grow. This prevents leggy growth and encourages strong stem development.
- Types of Lights:
- Fluorescent tubes
- LED grow lights
Watering and Feeding
Your seedlings need consistent moisture; avoid letting the soil dry out completely or become waterlogged. When the first true leaves appear, begin feeding with a half-strength liquid fertilizer every two weeks. This balanced nutrition supports robust growth.
- Watering Tips:
- Check the soil daily.
- Use room temperature water.
- Feeding Schedule:
- Begin: At first true leaves.
- Frequency: Every 14 days.
- Strength: Half the recommended rate.
Thinning and Transplanting
If seedlings are crowded, thin them by snipping the weakest at soil level, leaving the strongest to grow. When they’ve developed 2-4 true leaves, it’s time to transplant to larger pots to give roots room to expand.
- Thinning:
- Remove: Weakest seedlings.
- Method: Snip at soil level, don’t pull out.
- Transplanting Steps:
- Prepare new pots with fresh potting mix.
- Gently remove the seedlings.
- Place one seedling per pot.
- Water thoroughly after transplanting.
Transplanting to the Garden
Transplanting your tomato seedlings to your garden is a crucial step. Proper hardening off and soil preparation are key to successful growth.
Hardening Off Seedlings
Before planting your seedlings directly into the garden, they need to acclimate to outdoor conditions. Hardening off is the process of gradually introducing your indoor-grown plants to the outside environment. Start about a week before you intend to plant them outside.
- Day 1-2: Place the seedlings outdoors in a shaded, protected spot for 2-3 hours, avoiding direct sunlight and harsh conditions.
- Day 3-4: Slowly increase their time outdoors by 1-2 hours and introduce them to a bit more sun.
- Day 5-7: Let the seedlings stay outside for most of the day, including direct morning sunlight, while still protecting them from strong afternoon sun and wind.
Ensure they’re adequately watered during this process to prevent stress.
Soil Preparation and Planting Techniques
Soil preparation is the next step to ensure your tomatoes thrive.
- Soil pH and Nutrients: Aim for a pH between 6.0 and 6.8. You can test your soil’s pH with a kit from a garden center. Mix in compost or aged manure to enrich the soil with nutrients.
- Spacing and Depth: Tomatoes need room to grow. Plant seedlings about 18 to 24 inches apart with rows spaced about 3 feet apart. Dig a hole deep enough to bury two-thirds of the stem to promote root growth.
Planting: When putting the seedling in the ground, gently remove it from the container. Loosen any circling roots to encourage outward growth. Place the seedling in the hole, backfill with soil, and gently firm it around the base of the plant.
- Watering: After planting, water the seedlings well to settle the soil around the roots and eliminate air pockets.
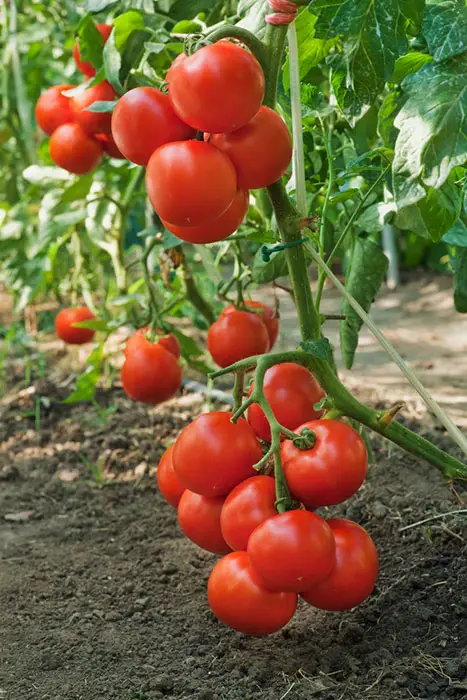
- Support: Immediately install a stake or cage for the tomato plant to grow up into, which helps to support the plant and prevent diseases.
Remember to plant on a calm, cloudy day or in the late afternoon to reduce transplant shock.

