You are probably the type of person that appreciates the allure of flowers.
Peonies are among the best flower choices for good reasons. Their flowers are plentiful, beautiful, and fragrant.
In this post, we’ll discuss the propagation process using six easy steps.
Propagating Peonies From Cuttings
Here’s what you need to know:
1. Choose the Right Time to Take Cuttings
To get started, choose the right time to take cuttings, which should be in the dormant season, typically between late autumn and early winter.
This period is ideal since the plant isn’t actively growing and is less likely to suffer from transplant shock.
2. Prepare the Cuttings

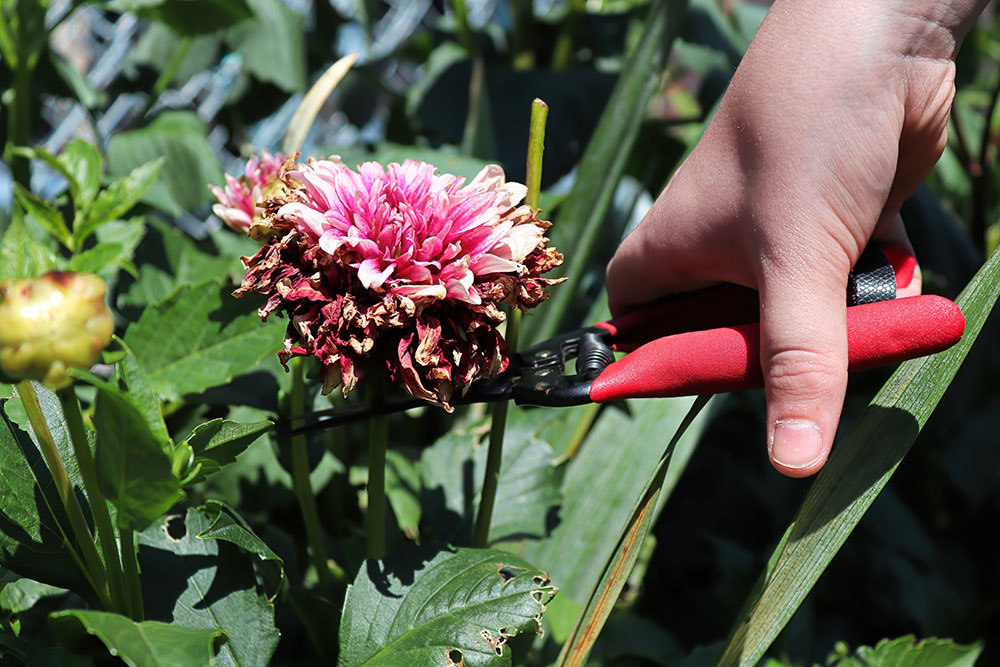
Next, select a healthy peony plant and cut a 6” stem. Ensure the stem has three to four nodes and no flowers or buds. Also, ensure that the cutting sheers you’re using are clean and sharp to avoid damaging the cutting and the plant.
Then, remove any leaves from the bottom 2” of the stem. You can dip the cut end of the stem into rooting hormone powder, available at most garden centers, to promote root growth.
You should shake the extra hormone powder off the cutting. Give it a minute to soak and you’re ready to plant the cutting.
3. Plant the Cuttings
Fill a small pot with well-draining potting soil and gently firm it down. Next, create a hole in the center with a pencil and insert the cutting in the hole.
Make sure to bury the bottom 2” of the stem. Gently press the soil around the cutting to keep it in place.
4. Provide the Right Environment

Place the pot in a warm, sunny spot that receives indirect sunlight. You should also cover the pot with clear plastic wrap or a clear plastic bag to create a mini greenhouse.
This, in turn, will maintain high humidity levels and prevent the cutting from drying out. Remember to check the cutting regularly to ensure that the solid is still moist, and spray the inside of the plastic wrap or bag if it appears dry.
5. Care and Maintain the Cutting
Transplant the cutting to a larger pot after it has developed roots and several leaves. You may also put it directly into the ground.
Be patient as propagation from cuttings is a gradual process that may take several months for the cutting to root and start growing.
You may inspect root growth by pulling on it gently. If it doesn’t budge much, the roots have started to grow.
6. Enjoy Your New Peony Plant
Once the cutting has developed a robust root system and healthy foliage, move it to its permanent location in the garden. You can also pot it in a 12″ deep container or larger.
Peonies thrive in full sun to partial shade and well-drained soil. Water your new peony plant regularly until fully established.
Additionally, fertilize it once a year in the spring. With proper care, your new peony plant will bloom in the years to come.
Other Considerations

Factors like the health and age of the parent plant may play a role in propagation success. Plus, the timing of the cutting and the environment can add to these factors.
You can increase your chances by using clean and sharp pruning shears when taking cuttings. Consequently, you’ll prevent unnecessary damage to the cutting and its parent plant.
Besides, follow the manufacturer’s instructions when handling rooting hormones. This ensures you avoid inhaling or ingesting the powder.
Final Thoughts
When it comes to spreading peony beauty across your garden, knowing how to propagate peonies from cuttings is key.
It’s an exciting and fulfilling way to grow new plants. As long as you follow the steps listed, you can enjoy the beauty of peonies in your garden.
You should also take extra precautions to maximize your chances of success. The proper use of rooting hormones and the time of taking cuttings can be huge factors.
In any case, always stay patient and don’t rush through the steps. You can have the highest chance of propagating your peony plant with diligence and care.

