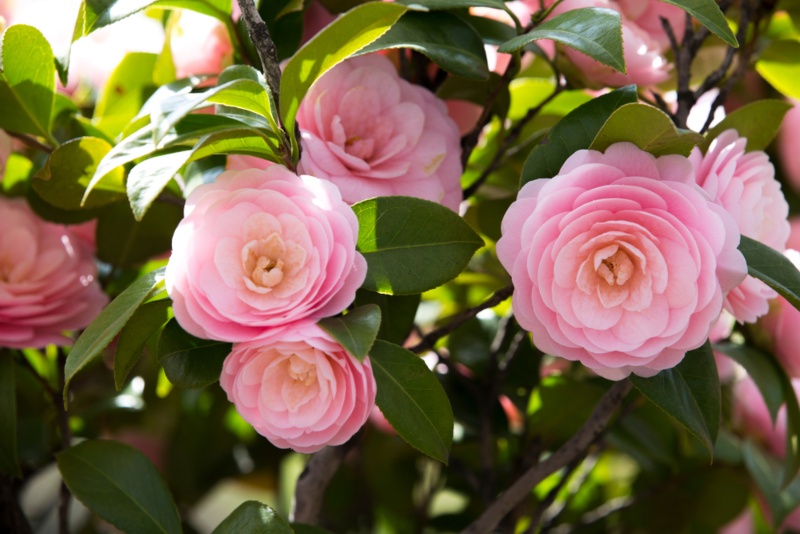
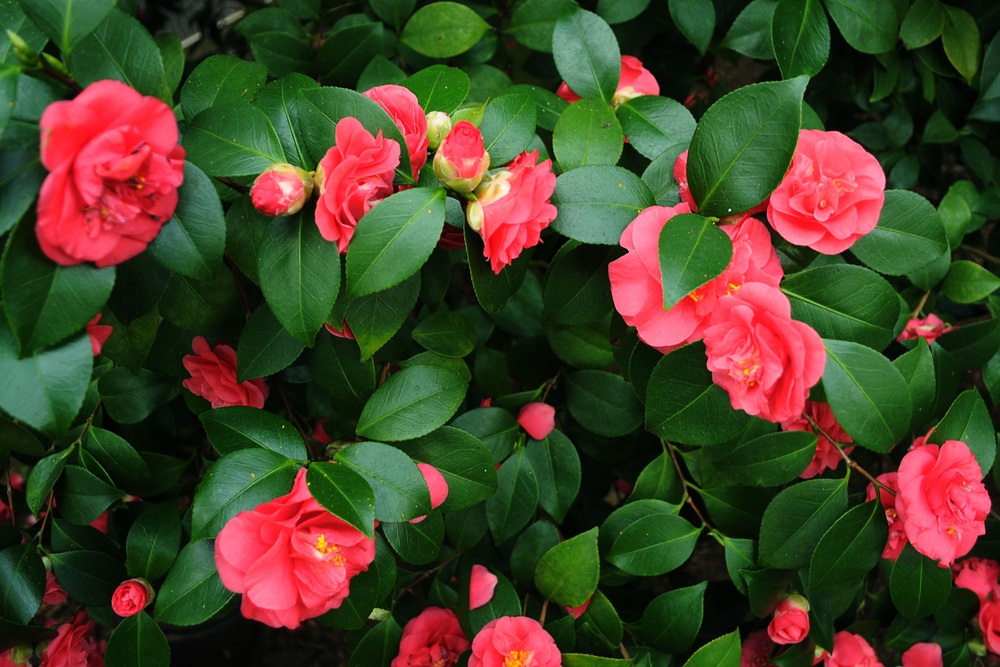
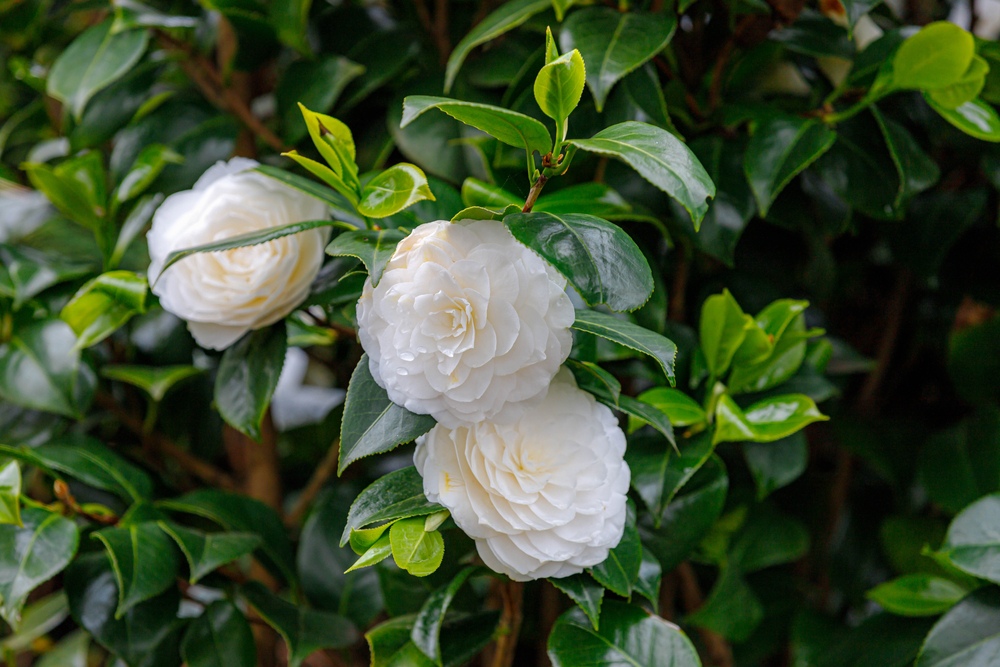
The Camellia is an attractive decorative plant that looks beautiful in just about any environment.
It is popular in many regions for its red and white colors and blooms well in multiple settings. For example, you can often take cuttings and produce high-quality plants in a single growing season.
Thankfully, propagating extra Camellia plants in this way is fairly easy. By understanding this process, you can save yourself money on buying extra plants and create a beautiful indoor and outdoor garden.
Note that you can get multiple Camellia plants from a single growth if you cut properly.
Step One: Make Cuttings
Identify one or more healthy steams that you feel comfortable trimming, those without any obvious signs of damage or wear and tear. Find the sixth leaf node on the stem and cut away after this section to produce a strong and healthy cut that will grow in your soil.
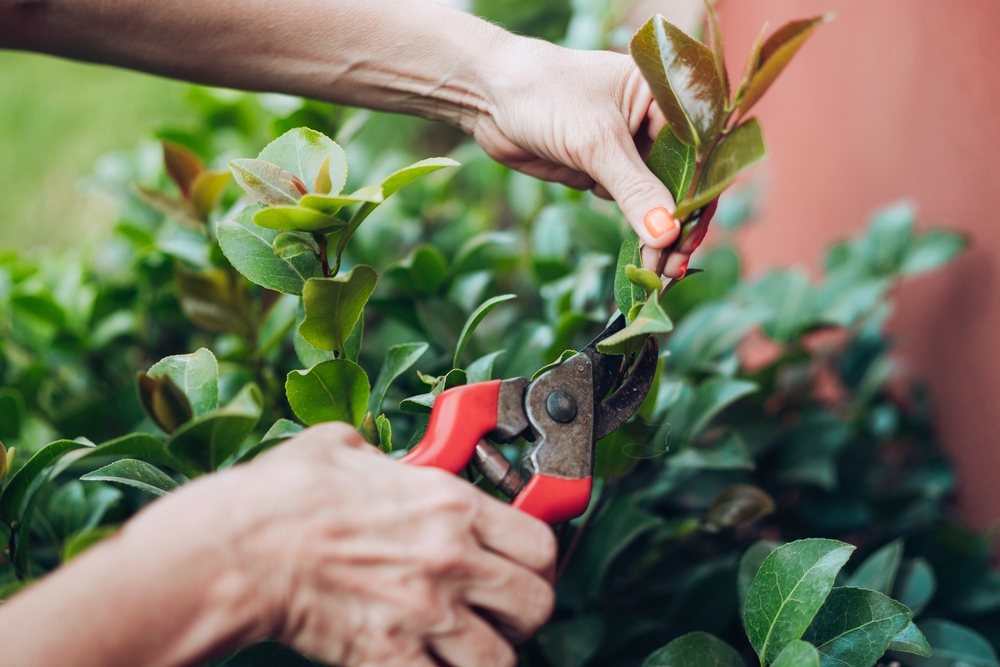
Remove all but the last two or three leaves at the top of the cuttings. Do this to give the cutting leaves that help convert sunlight into energy and food. Remove any damaged or unhealthy stems and throw them away to give your plant a better overall.
Step Two: Prepare Your Pot
Find a pot at least 8-10 inches in diameter with holes at the bottom where water can drain. While you won’t be watering the Camellia that often, holes help to prevent root rot in case you accidentally water too much at once. It also helps the soil breathe a little easier.
Pour in a mixture of coarse sand, potting soil, peat moss, and perlite in the bottom of the pot and shake it to balance out the top.
You want the soil to be as even as possible on the top to make growing easier. Leave at least a few inches from the top of soil to give more room to grow.
Step Three: Plant and Water Your Cuttings
Place your Camellia cuttings in the pot’s soil, planting them deep enough to stop the stems from moving or shaking. They should be at least 2-3 inches apart to have room to grow properly. Make sure to position the leaves up to give them plenty of chance to catch sunlight.
Now, you can water your cuttings until at least the top eighth-inch is no longer dry. That first watering will give your plant a quick growth burst you may notice in a few days. Only water your plant when the soil is dry and water no more than once a week after it starts to mature a bit more.
Step Four: Place Them Near Sunlight
Put your Camellia near sunlight to give it plenty of energy to grow and mature as you water it regularly. The cuttings should be placed in slight shade and not in direct sunlight to ensure that they don’t get burned. Placing them on the north or south side of a house can help with this process.
If you notice signs of burning, move the plants from their current location and throw away any that seem excessively damaged. Plants can recover from minor UV burns but can become excessively damaged if you don’t keep them out of direct sunlight.
Step Five: Transplant Them Later
It should take about two months for your Camellia to develop roots big enough to transplant them in a permanent location. You can carefully remove the root bulb from the soil and place each of your Camellias in a separate pot for more room or plant them outside if necessary.
However, the Camellia often does best in a greenhouse because you can easily control its temperature and UV exposure and avoid damaging them. Make sure to check regularly for aphids and spider mites and treat them, as needed, to keep your Camellias healthy.
Related Articles: