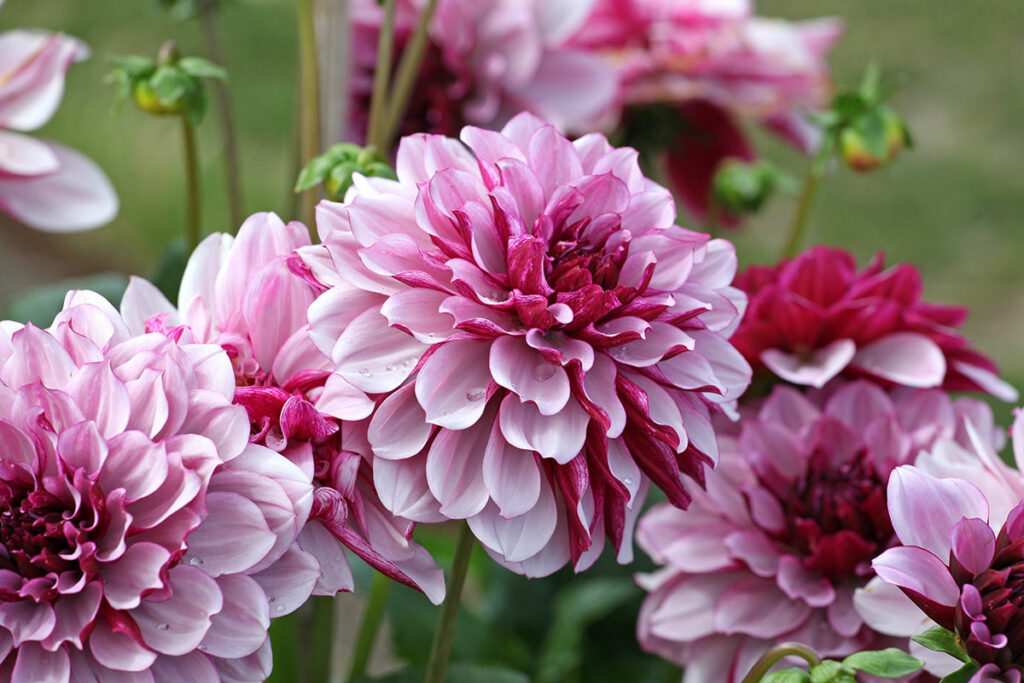
Dahlias are stunning flowers that bring vibrant color to gardens. As autumn approaches, many gardeners wonder how to protect these beautiful blooms for the next growing season.
To overwinter dahlias, dig up the tubers after the first frost, clean them, and store in a cool, dry place until spring. This process helps preserve the plants and ensures you’ll have gorgeous flowers year after year.
Properly overwintering your dahlias can save you money and allow you to expand your collection. With a few simple steps, you can master this technique and enjoy an abundance of dahlias in your garden for years to come.
Understanding Dahlias
Dahlias are versatile and vibrant flowers that can transform your garden. These tuberous plants offer a wide array of colors, shapes, and sizes to suit various landscaping needs.
Dahlia Varieties
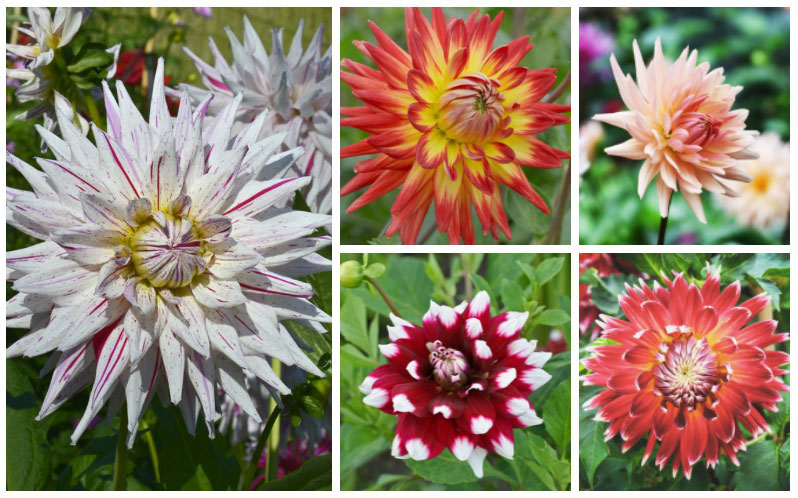
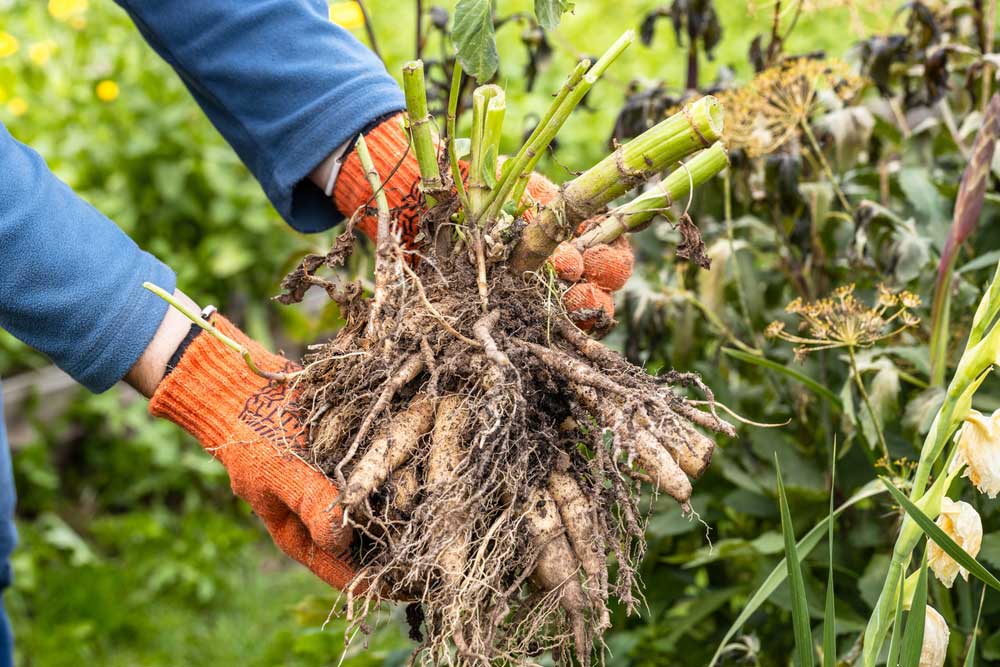
Dahlias come in an impressive range of varieties. You’ll find single-flowered types with open centers and decorative dahlias with fully double blooms. Cactus dahlias feature spiky petals, while ball dahlias boast perfectly round shapes.
Sizes vary dramatically too. Miniature dahlias grow only 12 inches tall, while giant varieties can reach heights of 6 feet or more. Some popular dahlia types include:
- Dinner plate dahlias (up to 10 inches across)
- Pompom dahlias (small, tight balls)
- Collarette dahlias (single flowers with an extra ring of petals)
Growth Cycle and Characteristics
Dahlias are tender perennials that thrive in full sun and well-drained soil. They typically begin growing in spring and flower from midsummer until the first frost.
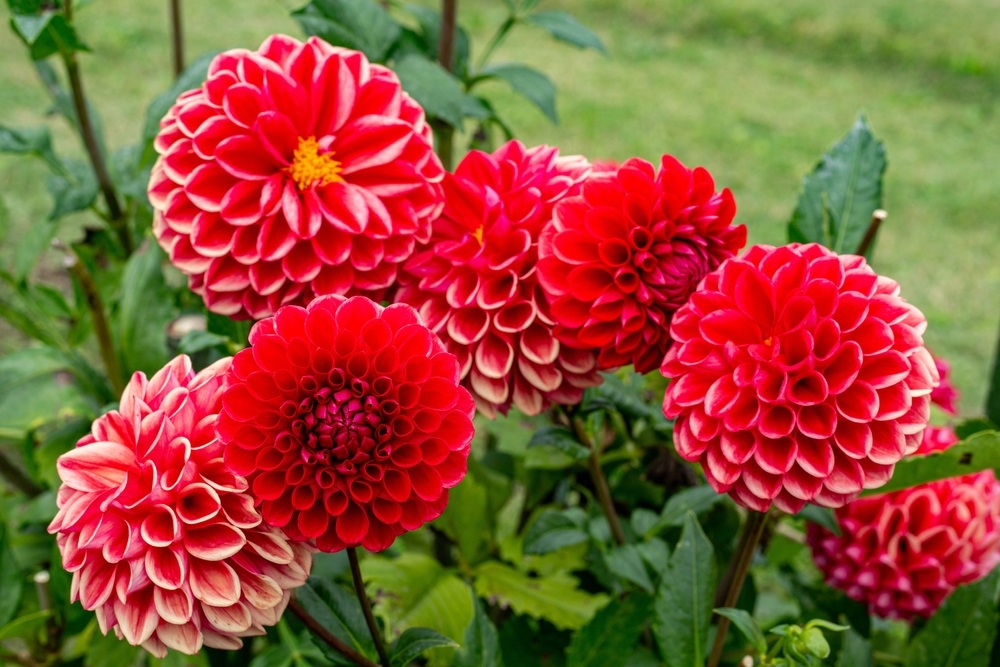
These plants develop from tubers, which store energy for the next growing season. As dahlias grow, they form clumps of stems with dark green leaves.
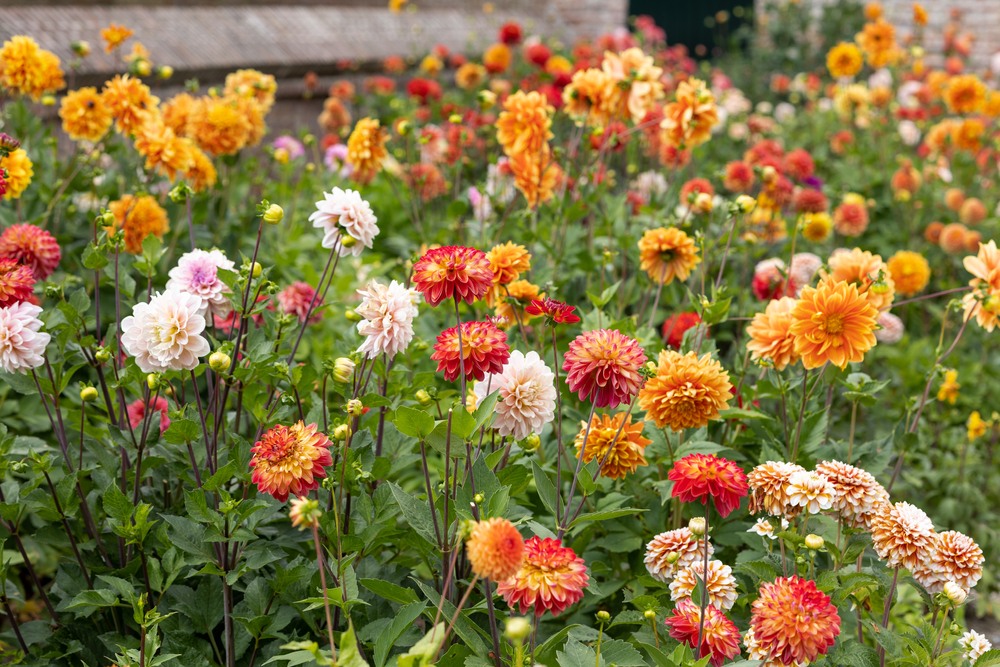
Dahlia flowers bloom in nearly every color except true blue. Many varieties feature bi-color or multi-color petals. The blooms make excellent cut flowers, often lasting a week or more in vases.
Dahlias attract pollinators like bees and butterflies to your garden. With proper care, a single plant can produce dozens of flowers throughout the season.
Prepping Dahlias for Overwintering
Proper preparation is crucial for successfully overwintering your dahlias. Taking the right steps at the right time will ensure your tubers survive the cold months and thrive next season.
When to Dig Up Tubers
Wait for the first frost to blacken your dahlia foliage before digging up the tubers. This usually occurs in late fall, typically after temperatures drop below 32°F (0°C).
Don’t wait too long after the first frost, as freezing soil can damage the tubers. Aim to dig them up within a week of the foliage blackening.
In warmer climates (USDA zones 8-11), you might be able to leave dahlias in the ground over winter. Add a thick layer of mulch for protection if you choose this option.
Proper Lifting Techniques
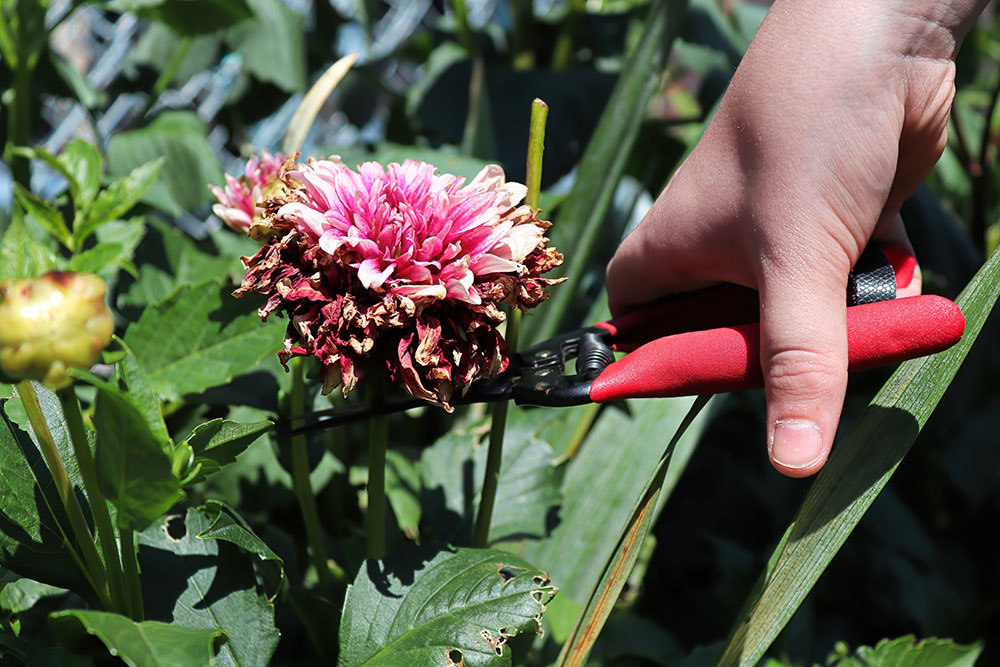
Start by cutting the stalks down to about 6 inches above the soil. Use clean, sharp pruning shears to avoid damaging the plant.
Carefully dig around the plant with a garden fork or spade, keeping at least 12 inches away from the stem. Gently lift the entire clump of tubers from the ground.
Be extra cautious not to pierce or break the tubers as you dig. If you encounter resistance, widen your digging area rather than forcing the clump out.
Cleaning and Dividing Tubers
Shake off excess soil from the tubers. Rinse them gently with a hose to remove remaining dirt. Be careful not to damage the delicate skin of the tubers.
Allow the cleaned tubers to air dry for a few hours. Inspect them for any signs of damage or disease. Remove and discard any soft or rotting parts.
You can divide large clumps now or wait until spring. If dividing, ensure each section has at least one eye (growth bud) and a portion of the old stem attached.
Dust the cut surfaces with fungicide powder to prevent rot during storage. Allow the powder to dry completely before packing the tubers away for winter.
Storing Dahlia Tubers
Proper storage is crucial for keeping dahlia tubers healthy during winter. The right conditions will ensure your tubers remain viable for replanting next spring.
Temperature and Humidity Control
Store dahlia tubers in a cool, dark place with temperatures between 40-50°F (4-10°C). A basement or garage often works well. Avoid areas that freeze, as this can damage the tubers.
Maintain humidity levels around 80-85%. If the air is too dry, your tubers may shrivel. Too much moisture can lead to rot.
Consider using a humidifier or dehumidifier to achieve the right balance. Regularly check the storage area to ensure conditions remain stable throughout winter.
Container Options
Choose breathable containers for storing your dahlia tubers. Cardboard boxes, paper bags, or plastic crates with ventilation holes are excellent options.
Line containers with newspaper or peat moss to absorb excess moisture. This helps prevent rot and fungal growth.
Label each container with the dahlia variety and color. This will make it easier to organize your garden come spring.
Avoid airtight plastic containers, as these can trap moisture and encourage mold growth.
Checking for Pests and Diseases
Inspect your tubers before storage. Look for signs of damage, rot, or pest infestation. Remove any affected parts with clean, sharp pruning shears.
Dust tubers with sulfur powder to prevent fungal growth. This natural fungicide helps keep your dahlias healthy during storage.
Check your stored tubers monthly. Remove any that show signs of rot or mold to prevent spread to healthy tubers.
Watch for pests like mites or thrips. If you spot any, isolate affected tubers and treat with an appropriate insecticide.
Replanting in Spring
When spring arrives and the risk of frost has passed, it’s time to replant your dahlias. Start by gently removing the tubers from storage and inspecting them. Discard any that show signs of rot or damage.
Choose a sunny spot in your garden with well-draining soil. Prepare the area by adding compost or well-rotted manure to enrich the soil. This will give your dahlias a nutrient boost as they start growing.
Plant the tubers about 4-6 inches deep, with the “eyes” or growing points facing upward. Space them 18-24 inches apart to allow room for growth. Water thoroughly after planting, but avoid overwatering as this can lead to rot.
You may want to add stakes or supports at this time, especially for taller varieties. This will help prevent damage from strong winds later in the season.
As the weather warms, you’ll soon see new growth emerging. Keep the soil consistently moist but not waterlogged. Once the plants are established, mulch around them to retain moisture and suppress weeds.

