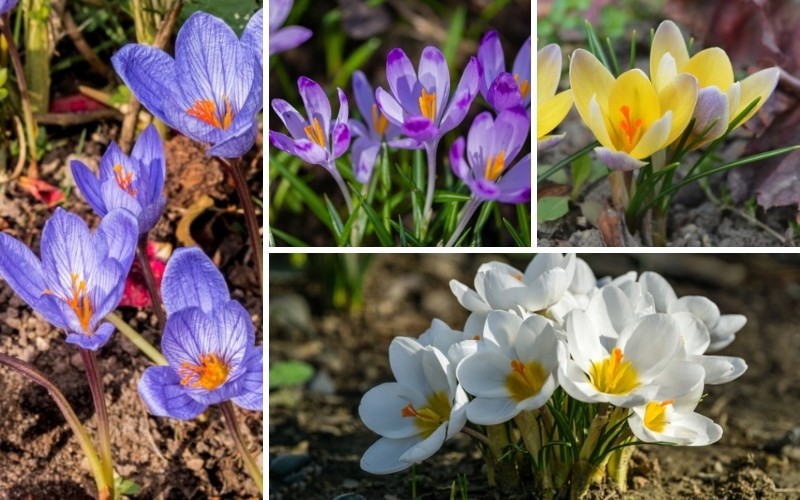
Crocuses are delightful little flowers that appear in the spring as soon as the ground has thawed. They often emerge through patches of snow creating an explosion of color in the early spring before other flowers begin to bloom.
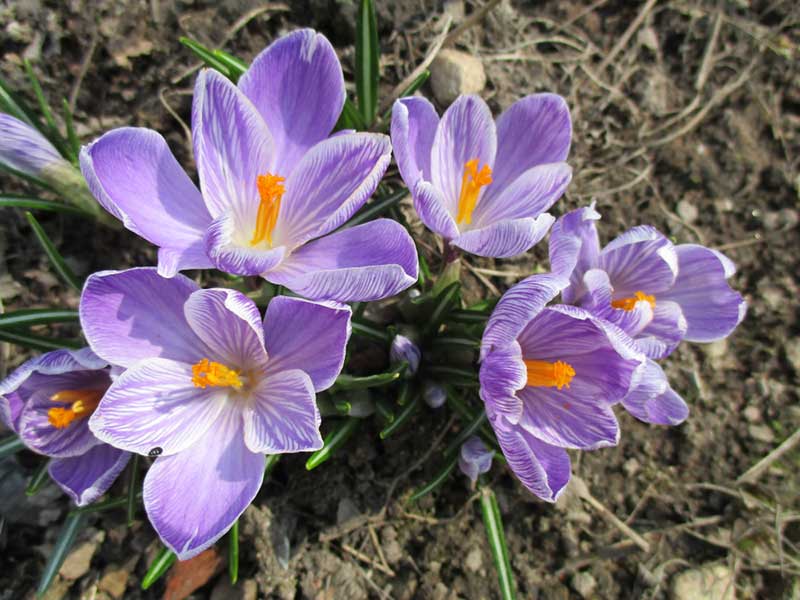
They attract bees providing them with nectar and pollen to start the season. These spring flowers bloom in a wide range of colors from pure white with yellow centers to shades of blue, purple, yellow and orange with several striped varieties.
Crocuses bring the spring garden to life announcing the arrival of spring. Most crocus are hardy in USDA plant hardiness zones 3 through 8 with a few being hardy to zone 9.
Light and Temperature Requirements
Crocuses prefer full sun to partial shade but don’t be fooled into thinking you need to choose the sunniest place in the garden for these beauties. Because they bloom early before trees have leafed out for the season, crocus can be tucked under deciduous trees in areas that may receive dense shade in the summer.
Crocuses can withstand temperatures to -25 degrees Fahrenheit, making them hardy in cool climates. In fact, the bulbs (technically called corms) require cold temperatures in the winter in order to bloom in the spring. Crocuses will not rebloom if planted in zones 9 through 11.
Watering
Crocuses typically bloom in the early spring when the soil is still moist from winter snow and ice. They do not require supplemental watering at this time. After blooming, they may benefit from occasional watering if your area does not receive adequate rainfall but bear in mind that the corms are dormant and don’t need a lot of water to sustain them. Crocuses prefer slightly dry soil and will suffer if the soil becomes soggy.
Soil & Fertilizing
Crocuses prefer sandy, well-drained soil with moderate amounts of organic matter, but will grow in nearly any soil as long as it drains well.
Fertilizing crocus in the fall with bone meal or bulb fertilizer will provide the corms with the nutrients they need to form healthy blooms in the spring. If you missed the opportunity to fertilize them in the fall, a light application at blooming time may help promote brighter blooms. Otherwise, wait until blooming has ceased and apply fertilizer to encourage the corms to store energy for the following year’s blooms.
Propagation
Crocuses reproduce via underground corms that get bigger as they age. They also produce smaller offsets called bulbils around the base of the corm. These can be separated from the main corm and planted to start new crocus plants.
Dividing Crocuses
Crocuses naturalize beautifully in the garden returning with larger blooms in bigger clumps each year, but they can become too densely grown if left to their own devices. When your crocuses have overgrown their area, or the flowers seem to be getting smaller and less showy, it is time to lift the corms and separate them.
- Wait until approximately 8 weeks before the expected hard frost in your area before dividing your crocus. This assures the foliage has died back and the bulb is dormant.
- Use a garden spade to dig up the bulbs, using care to dig deep enough to avoid nicking the bulbs. Lift them from the soil and shake off any excess soil.
- Divide and sort the bulbs according to size. Large bulbs will rebloom the following year, but small bulbils may take a year or two to reach blooming size.
- Plant the bulbs following the recommendations for planting crocus bulbs.
Planting Crocus Bulbs
Crocus bulbs should be planted in the fall about 8 weeks before the soil freezes. This gives the roots time to form and allows the bulb to become established and ready to grow when warm weather returns in the spring.
- Prepare a new location for your crocus flowers in an area that receives full or partial sun. Dig the soil to a depth of 8 to 10 inches and remove any rocks, sticks and other debris found in the soil.
- Rake the area smooth with a garden rake.
- Cover the area with a 2-to-3-inch layer of compost or well-rotted manure and work it into the existing soil.
- Add bone meal or bulb fertilizer following the application rate on the container and work it in well.
- Plant your crocus corms to a depth of 2 to 4 inches, spaced 3 to 4 inches apart, with the pointed end up. Small bulbils can be planted to a depth of three times the diameter of the corm and spaced an inch or two apart.
- Cover the corms with soil and firm it down gently with your hands to remove air pockets.
- Water to moisten the soil to the level of the corms and keep the area slightly moist until the ground freezes. This encourages good root formation.
Growing Crocus from Seed
Although it is technically possible to grow crocus from seeds, if you can find crocus seeds, it is not recommended as they must be grown in a hothouse or cold frame and will take several years to reach blooming size. It is much easier and more practical to start new crocus plants from corms that are readily available in garden centers and hardware stores in the fall.
Tips for Planting Crocus
- Note the bloom color and location of each type of crocus in the spring, particularly if you intend to lift and divide the bulbs in the fall. Crocus foliage dies back a few weeks after blooming. Bulbs can be difficult to locate in the fall without notes. Although you may think you will remember where each color is located, it can be difficult to remember this as well.
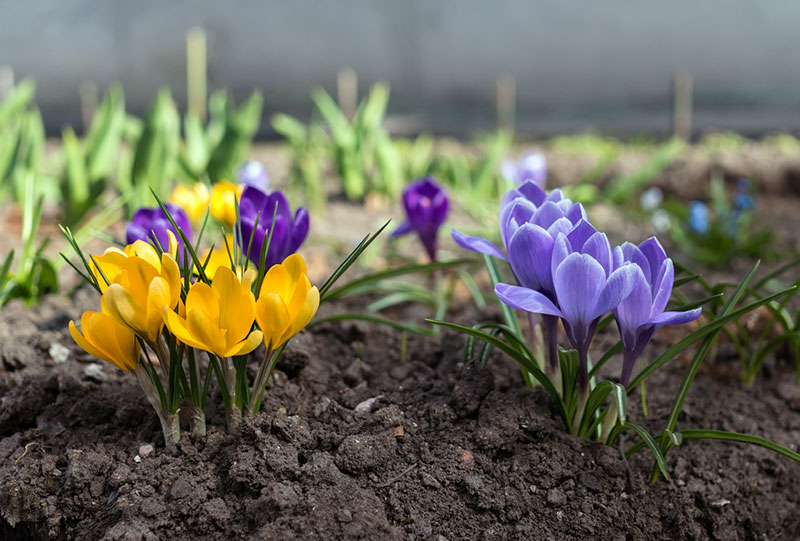
- Plant your crocus bulbs in clusters of odd numbers, such as 5 or 7, for an attractive display.
- Use the color and size of your crocus flowers as a guide to creating attractive groupings to highlight their beauty.