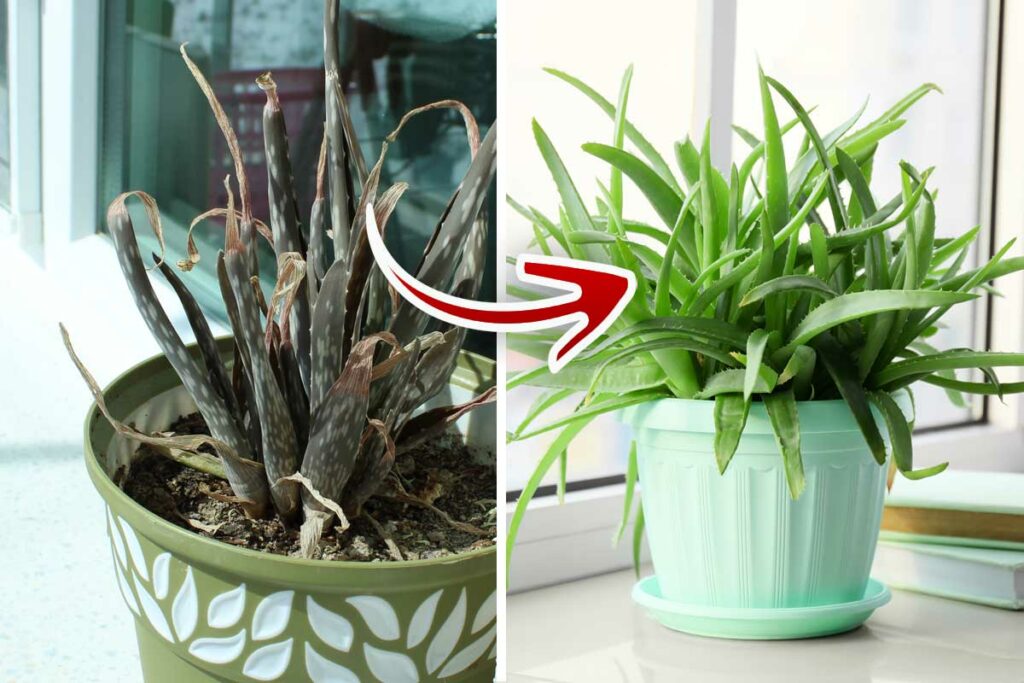
Growing an aloe vera plant is a rewarding process because it can mature to large sizes, produce a gel that is soothing to your skin, and require very little maintenance to manage. However, there comes a time when you need to cut your plant, either to remove the gel from the leaf or to trim excess leaves.
When done improperly, there’s a good chance that you could kill the plant and have to start over with a new one.
Thankfully, cutting an aloe vera plant isn’t challenging if you fully understand the steps below. Each of these steps has been carefully researched and is critical to properly trimming your plant with no challenge. Make sure that you talk to any gardening experts near you to get more help with this process. We also included a bonus step on how to squeeze trimmed leaves to get aloe vera gel.
Step One: Identify the Matured Leafs
When cutting your aloe vera plant, it is essential to remember that these plants grow slower than many other plants and do not recover as quickly from getting trimmed or cut. Too many people cut leaves indiscriminately and don’t realize how much damage they are doing to their plant.
Some people may even kill their plant by cutting it improperly. As a result, you need to pay attention to the maturity of the leaves. Gauging this factor requires you to:
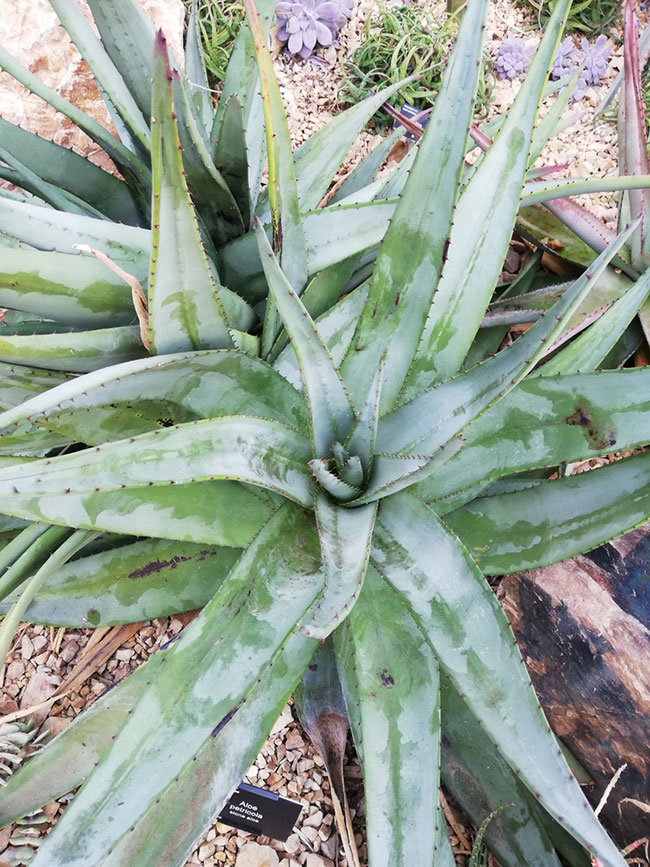
- Find the outermost leaves on the side of the plant
- Feel the density of the leaf to gauge its overall health
- Identify the largest and broadest leaves on the plant
- Choose only the largest and densest of these leaves
Once you have identified the most mature leaves, you can start planning how you want to cut them off. You should only cut the leaf if you feel comfortable using a pair of serrated scissors or a knife with serrated edges, as these blades provide the best cutting power for your overall trimming needs.
Before you do any cutting, make sure that you carefully put rubbing alcohol on the blade to sterilize it. Remember — your aloe vera plant is a living creature. And if you don’t carefully sterilize your cutting equipment, you could expose it to bacteria and other infections that could quickly kill it.
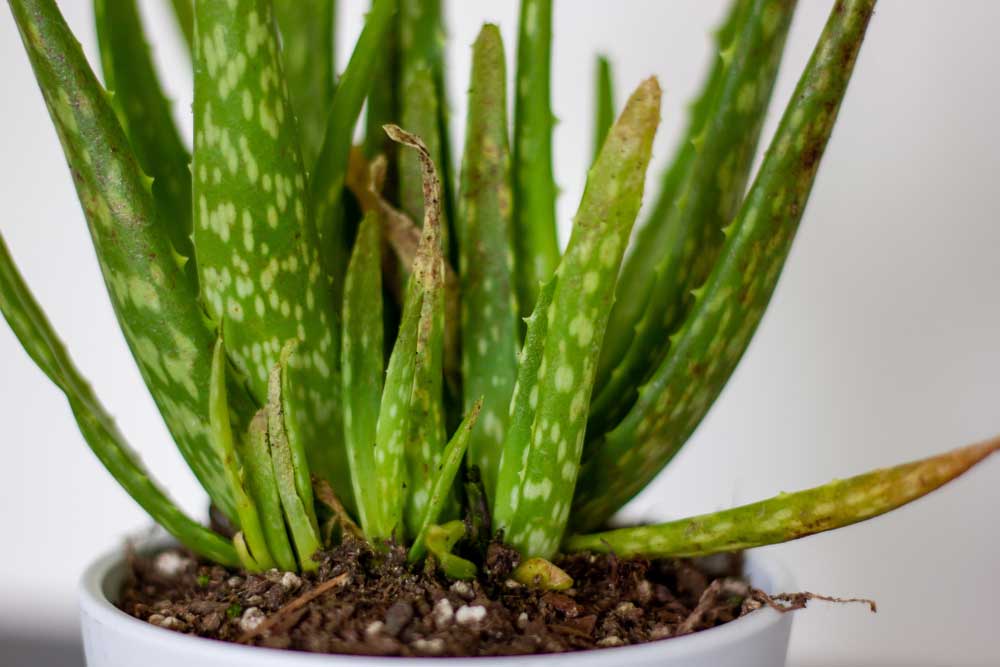
Step Two: Cut Away Obviously Damaged Leaves
Before you start cutting any healthy leaves on your aloe vera plant, you should identify any damaged leaves that should be removed first. These leaves are usually relatively easy to identify because they will have a different look, feel, and texture than healthy aloe vera leaves. Just a few symptoms and signs that your aloe vera plant leaf is suffering and should be removed include:
- A brown color that deepens in color with time
- A brittle texture that breaks apart in your hands
- A drooping appearance that worsens over time
- Pests attacking the leaf over others on your plant
- An odor of decay on the leaf
The reasons for these damaged or dying leaves can vary. Often, they get damaged due to insufficient watering or invasion of pests. On some plants, particularly aloe vera, leaves may get injured because of a high concentration of growths. This sagging occurs because the plant may not get enough water to feed its leaves.
Whatever the case, you can cut the leaves reasonably quickly by taking your serrated scissors or knife and cutting towards the leaf base. Removing this dead leaf allows another and stronger one to take its place, increasing the health of your aloe vera plant and making it more robust for years to come.
Step Three: Trim the Healthiest Leaves
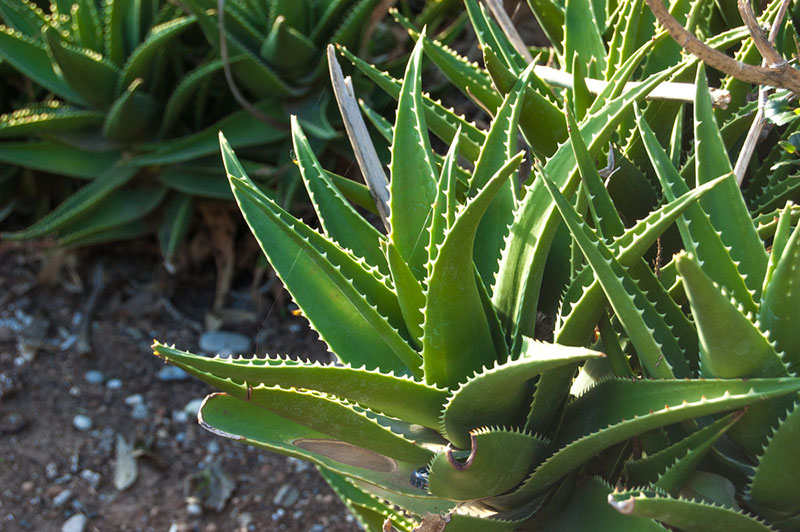
After you have carefully eliminated all the dead leaves from your aloe vera plant, you can move on to the healthy ones. Remember — you are only going to cut the mature leaves on the exterior edges of the plant. These are the largest and oldest leaves and will be rich with aloe vera gel and recover easier from being trimmed. When you cut your healthy leaves, you must:
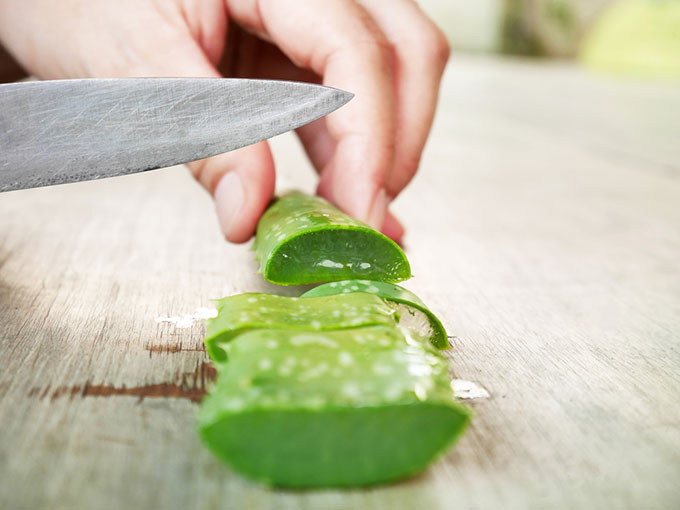
- Position your knife of scissors as near the base of the leaf as possible
- Carefully cut through the end of the leaf using slow and precise actions
- Change to a stronger cutting tool if the leaves are too thick
- Trim away any extra strands from the leaf base
- Collect the leaves for later use
Once you are finished cutting your leaves in this way, your plant should be healthier and easier to control. That’s because these extra leaves may have produced “pups” on your plant that allowed it to expand beyond its standard size and become too compact and hard to control in size.
Step Four: Squeeze the Leafs
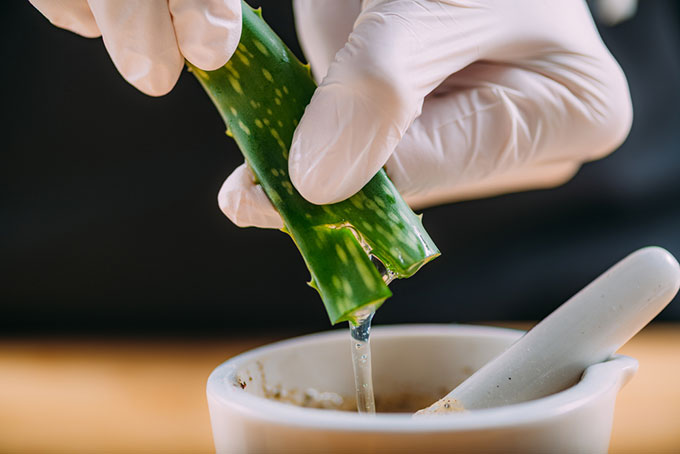
This step is only necessary if you plan on utilizing the aloe vera gel for topical purposes. Some people simply want to trim their plant to make sure that it grows properly and stays strong. However, most people who cut their aloe vera want to get the gel. It can provide a variety of various benefits, including pain relief and inflammation control. Typically, this process requires you to:
- Put on a pair of rubber gloves before you start
- Position a bowl underneath where you plan to work
- Squeeze the leaf with both hands to push the gel out
- Rub the gel off of your gloved hands and into the bowl
- Repeat the process with each leaf to get gel
The amount of gel you get with this process will vary depending on how many leaves you squeeze. You can typically get enough to store for a short period and rub it on inflamed or painful skin areas with ease. Make sure that you use a small brush or another similar tool to spread it.