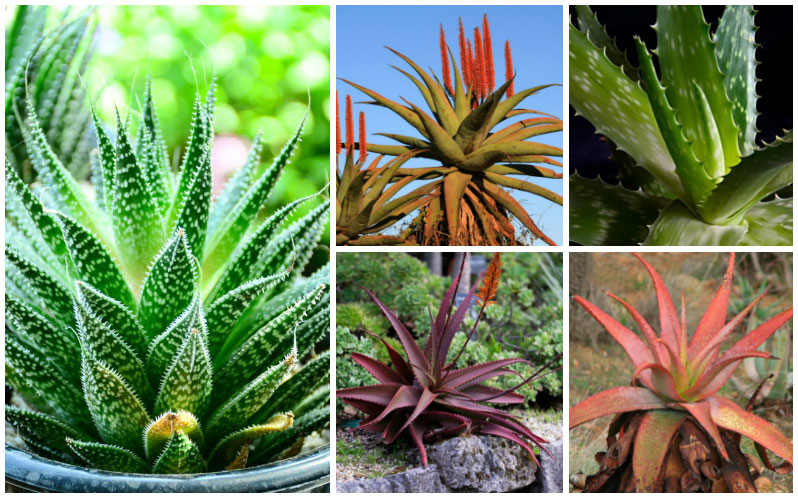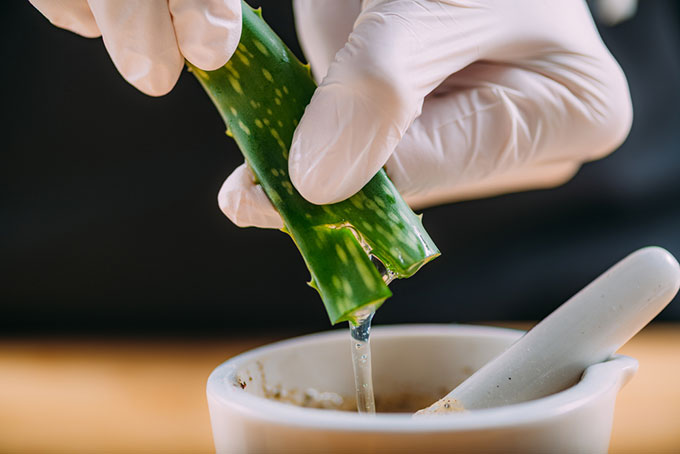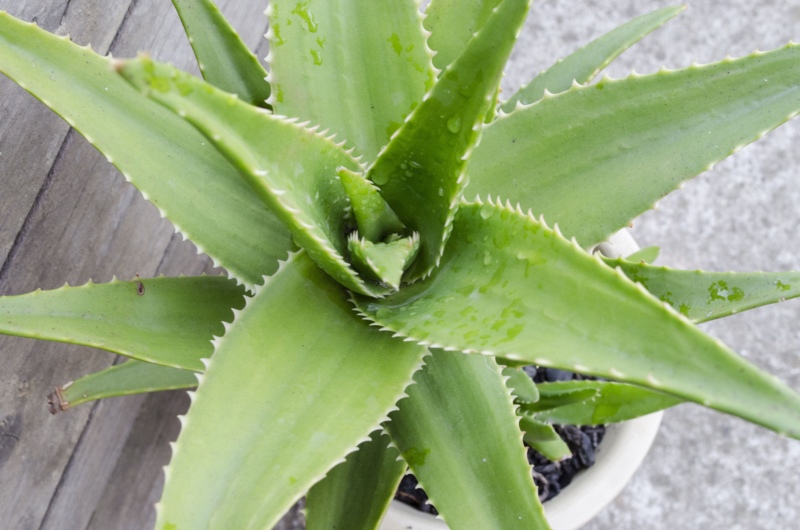
Hey there, plant lovers! Are you thinking about adding an aloe vera plant to your indoor garden?
These spiky succulents are not only beautiful, but they’re also incredibly useful. From soothing sunburns to purifying the air, aloe vera is a multi-talented plant that deserves a spot in every home.
But here’s the thing – while aloe vera is generally pretty low-maintenance, growing it in pots does require a bit of know-how.
Don’t worry, though! I’ve got you covered with these 10 tips that will help your potted aloe vera thrive. Let’s dive in!
1. Choose the Right Pot
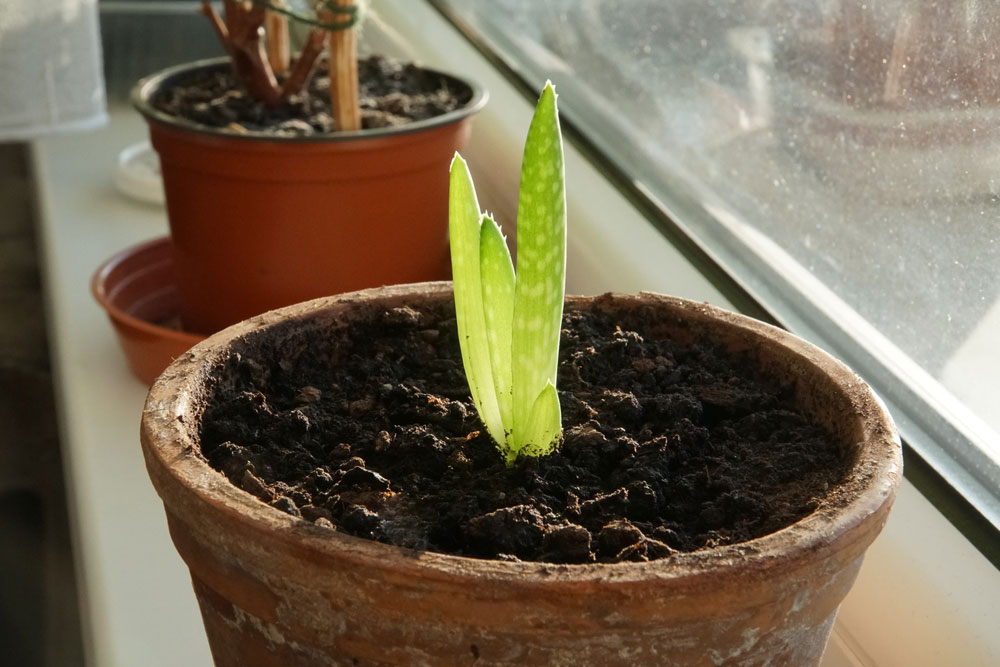
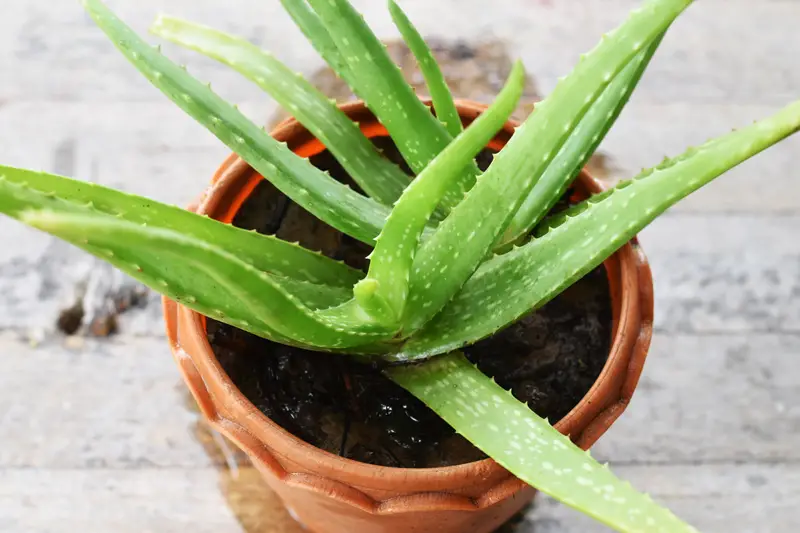
First things first – your aloe vera needs a good home. When it comes to pots, size matters! Aloe vera plants have a shallow, spreading root system, so they prefer wider pots rather than deeper ones. Look for a pot that’s about 1-2 inches wider than the base of your plant. Material is important too. Terracotta pots are ideal because they’re porous, allowing excess moisture to evaporate.
This helps prevent overwatering, which is the number one killer of aloe plants. If you live in a humid climate, terracotta is definitely the way to go.
Oh, and don’t forget drainage holes! These are absolutely crucial for preventing water from pooling at the bottom of the pot. No drainage holes? No problem – you can always drill some yourself.
2. Use Well-Draining Soil
Now that you’ve got the perfect pot, it’s time to fill it with the right soil. Remember, aloe vera is a desert plant, so it likes its soil on the sandy side. Regular potting soil is too heavy and retains too much moisture for these drought-loving plants. Instead, opt for a commercial cactus or succulent mix. These are specially formulated to provide the quick drainage that aloe vera craves. If you’re feeling adventurous, you can even make your own mix. Try combining equal parts potting soil, coarse sand, and perlite or pumice. This DIY mix will give your aloe the perfect balance of nutrients and drainage.
3. Find the Perfect Spot
Aloe vera loves the sun, but it can get sunburned just like we can! In its natural habitat, aloe often grows in the partial shade of larger plants. To mimic this, place your potted aloe in a spot that gets bright, indirect light for most of the day. A south or west-facing window is usually ideal. If you notice the leaves turning brown or looking bleached, that’s a sign of too much direct sun. On the other hand, if your aloe starts to look stretched out or “leggy,” it’s probably not getting enough light. Don’t be afraid to move your aloe around until you find its happy place. These plants are pretty adaptable and will let you know if they’re not satisfied with their lighting situation.
4. Water Wisely
Here’s where a lot of people go wrong with aloe vera – overwatering. These succulents are built for drought and can store water in their thick, fleshy leaves. This means they need much less water than your average houseplant. As a general rule, you should only water your aloe when the soil is completely dry. In most cases, this means watering every 2-3 weeks during the growing season (spring and summer) and even less frequently during the winter months.
When you do water, do it thoroughly. Water until you see it coming out of the drainage holes, then let the pot drain completely. Never let your aloe sit in standing water – that’s a recipe for root rot!
5. Feed Sparingly
Aloe vera isn’t a heavy feeder, so you don’t need to worry too much about fertilizing. In fact, over-fertilizing can do more harm than good, leading to soft, weak growth.
If you do want to give your aloe a little boost, use a balanced, water-soluble fertilizer diluted to half strength. Apply it once in the spring and once in mid-summer.
That’s all your aloe needs to stay happy and healthy!
6. Repot with Care
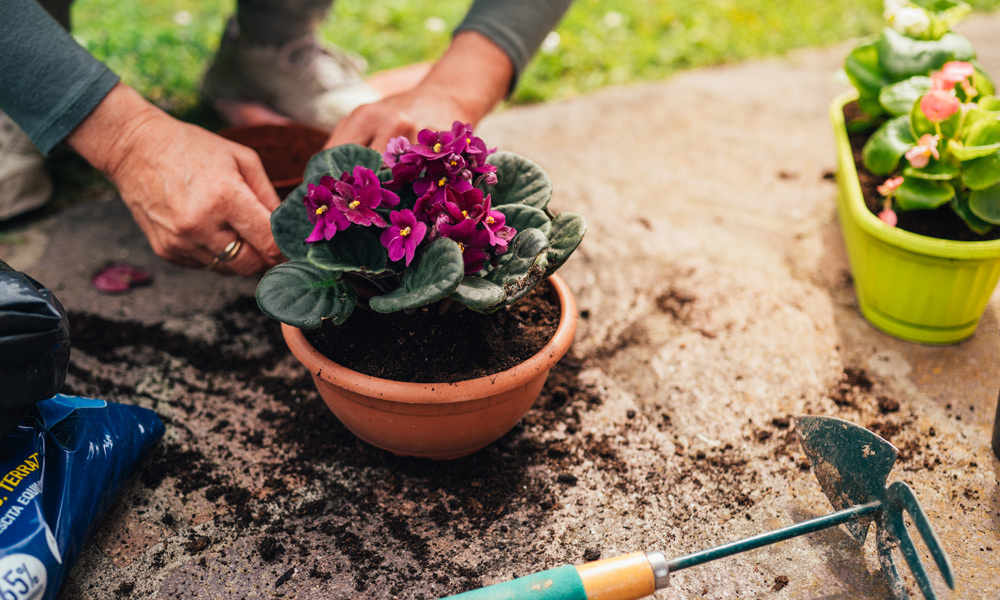
As your aloe grows, it will eventually outgrow its pot. You’ll know it’s time to repot when you see roots coming out of the drainage holes, or when the plant becomes top-heavy and starts to tip over. When repotting, choose a container that’s only slightly larger than the current one.
Remember, aloe likes to be a bit snug in its pot. Gently remove the plant from its old home, shake off excess soil, and replant it in fresh succulent mix. After repotting, wait a week before watering to allow any damaged roots to heal. This helps prevent root rot and gives your aloe the best chance of thriving in its new home.
7. Prune and Propagate
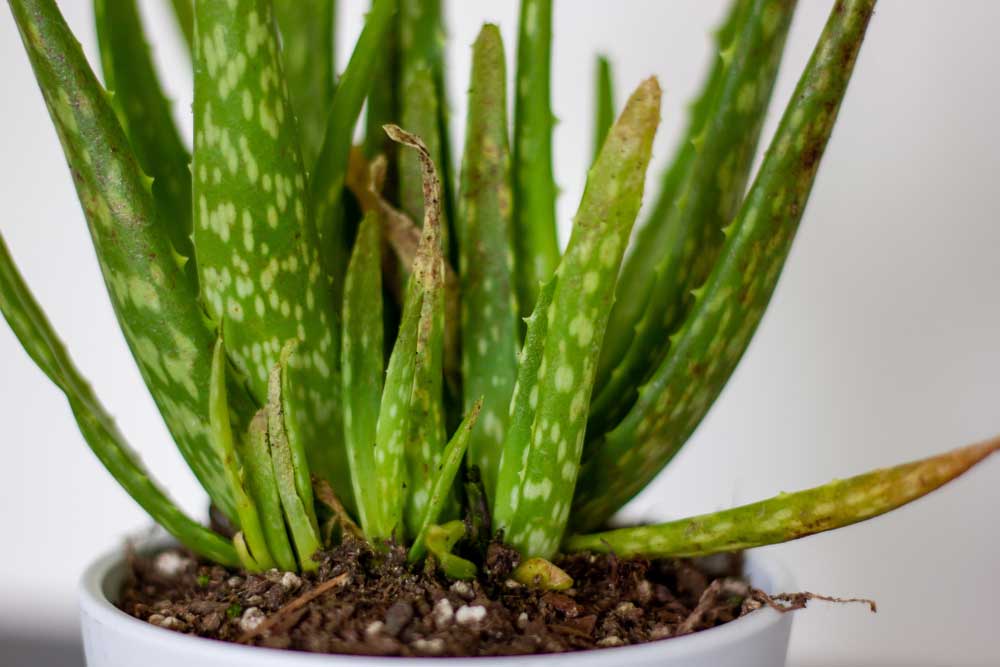
One of the great things about aloe vera is how easy it is to propagate. As your plant grows, it will produce “pups” or offsets around its base.
These can be carefully separated from the mother plant and potted up on their own. To remove a pup, wait until it’s at least a few inches tall and has developed its own root system.
Gently dig it out, taking care not to damage the roots, and pot it up in its own container. Voila! You’ve just expanded your aloe collection.
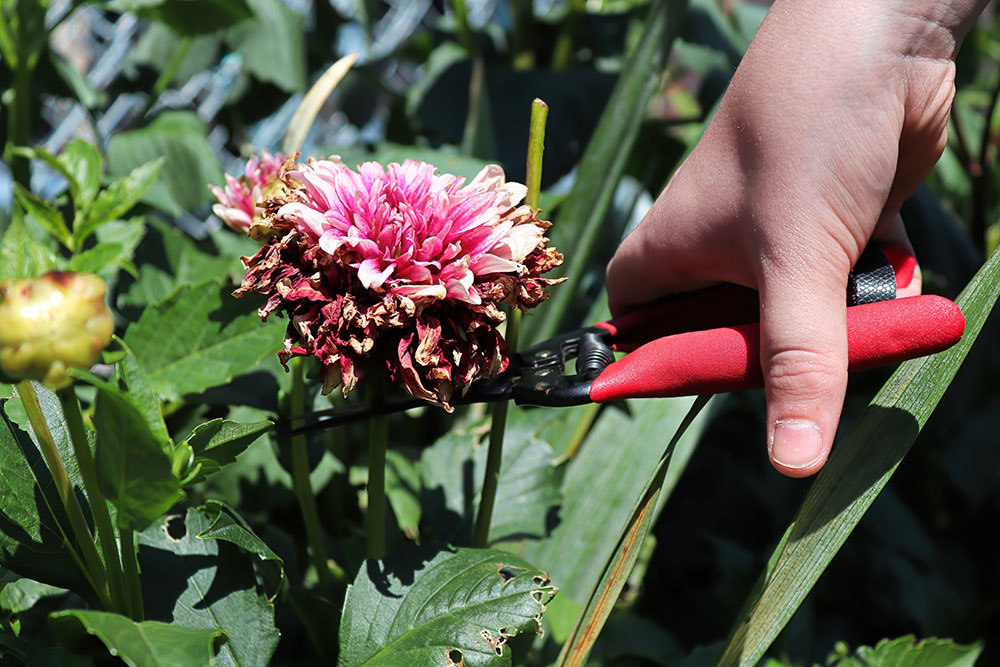
Pruning is rarely necessary for aloe vera, but if you notice any dead, damaged, or discolored leaves, feel free to remove them at the base with clean, sharp scissors.
8. Watch for Pests
While aloe vera is generally resistant to pests, it’s not completely immune. Keep an eye out for common houseplant pests like mealybugs, scale insects, and spider mites. If you spot any unwanted visitors, isolate the affected plant immediately to prevent the pests from spreading. Most infestations can be treated with insecticidal soap or neem oil. For a natural solution, try wiping the leaves with a cotton swab dipped in rubbing alcohol.
9. Provide Good Air Circulation
Like most succulents, aloe vera appreciates good air circulation. This helps prevent fungal diseases and keeps the plant healthy. If you’re growing your aloe indoors, make sure it’s not crowded by other plants or furniture. A small fan can help improve air circulation if needed. Just be careful not to place your aloe in a drafty spot – while they like fresh air, they’re not fans of cold drafts.
10. Be Patient and Observant
Last but not least, remember that growing any plant is a learning process. Every aloe vera plant is unique, and what works for one might not work for another. The key is to be patient and observant. Pay attention to how your aloe responds to different care routines.
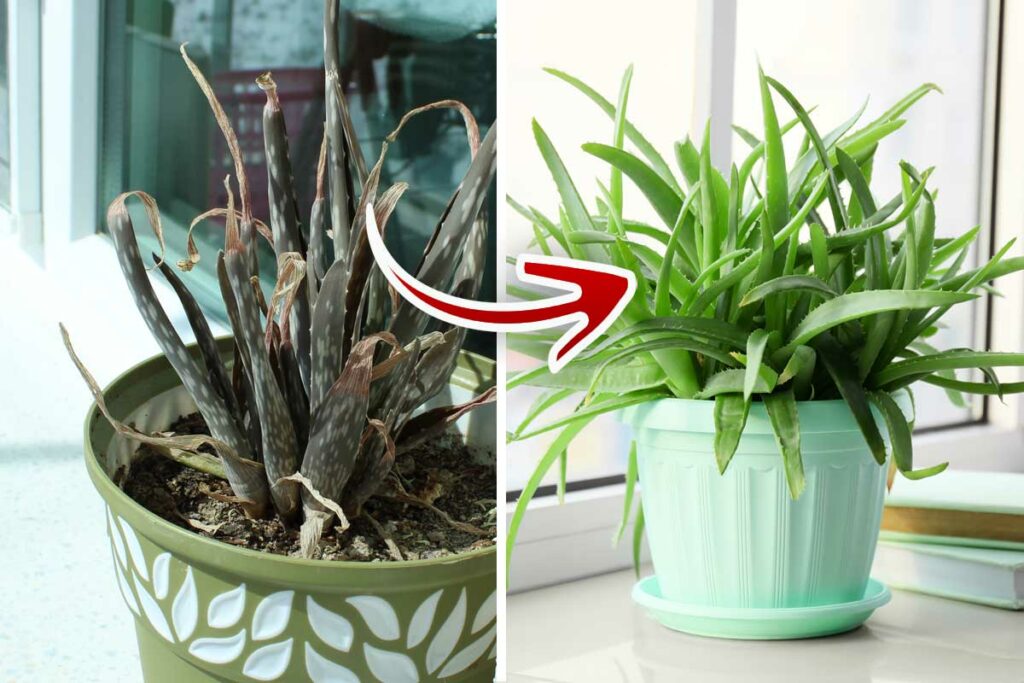
Are the leaves plump and upright? That’s a happy aloe! Are they thin and curling? Your plant might need more water. By tuning into your plant’s needs, you’ll become an aloe vera expert in no time.
Growing aloe vera in pots can be a rewarding experience. Not only will you have a beautiful, low-maintenance plant to admire, but you’ll also have a natural first-aid kit right at your fingertips. With these tips in mind, you’re well on your way to becoming an aloe vera whisperer. Remember, the most important ingredients for success are patience, attention, and a little bit of love. Happy growing, plant friends!

