African violets are cherished for their lush foliage and vibrant blooms, and mastering the art of propagation allows you to expand your collection or share these beloved plants with friends and fellow enthusiasts.
Propagation is a practical skill, providing a cost-effective and rewarding way to create new plants from your existing specimens.
You can achieve successful propagation through several methods, each tailored to the specific needs and conditions of African violets.
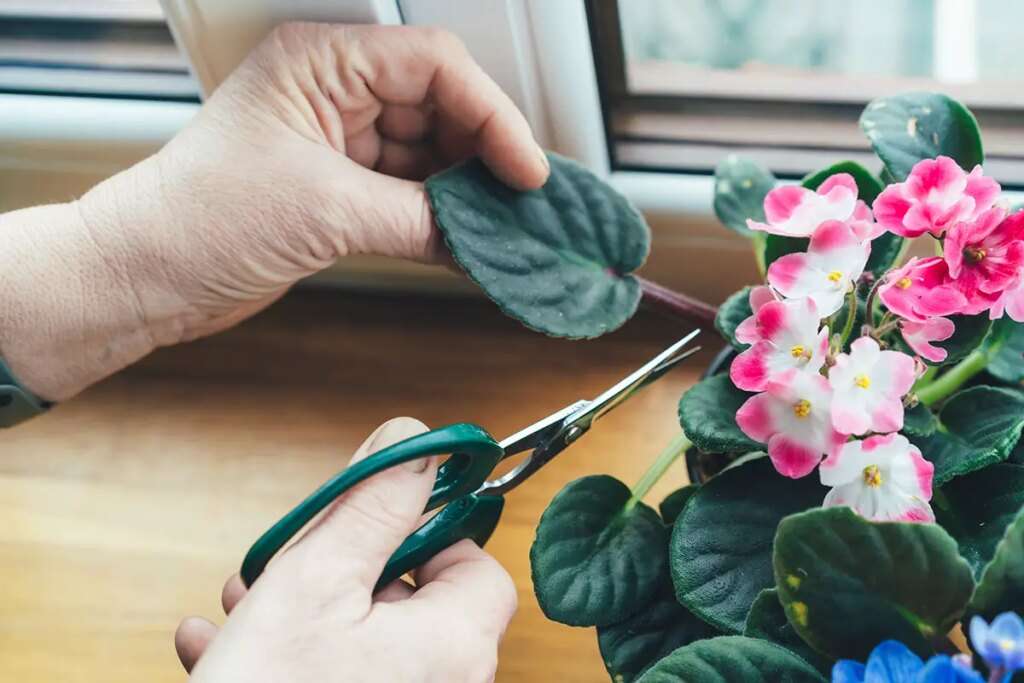
Leaf cuttings, division, and tissue culture are three reliable methods of propagation for these plants. Leaf cuttings are straightforward and accessible, well-suited for beginners. This method involves removing a healthy leaf, along with its petiole (the leaf stem), and inserting it into a growing medium to encourage root development.
Division requires a mature plant that can be carefully separated into multiple sections, each with its roots and leaves, to form new individual plants.
Tissue culture, meanwhile, is a more advanced technique that involves growing plant cells in a sterile environment, yet it offers the possibility of producing a large number of plants quickly once you are equipped with the necessary skills and supplies.
Propagating Through Leaf Cuttings
Propagating African Violets through leaf cuttings is an efficient and rewarding method. Each leaf has the potential to create a new plant, and the following subsections detail three reliable techniques.
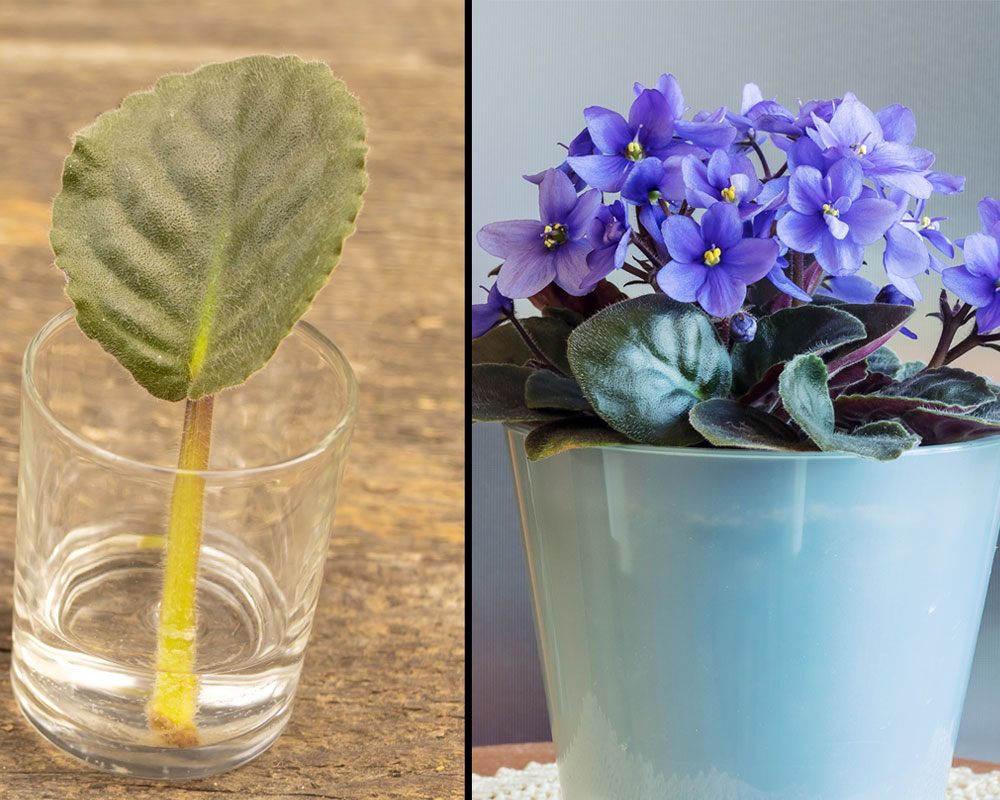
1. Water Propagation
To start with water propagation, follow these steps:
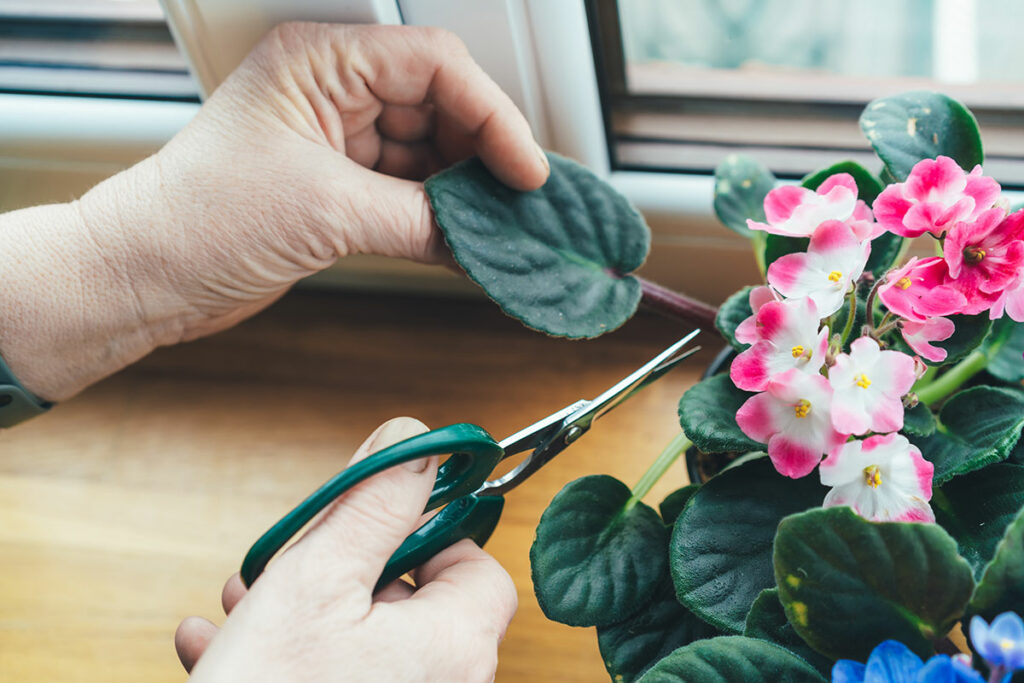
- Select a Healthy Leaf: Choose a mature, blemish-free leaf.
- Cut the Leaf Stem: Use a sterile, sharp blade to cut the leaf stem at a 45-degree angle, about 1-1.5 inches from the leaf base.
- Prepare the Water Container:
- Fill a small container with room-temperature water.
- Cover it with clear plastic wrap.
- Ensure the leaf stem is submerged by poking a hole in the plastic and inserting the stem through it.
- Monitor the Rooting Process: Place the container in indirect light and change the water weekly. Roots should appear in about 4 weeks.
2. Soil Propagation
For soil propagation, use these instructions:
- Prepare the Leaf: Select a healthy leaf and cut its stem at a 45-degree angle.
- Choose the Right Soil: Mix a light, airy potting mix suitable for African Violets.
- Plant the Leaf Stem: Insert the cut end into the soil, covering about half an inch of the stem.
- Maintain Proper Conditions: Keep the soil consistently moist but not waterlogged, and place the pot in indirect light.
3. Pup Propagation
Pup propagation involves these steps:
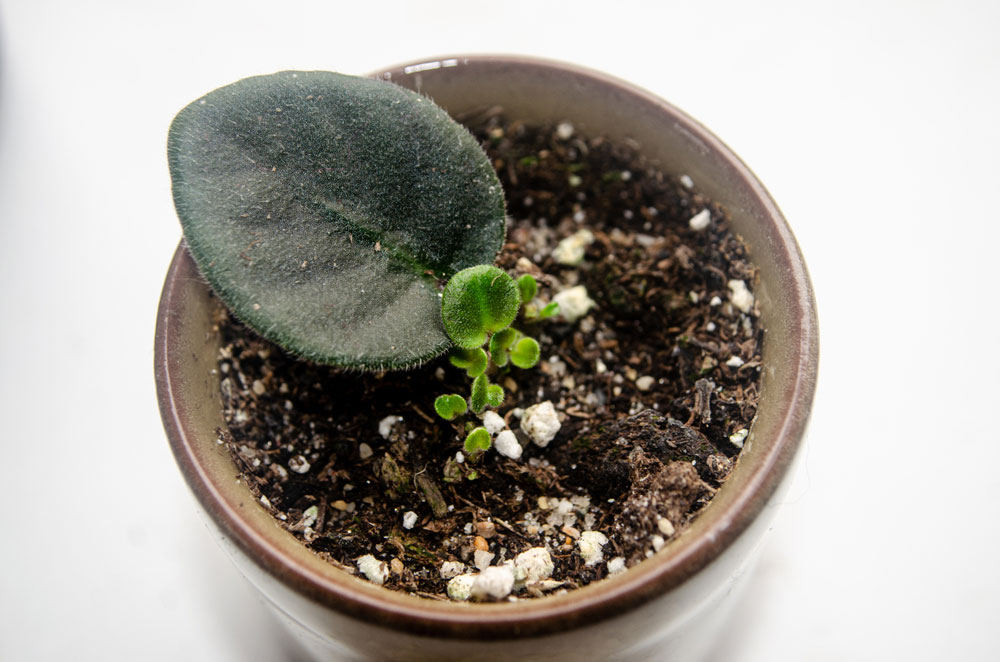
- Identify Pups: Look for small shoots (pups) forming at the base of a mature leaf cutting during soil or water propagation.
- Separate the Pups: Once they have a few leaves of their own and are about an inch in size, gently separate them from the mother leaf.
- Pot Up the Pups: Place each pup in its own container filled with African Violet potting mix.
- Care for the Young Plants: Water the pups sparingly to encourage root growth and keep them in bright, indirect light.
Caring for New African Violet Plants
Once your African Violets have rooted, establishing them in soil is the next crucial step.
Transitioning to Soil
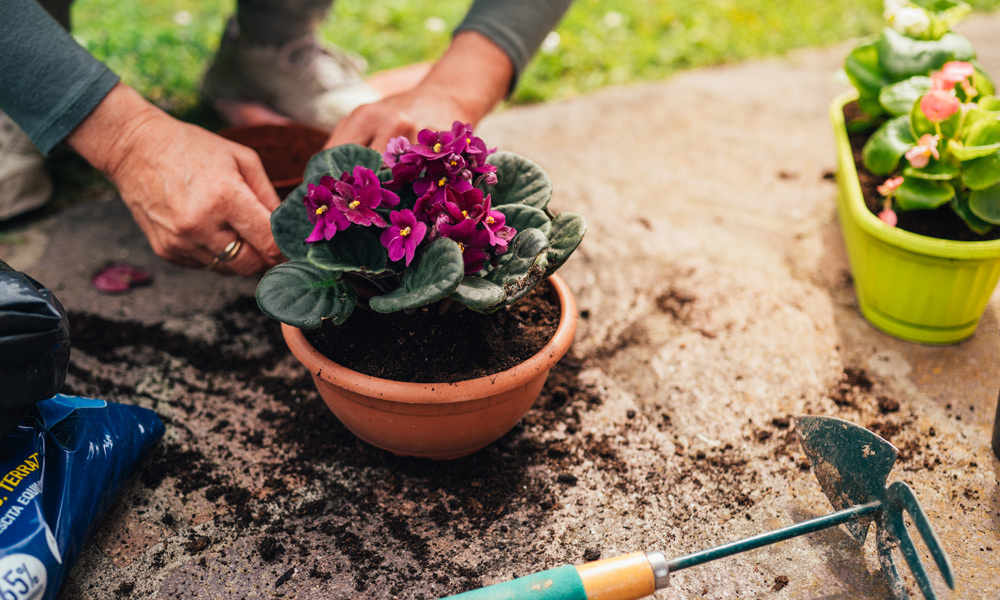
When your African Violet cuttings have established roots, it’s time to move them into soil. Use a light, porous mix specifically designed for African Violets, ensuring good drainage and aeration.
Pot Selection: Choose a small pot, about one-third the diameter of the leaf span, to prevent overwatering.
Soil Preparation: Fill the pot with pre-moistened soil to avoid air pockets, leaving space to place the rooted cutting.
- Planting: Insert the cutting into the soil gently, securing it in an upright position. The roots should be adequately covered, but the leaves should remain above the soil.
- Initial Watering: Water the plant from below to encourage strong root growth and prevent water from settling on the leaves, which can cause rot.
Location: Place your newly potted African Violet in indirect light where it can receive ample but diffuse natural light. Avoid direct sunlight to prevent leaf burn.
Humidity: Maintain a humidity level around 50-60%, either by using a humidity tray or placing a humidifier nearby.
Temperature: Keep the temperature consistent, between 70-80°F (21-27°C), to support growth.
Feeding: Begin fertilizing only after new growth appears. Use a balanced, water-soluble fertilizer at one-quarter strength, applied every 4-6 weeks.
Monitoring: Check the soil moisture regularly. The top inch should feel dry before watering again. Keep an eye out for signs of distress, s

