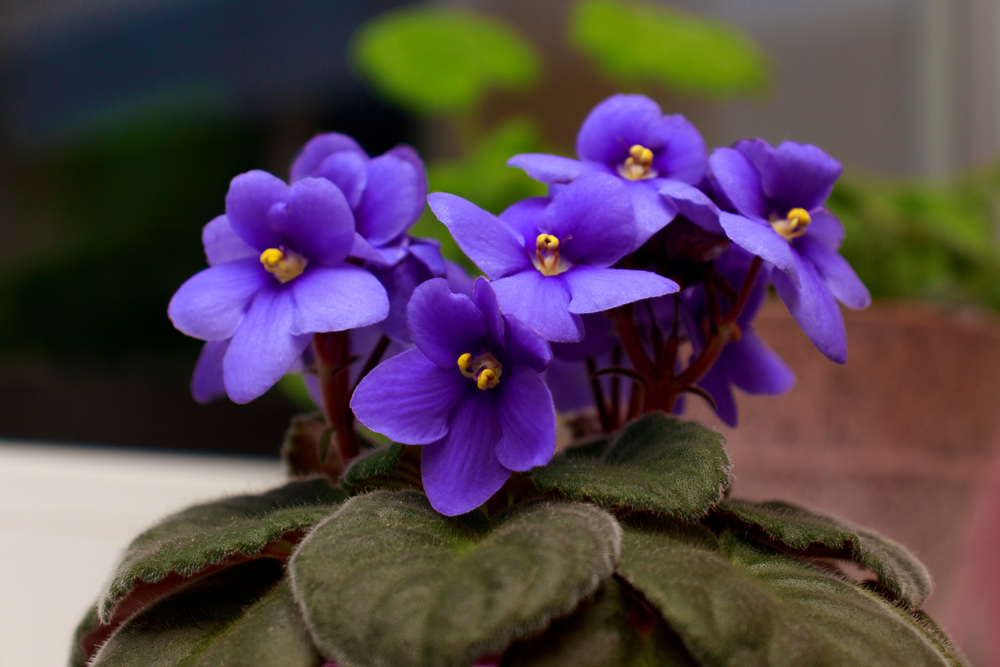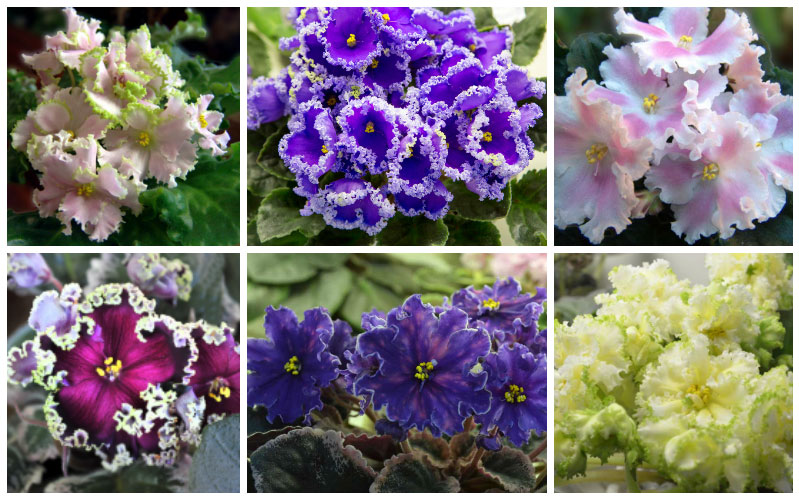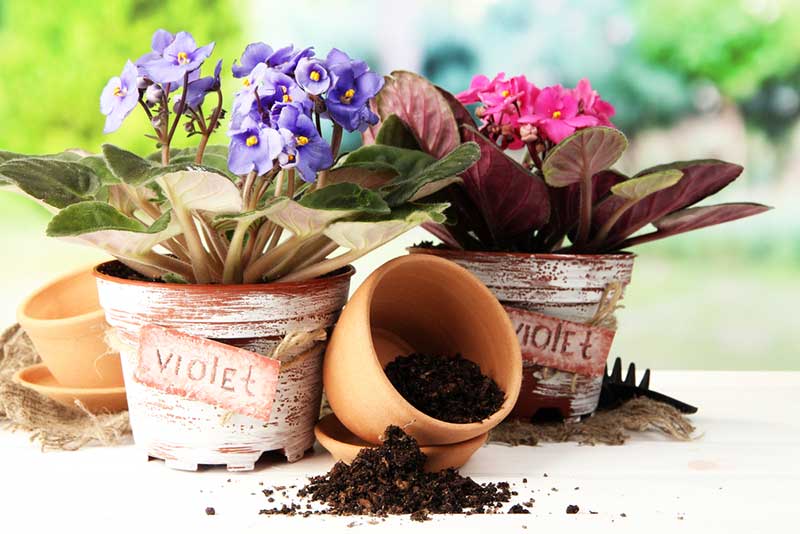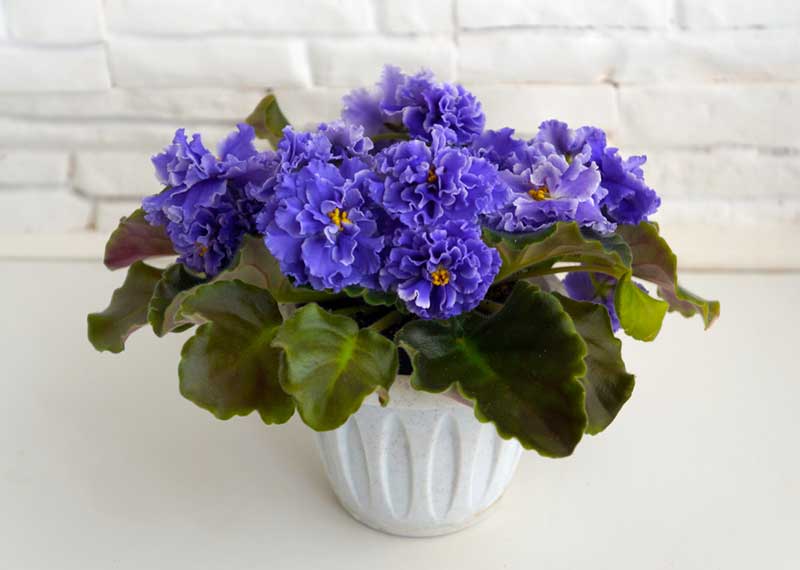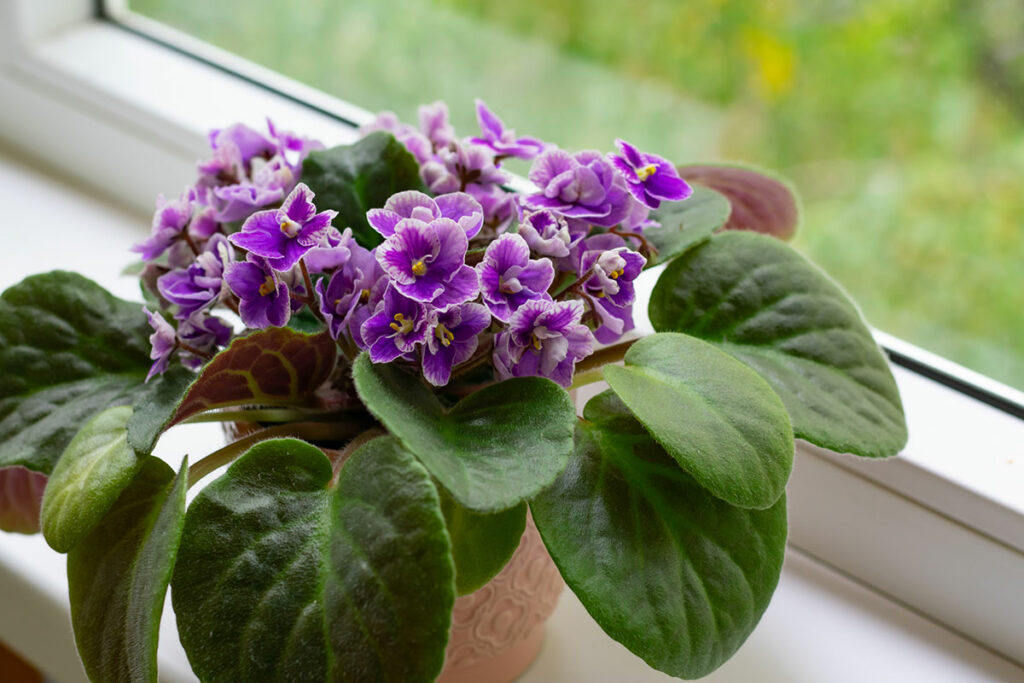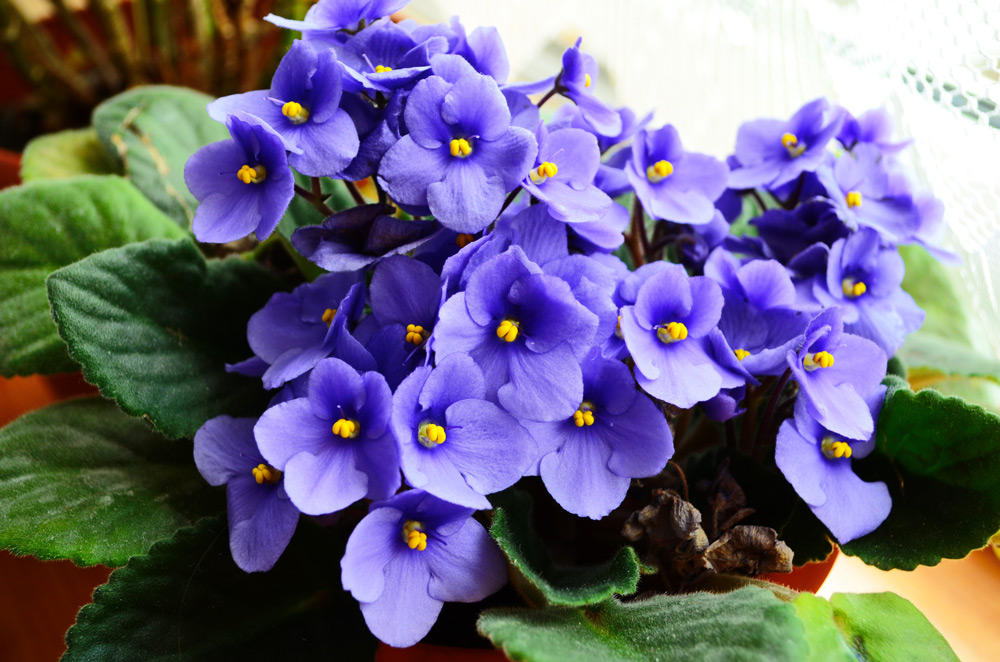
One of the most highly enjoyable houseplants out there today is the African violet. While it is a small plant, it is filled with such great beauty.
Many gardeners enjoy having them around to keep them excited for warmer weather.
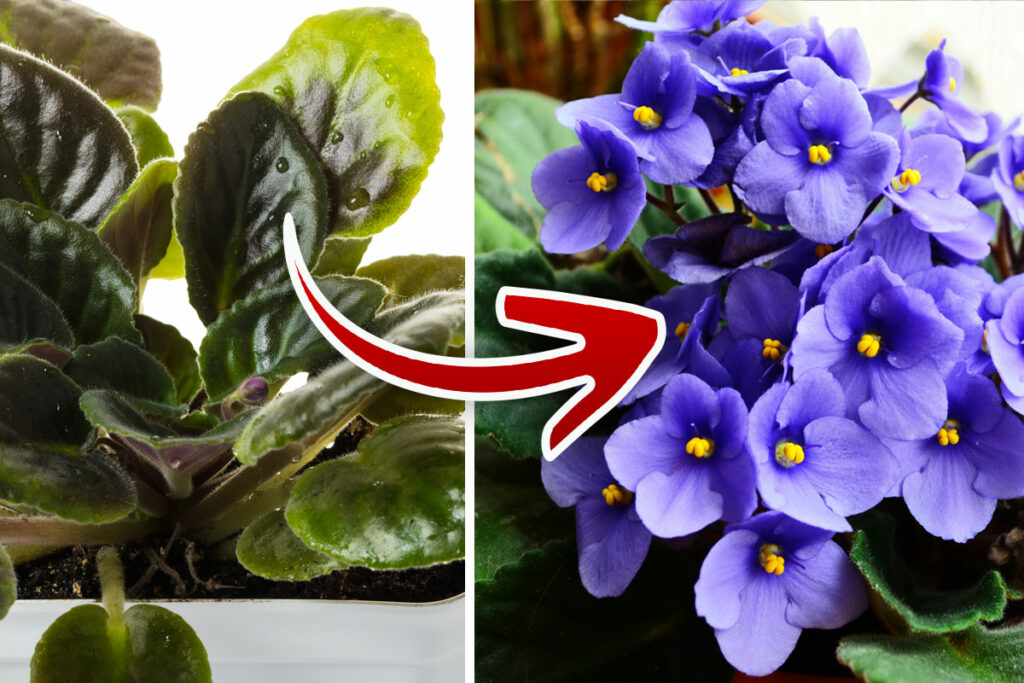
If you are a beginner gardener, learning how to propagate them may sound frightening, but it is actually a simple task.
This guide will provide you with some simple steps to properly grow African violets from cuttings.
Steps to Growing African Violets From Cuttings
Before we discuss the steps to properly propagate African violets from cuttings, let’s start with a few of the supplies you’ll need to make this project a successful one.
You’ll only need a few items for this project including:
- Rooting medium
- Rooting hormone
- A host plant to harvest leaves from
- Either your fingertips, a sharp knife, or pair of pruners
- A bowl to mix the soil
- Some plastic 2-inch potters
- Plastic plant tags
- A clear plastic clam-shell container
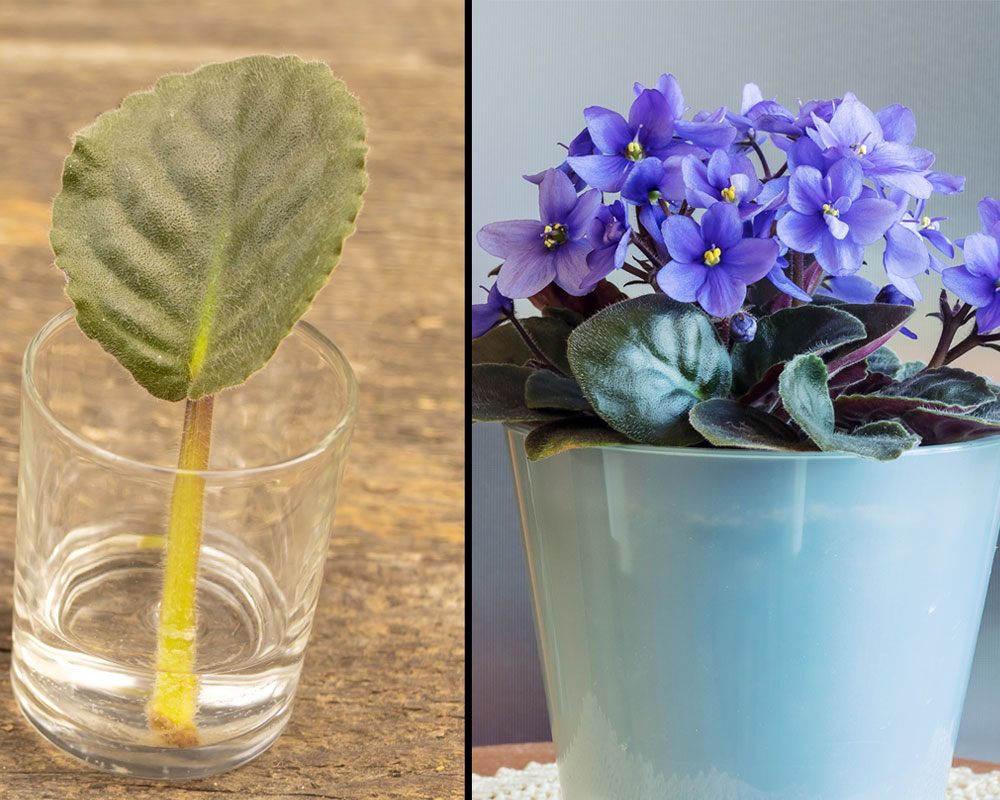
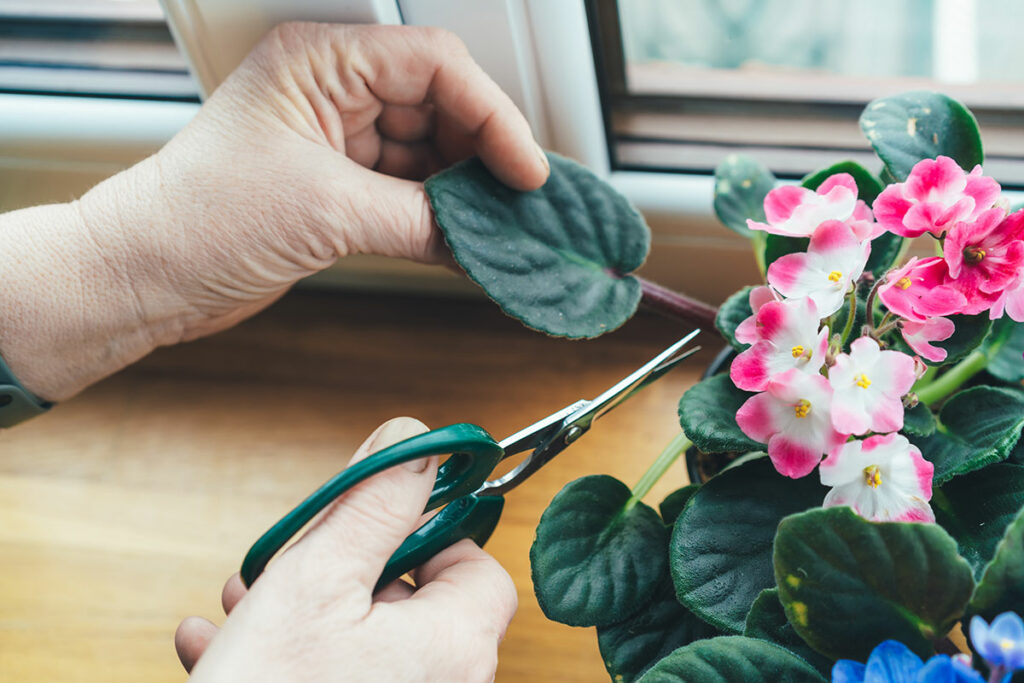
Step 1: Pick a Leaf
It is important that you choose a leaf that appears healthy, yet is fully grown. Make sure that the leaf you choose is not stiff and old. Don’t detach the petiole from the leaf. Additionally, you can use a sharp razor to cut the top of the leaf blade. While this is optional, it will help stimulate the growth of roots.
Step 2: Trim Leaf Petiole
For best results, trim the stem to at least ½ inches. Always cut at a 45-degree angle to stimulate plant and root growth.
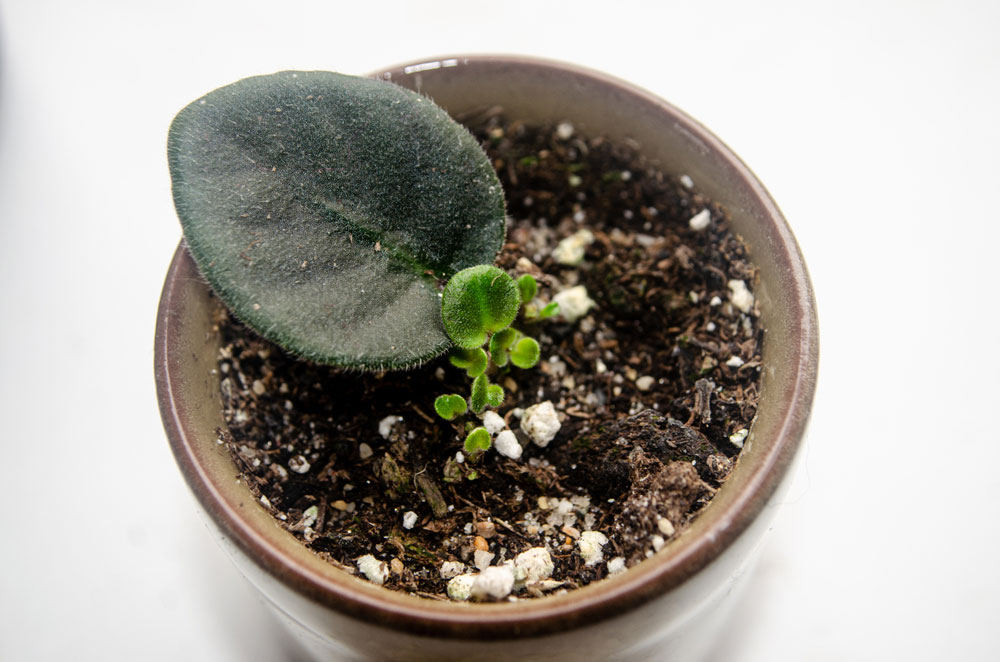
Step 3: Plant the Cutting
Pour some potting mix into your small container. Consider using an organic African Violet potting mix. Create a hollow center by either using your finger or pencil to place the leaf-cutting in. When placing the leaf-cutting, always place it with the stem facing down. Also, make sure to compress the soil surrounding it. To help keep the cutting in place, add a little bit of water.
Step 4: Provide Sunshine
Your plant requires a lot of sunshine and humidity for growth. Keep it covered with a clear plastic bag or a covered container and place it in a bright location for ample sunshine.
Step 5: Watch the Growth
It is going to take at least a month for the roots to start developing on the petiole. You are going to have to have patience. It will take an additional month for the leaves to begin to grow. You will have to repot your African violet once you notice at least 2 or 3 leaves on them. This can take anywhere between 2-6 months.

Caring for African Violet Plants
Here are some general care tips to keep in mind after you have successfully potted your African violet plant.
Watering
- Keep the soil slightly moist. Avoid overwatering your African violets, as they are perceptive to rotting.
- Only water your plant using room-temperature water.
- Leaves are also perceptive to rotting and developing fungal spots if placed in conditions that are too humid. Water your African violet from the bottom to avoid this issue.
Lighting
- While African violets thrive in sunshine, avoid placing them in direct light.
- Artificial lighting is a good option if you don’t have optimal lighting in your home. Only use LED bulbs or fluorescent bulbs.
Fertilizing
- Fertilize your African violet every 2 weeks using high-phosphorous plant food only.
- Only begin fertilizing your plant when it can use an extra boost, such as yellowing leaves.
Additional Care
- Most African violet plants prefer to be kept in warmer environments, even though some can tolerate cooler ones. Avoid placing them near blustery windows in the winter.
- To encourage their growth, you can keep them root bound for a while before repotting.
- The fuzziness on their leaves attracts dirt and dust. You can use a small paintbrush to remove the debris from the leaves.