Transplanting hydrangeas can be a daunting task for gardeners, as these beautiful flowering shrubs can be sensitive to change. However, knowing the right timing and techniques can help alleviate the stress for both you and your hydrangea. Seasonal timing, the plant’s health, and preparation are critical factors to consider when deciding when to transplant hydrangeas.
Understanding the natural lifecycle of hydrangeas is especially important when determining the optimal time to transplant. There are different types of hydrangeas that follow various growth patterns, and their transplant needs might differ accordingly. Recognizing these distinctions and studying specific indicators will guide you in making an informed decision on when to transplant.
Key Takeaways
- Transplanting hydrangeas requires careful consideration of timing and technique
- Know your hydrangea type to determine its specific transplanting needs
- Assess your hydrangea’s health and recognize indicators for transplanting
Understanding Hydrangeas
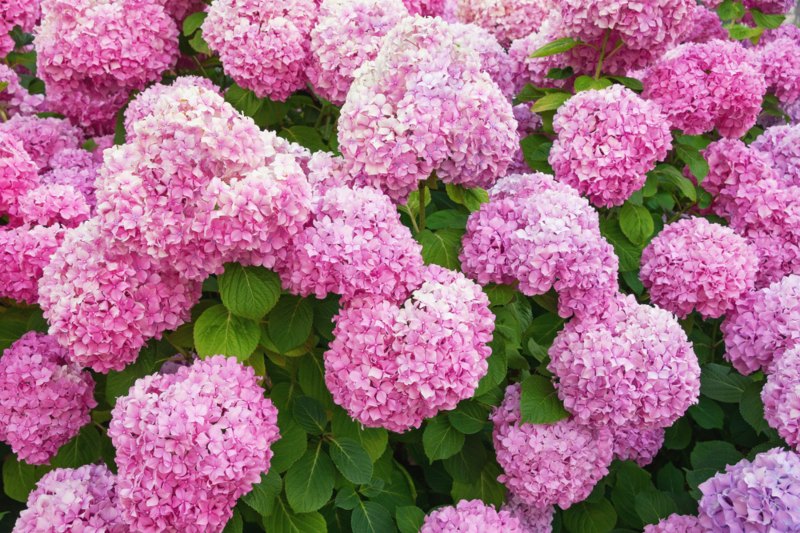
Hydrangeas are a popular flowering shrub known for their large, colorful blooms that come in various shades of blue, pink, and purple. They thrive in well-drained soil and prefer partial shade. There are many species of hydrangeas, and each has unique characteristics that can impact the best time to transplant them.

Generally, it is best to transplant hydrangeas during their dormant period, which is typically late fall to early spring. This allows the plant to establish its root system in the new location before the growing season begins. Transplanting during this time minimizes stress on the plant and helps ensure a successful transition.
When transplanting hydrangeas, it is important to consider their specific needs. Many hydrangea species are sensitive to changes in soil pH levels, which can affect the color of the blossoms. To maintain the desired bloom color, gardeners should test the soil at the new planting site and adjust the pH, if necessary, before transplanting.
Additionally, proper care and maintenance after transplanting are crucial for the health and longevity of the hydrangea. Watering the plant consistently during the first few weeks can help establish its root system, and applying a layer of mulch around the base of the plant can help conserve moisture and keep the soil cool.
It is also worth noting that some hydrangea varieties can be more delicate than others. For instance, lacecap hydrangeas may be more susceptible to damage during transplanting, so care should be taken to handle them gently. With proper planning and attention to detail, transplanted hydrangeas can thrive in their new location and continue to provide beautiful blooms for years to come.
Best Time to Transplant Hydrangeas
Transplanting hydrangeas is best done during their dormancy period, which is typically in late fall to early spring. This allows the plant to establish a strong root system without competing with its blooming and growth process.
To determine an ideal time window for transplanting hydrangeas, be sure to consider your local climate and zone hardiness. In warmer climates, transplanting can be done as early as November.
In colder climates, however, it’s better to wait until late winter or early spring (around February to March) to minimize the risk of frost damage to the roots.
Keep an eye on the weather forecast and soil temperature to help you choose the right time within this timeframe.
Before you transplant your hydrangea, it’s essential to prepare the new planting site. Choose a location with well-draining soil and partial to full sun exposure for optimal growth. Hydrangeas require rich, loamy soil with a slightly acidic pH. Amending the soil with compost and other organic matter will help improve its quality, making it ready for the transplant.
To ensure a successful transplant, here are some helpful tips:
- Water the hydrangea a day or two before moving it to help reduce transplant shock.
- Dig around the rootball to minimize root damage. It’s important to include as much of the roots and soil as possible when you lift the hydrangea from the ground.
- Prune back the plant by about one-third to balance its root-to-shoot ratio, which supports quicker establishment in the new location.
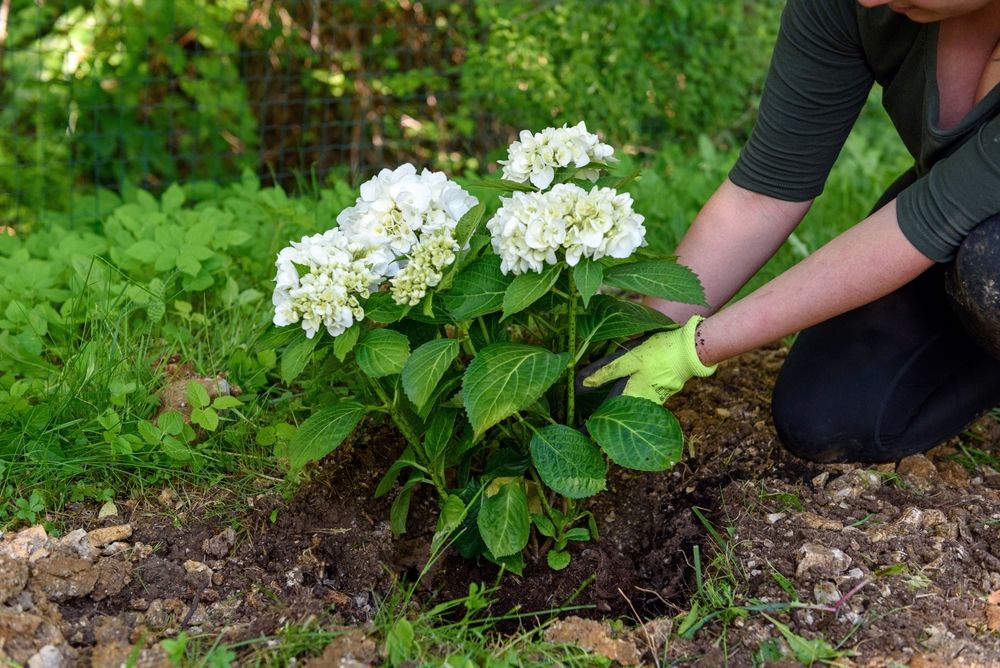
- Place the hydrangea in its new hole, ensuring the rootball is level with the surrounding soil. Fill the hole with soil and firmly press it into place.
- Water the plant thoroughly after transplanting to help settle the soil and encourage root growth. Continue to monitor and water it as necessary during its establishment phase.
By following these guidelines and transplanting your hydrangea during its dormancy period, you’ll increase its chances of successfully taking root and thriving in its new location. Remember to always consider local climate and weather conditions, and give your hydrangea the proper care it needs post-transplant.
Indicators for Transplanting Hydrangeas
Growth Pattern
When hydrangeas show signs of outgrowing their current location, it may be time to transplant them. Look for:
- Crowding: If there is limited space for new growth, your hydrangea needs a bigger area.
- Shade: Hydrangeas prefer partial sun. If a nearby tree or building now shades your hydrangea, consider moving it to a sunnier spot.
Soil Condition
Hydrangeas thrive in well-draining, slightly acidic soil (pH 5.5-6.5). Transplant if the soil isn’t ideal:
- Drainage: Pooling water after rain or watering is an indicator of poor drainage.
- Soil pH: Test the soil pH; if it’s not in the ideal range, transplant to a more suitable location.
Plant Health
Hydrangea transplanting may be necessary if your plant exhibits poor health:
- Wilting: Persistent wilting, despite regular watering, may indicate a need for transplanting.
- Yellow leaves: If leaves are yellowing even though properly cared for, it could mean the plant isn’t getting the nutrients it needs.
Remember, friendly, to transplant hydrangeas in late fall or early spring for the best results.
Preparation for Transplanting Hydrangeas
When transplanting hydrangeas, preparing ahead of time is crucial for a successful move. In this section, we will cover selecting the new location, preparing the soil, and root preparation.
Selecting the New Location
It is important to carefully choose the new location for your hydrangea. Consider the following factors:
- Light: Hydrangeas prefer morning sun and afternoon shade. Avoid placing them in full sun or complete shade.
- Space: Ensure there is enough space for the plant to grow. Hydrangeas can grow anywhere from 3 to 10 feet tall and wide.
- Drainage: Pick a spot with well-draining soil. Standing water will damage the plant.
Preparing the Soil
Proper soil preparation will set your hydrangea up for success. Remember these points:
- pH level: Hydrangeas prefer slightly acidic soil (pH 5.5 – 6.5). You can amend the soil with sulfur or aluminum sulfate to achieve the desired pH level.
- Organic matter: Mixing compost into the soil will provide essential nutrients and improve drainage.
- Watering: Irrigate the planting area a day before transplanting, ensuring it is moist but not soggy.
Root Preparation
Before transplanting, it is crucial to prepare the hydrangea’s root system:
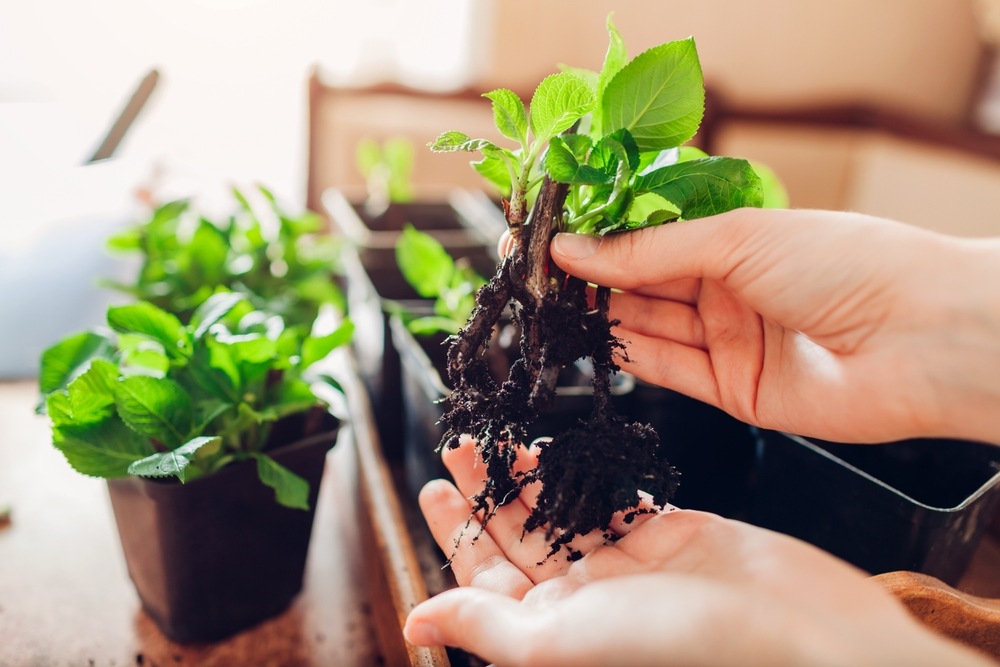
- Pruning: Trim away any broken, damaged, or excessively long roots.
- Soaking: Submerge the root ball in water for 15-20 minutes to hydrate it.
- Root ball: Dig around the plant with a wide margin to keep as much of the root system intact as possible during the move.
The Transplanting Process
Transplanting hydrangeas is best done during their dormant period, usually in late fall or early spring. This timing helps in establishing the plant quickly with minimal risk of shock. Here’s a step-by-step guide to help you through the transplanting process.
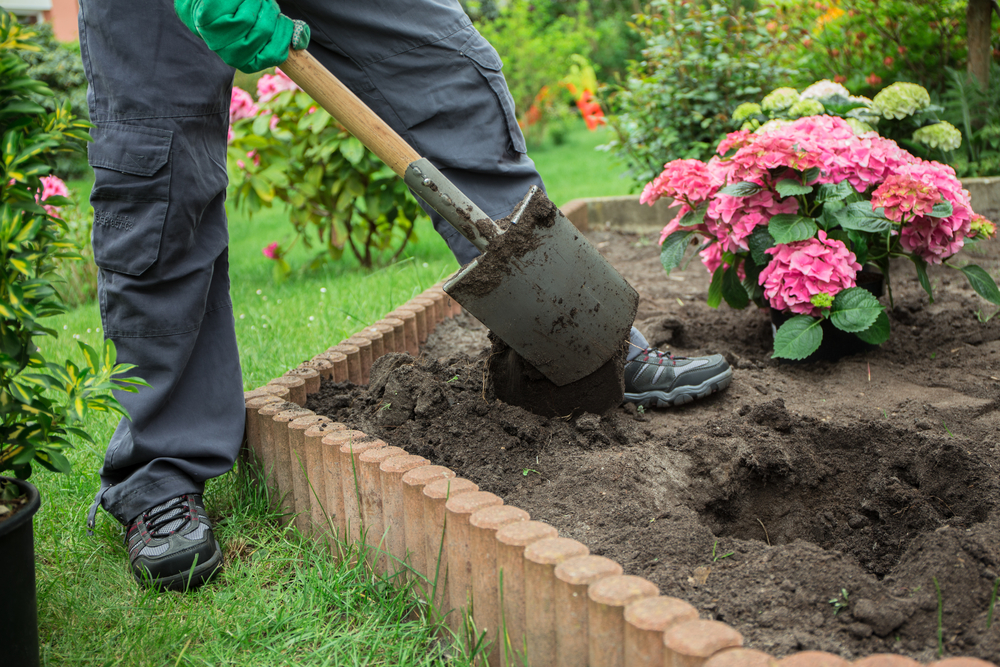
First, prepare the new planting site by digging a hole that’s the same depth as the existing root ball and twice as wide. Ensure the new location receives partial to full sunlight and has well-draining soil.
Before removing the hydrangea from its current location, water the soil thoroughly to help maintain the integrity of the root ball and make extraction easier. This will also prevent the roots from drying out during the transplant.
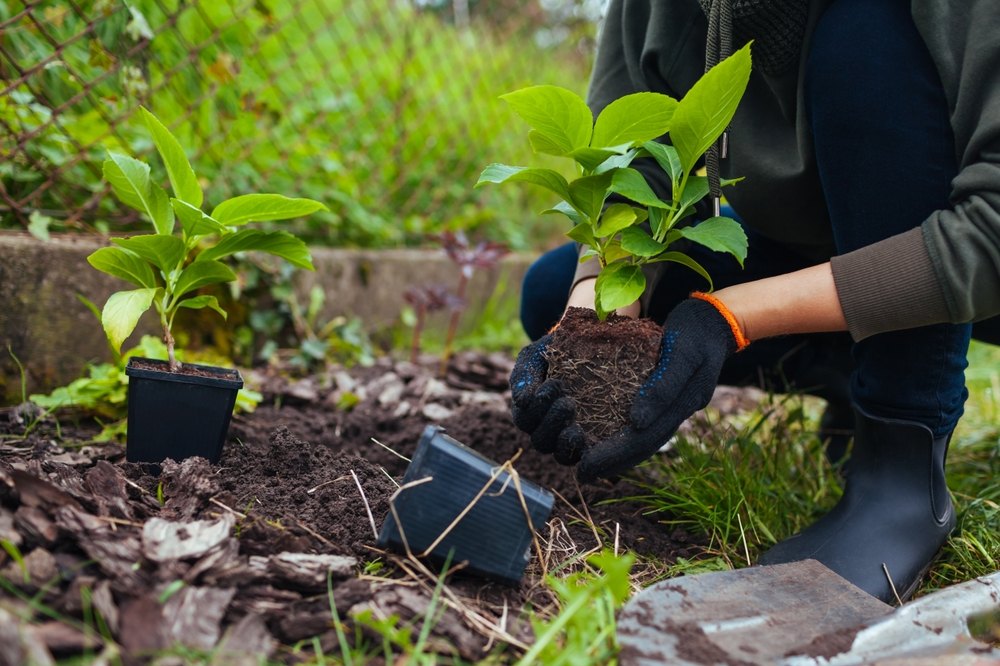
Next, dig around the base of the hydrangea, taking care not to damage the roots. Make sure to create a wide trench to accommodate as much of the root system as possible. Gently remove the plant from the ground, keeping the root ball intact.
Now, place the hydrangea in the new hole. Ensure the top of the root ball is level with the surrounding soil. Fill the rest of the hole with soil, gently firming it down to remove air pockets.
After transplanting, water the hydrangea thoroughly to help settle the soil around the roots. Add a layer of mulch around the base of the plant, making sure it doesn’t touch the stem. This will help in retaining moisture and regulating soil temperature.
Remember to monitor the hydrangea for any signs of stress in the weeks following transplant. Water regularly to keep the soil consistently moist, and avoid fertilizing for about a month to prevent burning the roots.
Post-Transplant Care
After transplanting your hydrangea, it’s essential to provide proper care to help the plant thrive in its new environment. In this section, we’ll go through some crucial steps to take during the post-transplant period.
Watering: Hydrangeas love water, so it’s important to keep the soil consistently moist but not overly saturated. During the first week, water the transplanted hydrangea deeply every day. After that, gradually reduce the frequency to about twice a week. In hot and dry conditions, monitor the plant closely and water as needed to prevent wilting.
Mulching: To help retain moisture in the soil and protect the root system, apply a 2 to 3-inch layer of organic mulch around the base of the hydrangea. This will also help regulate soil temperature and reduce weed growth. Be sure to keep the mulch an inch or two away from the stem to avoid rot.
Fertilizing: Wait at least a month after transplanting before fertilizing your hydrangea. This gives the plant time to establish its root system in its new location. When it’s time to fertilize, use a slow-release, balanced fertilizer (such as 10-10-10) and follow the package instructions for application rates.
Pruning: For the first year, focus on maintaining the overall shape and removing dead or diseased branches. Refrain from heavy pruning, as this may stress the transplanted hydrangea and hinder its recovery.
By providing proper post-transplant care, your hydrangea will have the best chance to adapt, grow, and produce beautiful blooms in its new home. Remember to be patient, as the plant may take some time to adjust to its new environment and return to its full blooming potential.
Common Mistakes to Avoid
Transplanting hydrangeas can be a rewarding task when done correctly. However, there are some common mistakes to avoid to ensure your hydrangeas thrive in their new location.
- Choosing the wrong time to transplant: The best time to transplant hydrangeas is in late fall or early spring while they are dormant. Transplanting during the hot summer months can cause the plant to become stressed. Stick to cooler months for a better chance of success.
- Ignoring the soil conditions: Hydrangeas thrive in well-draining soil with a slightly acidic pH. Make sure to amend the soil if needed and avoid planting in areas that are prone to flooding or where water tends to pool.
- Not pruning before transplanting: Pruning the plant beforehand can encourage strong root growth and reduce transplant shock. Remove any dead or damaged stems and trim approximately one-third of the plant, focusing on any unproductive or weak growth.
- Transplanting without hydrating: Give your hydrangeas a good watering both before and after transplanting. This will help reduce stress on the plant and ensure it has enough moisture to establish itself in the new location.
- Planting too deep or too shallow: When transplanting, ensure the root ball is at the same depth as it was in its previous location. Planting too deep can lead to root rot, while planting too shallow may increase the risk of drought stress.
By avoiding these common mistakes, you can help ensure a successful transplant and enjoy your beautiful hydrangeas for years to come.
Conclusion
In conclusion, the best time to transplant hydrangeas is during their dormant period, which is typically in late fall or winter. You’ll find that the plants are easier to handle, and they’ll likely experience less stress during the process.
Make sure to prepare the new planting location carefully, ensuring that it offers well-draining soil and adequate sunlight. Once you’ve completed the transplant, proper care and maintenance, including watering and fertilizing, are crucial to ensure your hydrangeas thrive in their new home.
Remember, hydrangeas are hardy plants that can tolerate transplanting quite well, even though they might experience some temporary wilting. With patience, care, and attention to their needs, your hydrangeas will continue to provide beautiful blooms for years to come.