Coneflowers are a popular choice for many gardeners due to their vibrant colors and ability to attract pollinators, such as butterflies and bees. These perennials can add a significant boost to your garden’s aesthetic and ecosystem.
However, transplanting coneflowers requires some knowledge to ensure the plants continue to thrive in their new environment.
The decision to transplant coneflowers often stems from various reasons, such as needing more space, rearranging your garden, or propagating to share with friends and family. Regardless of the reason, understanding the best time and method for transplanting coneflowers will be key to their success.
This article will guide you through the process and provide helpful tips to make your coneflower transplant experience as smooth as possible.
Key Takeaways
- Coneflowers are popular for their vibrant colors and ability to attract pollinators
- Transplant coneflowers at the best time and using proper methods for success
- Ensure a smooth transplant experience by following the tips provided in the article
Understanding Coneflowers
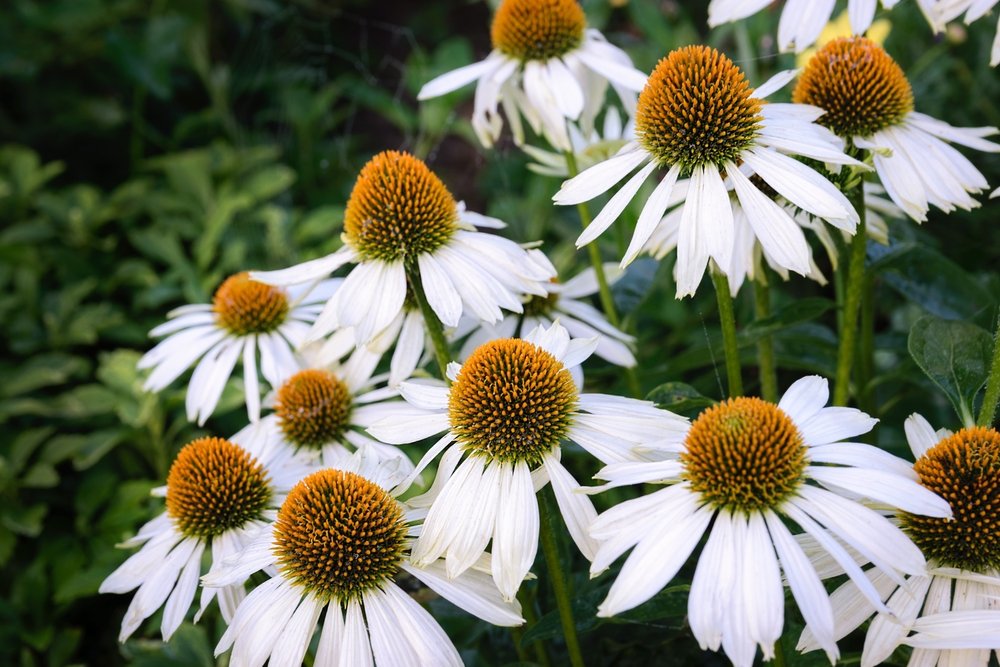
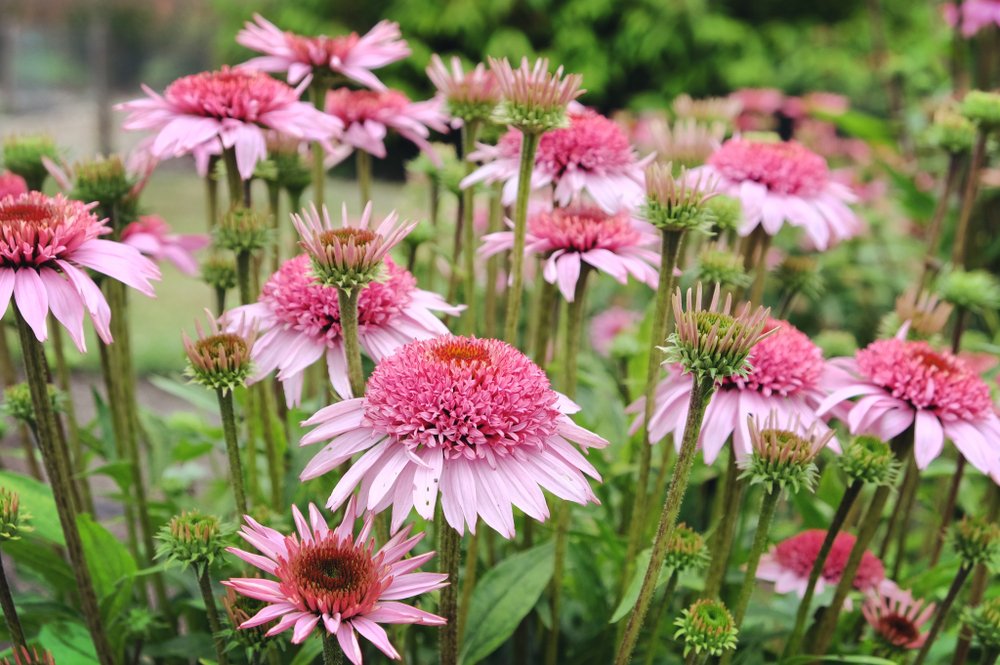
Coneflowers, scientifically known as Echinacea, are a popular group of flowering plants. They are native to North America and come in various colors such as purple, pink, and white. Coneflowers have a long blooming period, which gives your garden a splash of color and attracts pollinators like bees and butterflies.
Coneflowers are perennials, meaning they return every year to showcase their beautiful blooms. They are hardy plants that can withstand different weather conditions and are relatively easy to grow, making them an excellent choice for many gardeners. These plants prefer well-draining soil and full sun to partial shade, so choose a suitable location accordingly.
When it comes to transplanting coneflowers, timing is crucial. They have a long taproot system, which enables them to absorb water and nutrients efficiently. Thus, transplanting them at the right time prevents unnecessary stress and ensures a healthy growth.
Now that you have a basic understanding of coneflowers and their characteristics, you are better equipped to make decisions about when and how to transplant them for the best results.
Best Time to Transplant Coneflowers
Coneflowers, also known as Echinacea, are hardy perennials that attract pollinators and add a pop of color to your garden. Transplanting coneflowers is a simple process, but timing is crucial to ensure their successful growth and blooming.
The ideal time to transplant coneflowers is during the early spring or late fall. In early spring, transplanting should be done before new growth begins. This allows the plant to establish its root system in the new location and be ready for the growing season. In late fall, transplant coneflowers when they are dormant, after they have finished blooming and the foliage has died back. This ensures that the plant conserves energy and focuses on root growth.

A few factors to consider when transplanting are:
- Soil preparation: Amend the soil with compost or aged manure to improve drainage and provide nutrients.
- Rootball preservation: Carefully dig around the coneflower’s root system to remove it from the ground, preserving as much of the rootball as possible.
- Planting depth: Plant the coneflower at the same depth it was growing previously, ensuring the crown is at soil level.
- Watering: Water the transplant immediately and maintain consistent moisture during the establishment period.
By transplanting coneflowers during early spring or late fall, you’ll give them the best chance to thrive and produce their signature vibrant blooms. Remember to properly prepare the soil, preserve the rootball, plant at the appropriate depth, and water regularly to support their growth.
How to Transplant Coneflowers
Coneflowers are a beautiful and hardy addition to your garden, and transplanting them can provide you with new growth and opportunities to enjoy their beauty in different areas. Here’s the step-by-step guide to transplanting coneflowers.
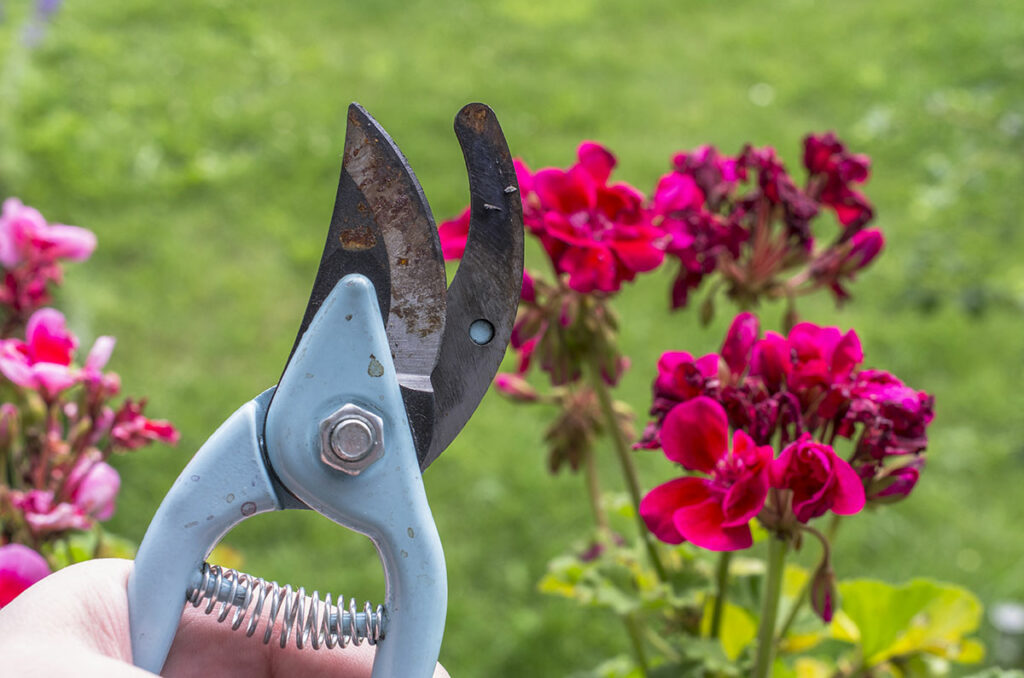
Gathering The Necessary Equipment
Before starting the transplanting process, gather these necessary tools:
- Shovel or spade: For digging up the coneflowers and preparing the new planting hole.
- Trowel: For loosening the soil and working in the root ball.
- Garden gloves: To protect your hands from potential injury.
- Bucket or wheelbarrow: For transporting the uprooted coneflowers.
- Watering can, hose, or irrigation: To water the transplanted coneflowers.
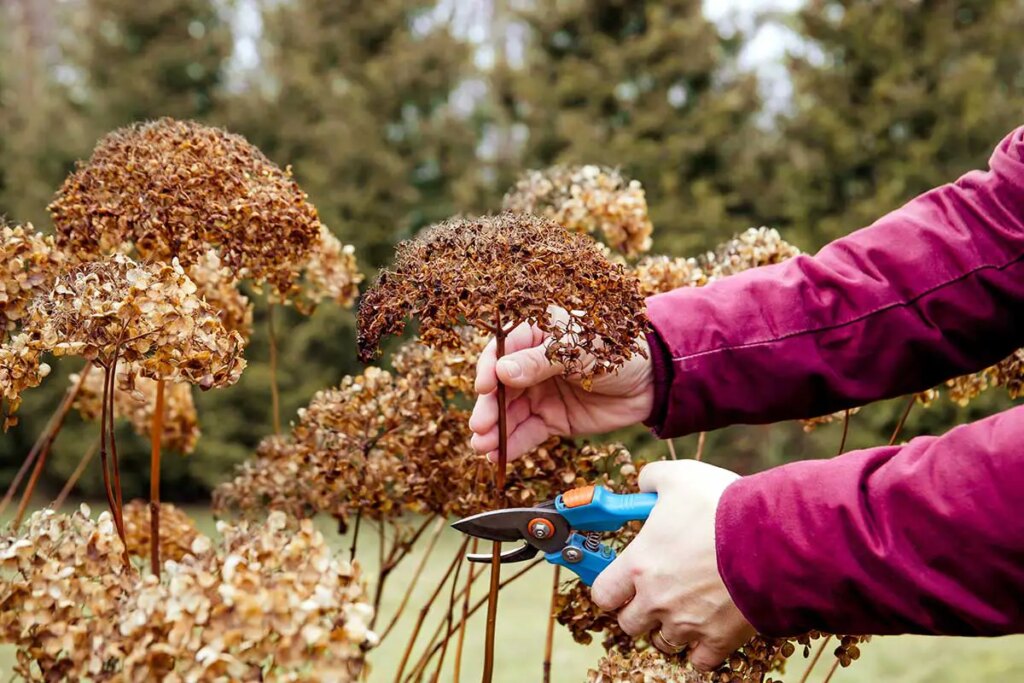
Digging Up the Coneflowers
First, choose the right time to transplant your coneflowers. It’s best to do this in early spring or late fall, when the plants are not actively blooming. Follow these steps to dig up the plants:
- Water the plants well: a day before transplanting so the soil will be easier to work with.
- Trace a circle around the plant: To preserve as many roots as possible, trace a circle about 6 inches away from the plant’s base.
- Dig a trench: Loosen the soil around the plant using the shovel, and then gently dig a trench following the traced circle.
- Lift the plant: Carefully work the shovel underneath the root ball and lift the plant from the ground. Gently shake off any loose soil.
Replanting Them Elsewhere

Choose a suitable location for your transplanted coneflowers. Be sure to provide them with full sun and well-draining soil. To replant them, follow these steps:
- Dig a hole: In the new location, dig a hole that is twice the width of the extracted root ball and as deep as its height.
- Loosen the root ball: Gently loosen the root ball with your fingers or a trowel, enabling the roots to grow more easily in their new location.
- Place the plant: Lower the coneflower, root ball and all, into the hole. Ensure that the plant sits at the same height in the soil as it did previously.
- Backfill the hole: Fill the hole with soil and gently press down to remove any air pockets.
- Water thoroughly: Finally, water the transplanted coneflowers deeply to help them settle in and establish their roots in their new home.
Coneflower Transplant Troubleshooting
Coneflowers, also known as Echinacea, are a popular perennial plant that gardeners often wish to move or propagate. In this section, we will discuss a few problems you might encounter when transplanting coneflowers and offer suggestions for ensuring successful growth after transplanting.
Addressing Common Issues
- Wilting after transplant: If you notice the coneflowers wilting soon after the transplant, this could be due to transplant shock. Give the plant some time to adjust, and keep the soil consistently moist to help it recover.
- Failure to bloom: If your transplanted coneflowers fail to bloom, avoid overcrowding them. Ensure they have enough space to grow with sufficiently drained soil, and an area that receives at least six to eight hours of sunshine per day.
- Diseases and pests: Coneflowers may be subject to pests like aphids and diseases like powdery mildew. Keep an eye on them and use organic treatments, such as neem oil or insecticidal soap, when necessary.

Ensuring Successful Growth
- Choose the right time: The best time to transplant coneflowers is when they are dormant. This usually occurs in early spring or late fall.
- Soil preparation: Prepare the new planting site by incorporating compost or other organic matter. Coneflowers prefer well-drained, fertile soil with a pH of 6.0 to 7.0.
- Planting depth: When transplanting, place the rootball at the same depth it was in its original location. This prevents the roots from becoming exposed and drying out.
- Watering: Water the transplanted coneflowers thoroughly and continue to water them regularly during their first growing season. Once established, coneflowers are drought-tolerant and can survive with less frequent watering.
- Fertilizing: Fertilize the plants with a balanced, all-purpose formula during their first growing season to promote healthy growth. Be cautious not to over-fertilize as this can lead to leggy growth and poor blooming.
With these troubleshooting tips and suggestions for ensuring successful growth, your transplanted coneflowers should thrive in their new location, providing beautiful blooms for years to come.
Conclusion
Coneflowers are a beautiful and low-maintenance addition to any garden, attracting beneficial pollinators and providing easy-to-grow blooms. Transplanting coneflowers is best done in early spring or fall, when the plants are dormant or entering dormancy, allowing them to establish themselves before the growing season.
Remember to prepare the new planting site with well-drained soil and adequate space for root growth. Be gentle during the transplanting process to minimize root damage and ensure a smooth transition. Water and care for the transplanted coneflowers according to their specific needs.
With some patience and attention to detail, your transplanted coneflowers will thrive in their new location, adding vibrant color and life to your garden for years to come. So don’t be afraid to move those coneflowers to a more suitable spot for their growth and your enjoyment.