Starting seeds can be a rewarding process, offering you a head start on the growing season and a greater range of plant options than you typically find at your local garden center.
However, it’s easy to make mistakes that can hinder the growth of your seedlings.
Whether you’re a beginner or have a bit of experience under your belt, understanding the common pitfalls in seed starting is crucial for ensuring a bountiful garden.
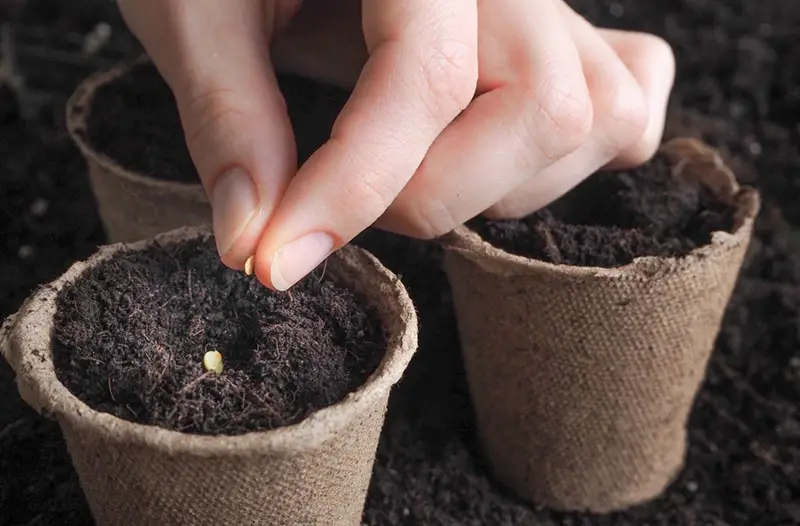
One common mistake is sowing seeds too deeply, which can prevent sprouts from reaching the surface before they exhaust their stored energy.
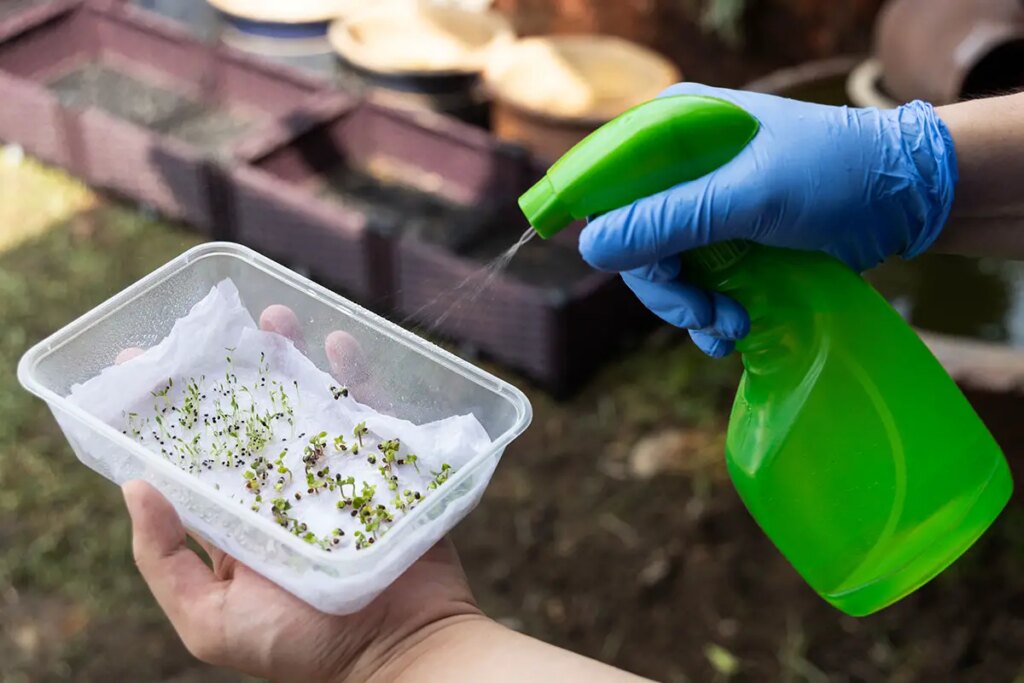
Another is overlooking the importance of consistent moisture. Seeds need to be kept consistently damp, but not waterlogged, in order to germinate successfully.
Overcompensating with water, on the other hand, can lead to fungal diseases or rot.
Temperature control is also essential. Most seeds have a specific range of temperatures at which they’ll germinate best.
Placing your seed trays in a location with a stable temperature — avoiding places too cold or prone to temperature swings — will contribute to your seed starting success.
With some attention to these details, you can steer clear of the common stumbling blocks and set your seedlings up for vigorous growth.
1. Choosing the Right Seeds
Selecting the right seeds is a crucial first step to successful gardening. Knowing seed types and understanding their lifespan ensures that you grow healthy, vibrant plants.
Understanding Seed Types
Open-Pollinated Seeds: These seeds come from plants that are pollinated naturally by wind, insects, or birds. As a result, they produce offspring very similar to the parent plant. You can save these seeds for future planting.
- Hybrid Seeds (F1): Resulting from the cross-pollination of two different parent plants, these produce vigorous and uniform offspring. However, saving seeds from these plants is not recommended as they won’t reliably produce the same traits in subsequent generations.
2. Seed Viability and Expiration
Know Your Seeds’ Shelf Life: Each type of seed has a different viability period. This is how long you can expect seeds to remain capable of germination if stored properly.
- Shelf Life Examples:
| Seed Type | Expected Viability |
|---|---|
| Onions | 1-2 years |
| Parsley | 1-3 years |
| Tomatoes | 4-7 years |
| Peppers | 2-3 years |
| Cucumbers | 5-10 years |
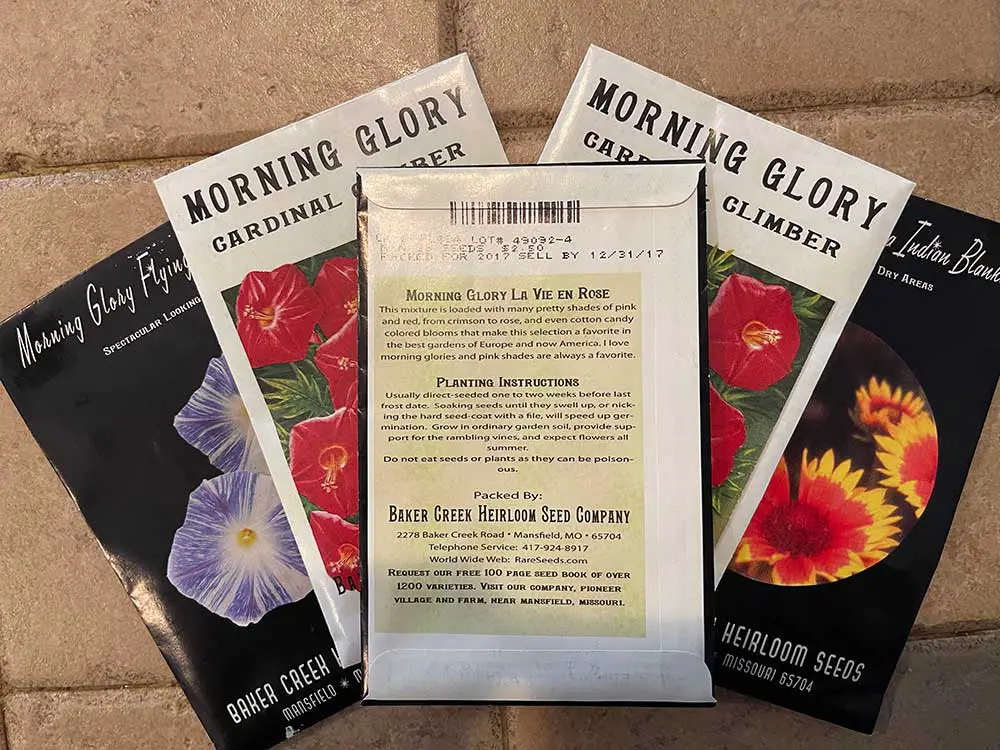
Check the Packaging: Always look for the packed-for date or expiration date. This helps you determine how fresh the seeds are. Seeds packaged for the current growing season have the highest chance of successful germination.
3. Seed Starting Environment
Creating an optimal seed starting environment is crucial for healthy plant growth. Pay close attention to lighting, temperature, and the materials you use.
Lighting Requirements
Proper lighting is essential for seedlings. They typically require 14-16 hours of light daily.
Use a grow light or position them near a south-facing window.
Ensure the light is about 2-3 inches above the seedlings to promote strong growth but adjust it higher as they grow.
4. Temperature Control
Seeds need consistent warmth to germinate, ideally between 65°F to 75°F (18°C to 24°C).
Use a heat mat to maintain soil temperature and avoid placing your seeds near drafty windows or doors.
Once sprouted, maintain a room temperature that doesn’t fall below 60°F (16°C) to prevent stunting.
5. Soil and Container Selection
Choose a sterile seed starting mix which is lighter and promotes better drainage than regular potting soil.
Use clean containers with drainage holes to prevent waterlogging. Here’s a quick guide:
- Containers: Peat pots, plastic trays, or homemade biodegradable options.
- Soil: Look for “seed starting mix” or make your own with equal parts peat, vermiculite, and perlite.
Track your seedling’s progress and adjust these environmental factors as needed.
Proper attention to their environment will increase your chances of successful growth.
6. Watering Techniques
Getting watering right is crucial for seed starting success. It affects growth rate, root health, and overall plant vigor.
Water Quantity and Frequency
- Seedling Stage: Begin with a light, consistent water schedule. Soil should remain moist, not waterlogged.
- Adjust Frequency: As seeds germinate and seedlings grow, increase water volume gradually.
- Visual Check: Watch soil color – darker means moist, lighter indicates dryness.
- Touch Test: Feel the top inch of soil. If it’s dry, it’s time to water.
Identifying Proper Moisture Levels
- Weigh Your Containers: A heavier container implies adequate moisture, while a lighter one suggests it’s time to water.
- Use a Moisture Meter: This tool provides a precise moisture level reading.
- Drainage is Key: Ensure excess water can escape to prevent root rot. Use trays with holes and avoid saucers filled with water under pots which can keep soil too wet.
7. Troubleshooting Common Issues
When starting seeds, you may encounter challenges such as damping off or pests and diseases. Understanding how to manage these issues is key to growing healthy seedlings.
Dealing with Damping Off
Damping off is a fungal disease affecting seedlings, causing them to collapse at the soil level. To prevent this:
- Keep Soil Aerated: Use a well-draining soil mix and avoid overwatering to reduce soil moisture.
- Sanitize Equipment: Clean pots and trays with a 1:9 bleach-to-water solution before use to eliminate fungal spores.
Managing Pest and Disease
Pest infestations and diseases can destroy your seedlings if left unchecked. To combat these:
- Identify Pests Early:
- Regularly inspect your seedlings for signs of pests like aphids or spider mites.
- Control Diseases:
- Remove infected plants immediately.
- Use organic fungicides or pesticides when necessary, always according to the label’s instructions.