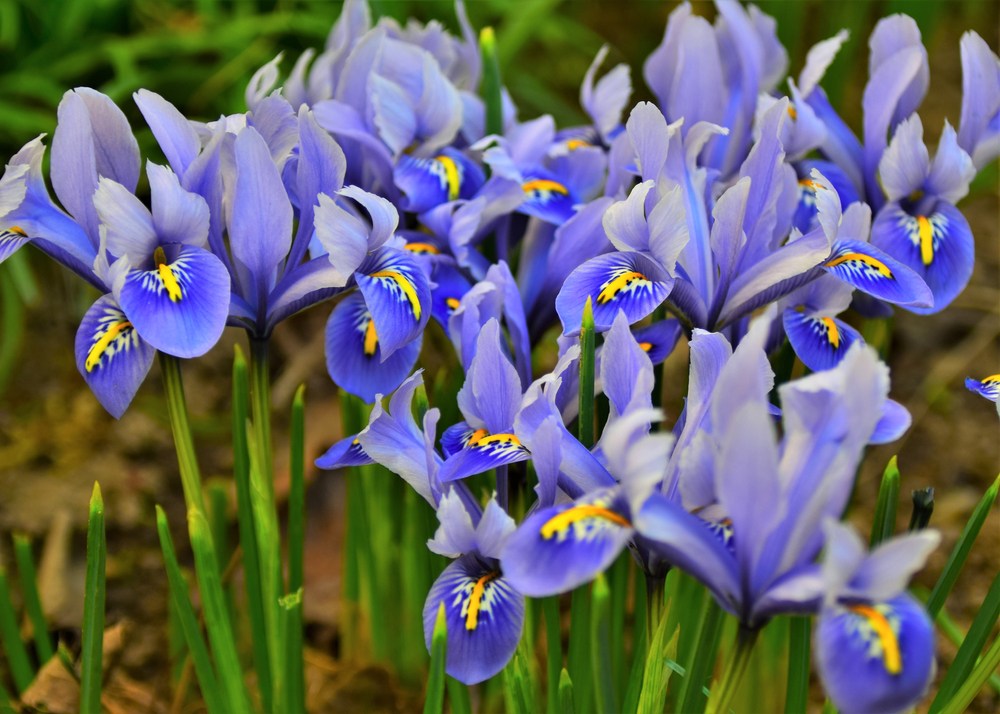
Fertilizing irises can be a game-changer for the health and appearance of these enchanting flowers. With their striking colors and intricate petal patterns, irises are a favorite among gardeners and flower enthusiasts alike.
Providing them with the proper nutrients is essential for their growth and development, ensuring they’ll thrive in your garden and bring joy for years to come.
It is important to know when and how to fertilize irises to encourage robust blooms, strong foliage, and healthy rhizomes.
By learning the best practices for feeding these beautiful plants, gardeners can optimize their irises’ potential and enjoy the stunning results.
This article will discuss key tips and techniques for fertilizing irises, guiding you in selecting the most suitable fertilizers for your plants, as well as the right timing and frequency to achieve garden excellence. With this knowledge, you’ll be well-equipped to nourish your irises effectively and watch them flourish.
Understanding Iris Nutrition Needs
Irises are beautiful and hardy perennials that thrive in a variety of conditions. To help your irises flourish, it’s crucial to understand the specific nutritional needs of these plants. Proper fertilization will assist in promoting vigorous growth, stunning blooms, and overall plant health.
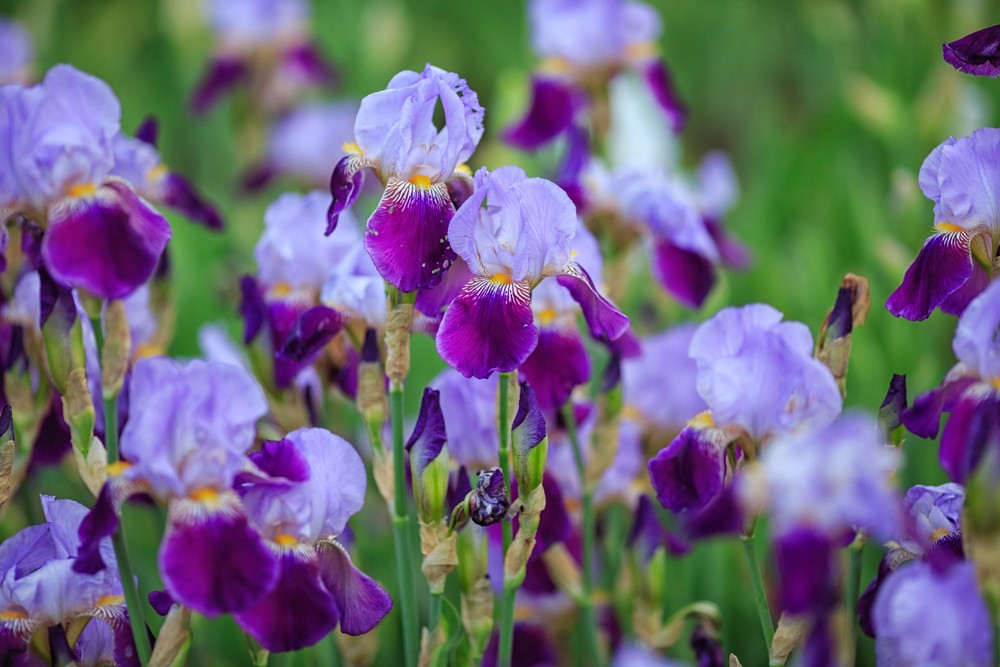
The primary macronutrients irises require are nitrogen (N), phosphorus (P), and potassium (K). Nitrogen aids in foliage growth, while phosphorus and potassium contribute to healthy root development and vibrant blossoms. In general, irises prefer a well-balanced, slow-release fertilizer with a ratio of 6-10-10 (N-P-K).
Fertilizing your irises should be done at the start of their growing season, typically in early spring. It’s essential to avoid over-fertilizing, as this may lead to excessive foliage growth, weakening the plant and making it more susceptible to diseases. To ensure optimal growth in your irises, consider implementing the following fertilization tips:
- Apply fertilizer gently around the rhizomes, taking care not to damage the delicate plant parts.
- Water your irises thoroughly after applying the fertilizer to help the nutrients penetrate the soil and reach the plant’s roots.
- Use compost or well-aged manure to improve the soil’s nutrient content and enhance your irises’ overall health.
In addition to the primary macronutrients, irises benefit from micronutrients such as iron, manganese, and zinc. Micronutrients can be added to your soil by incorporating compost or other organic matter. Providing your irises with a well-rounded nutritional regimen will ensure they have the necessary components to develop a vibrant, thriving garden display.
Types of Fertilizers for Irises
When it comes to fertilizing irises, there are two main categories of fertilizers that can be used: organic and chemical. Both have their advantages and drawbacks, but it’s important to choose the right one based on your preferences and gardening goals.
Organic
Organic fertilizers are made from naturally occurring materials and are considered to be more eco-friendly than their chemical counterparts. Some popular options for irises include:
- Compost: Rich in nutrients, compost can be made at home from kitchen scraps and yard waste. Using compost helps improve soil structure and water retention.
- Bone meal: This is a byproduct of the meat industry and is a good source of phosphorus, which is essential for healthy root and bloom development in irises.
- Fish meal: A great source of nitrogen and other essential nutrients, fish meal can stimulate iris growth and promote healthy blooms.
One advantage of using organic fertilizers is that they are less likely to damage or burn plant roots. However, they can be slower-acting than chemical fertilizers, so it may take longer to see results.
Chemical
Chemical fertilizers are synthetically produced and often provide nutrients to plants more quickly compared to organic options. They are available in granular, liquid, or slow-release forms. Some commonly used chemical fertilizers for irises include:
- Complete fertilizers: These contain a balanced mix of essential nutrients such as nitrogen (N), phosphorus (P), and potassium (K) in a specific ratio, like 10-10-10. This balance ensures that irises receive the necessary nutrients for optimal growth and flowering.
- Slow-release fertilizers: These fertilizers release nutrients gradually over time, reducing the need for frequent applications and preventing nutrient runoff. Slow-release fertilizers can be an excellent choice for irises to deliver nutrients continuously throughout the growing season.
While chemical fertilizers may produce quicker results, they can cause adverse effects if not applied correctly. Overuse or incorrect application can lead to root burn and environmental concerns such as nutrient runoff into waterways.
In conclusion, both organic and chemical fertilizers have their pros and cons when it comes to fertilizing irises. Determining the best choice will depend on your gardening preferences, environmental concerns, and desired results. Remember to research and follow the recommended application rates and methods for optimal iris health and beautiful blooms.
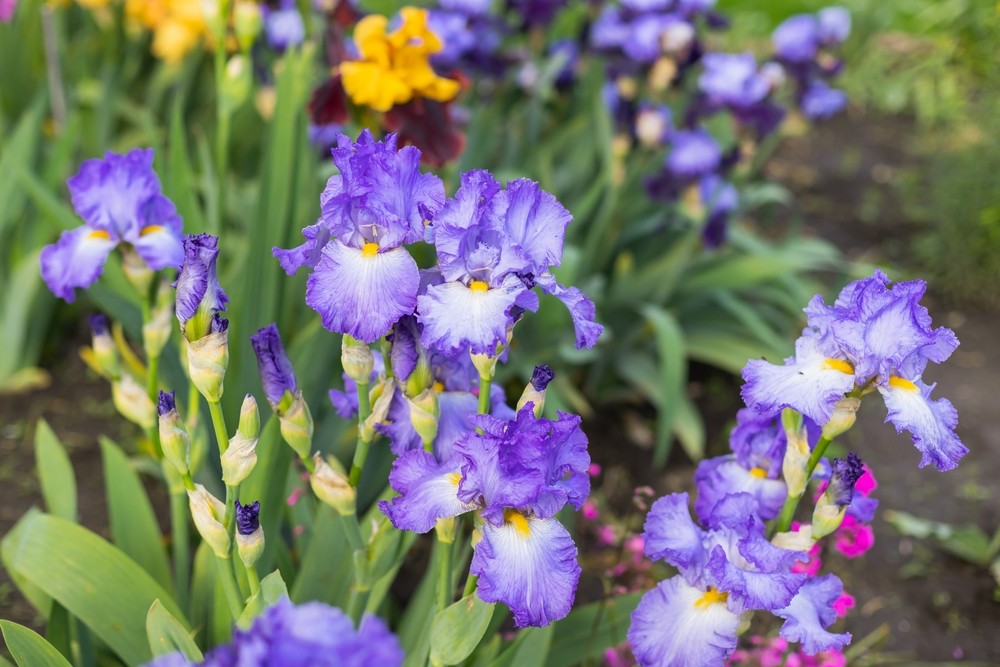
Ideal NPK Ratio for Iris
When it comes to fertilizing your iris plants, it’s essential to know the ideal NPK (Nitrogen, Phosphorus, and Potassium) ratio. This friendly guide will help you understand the proper proportion of these nutrients for healthy iris growth and blooming.
Iris plants generally prefer a balanced fertilizer with an NPK ratio of 1:1:1 (for example, a 10-10-10 or 16-16-16 fertilizer). This means that equal parts of nitrogen, phosphorus, and potassium are present in the fertilizer. Using a balanced fertilizer ensures that your iris plants get all the essential nutrients they need in the right proportion.
Nitrogen (N): Nitrogen promotes healthy foliage growth in your iris plants. It’s essential to have sufficient nitrogen in the soil, as it’s directly responsible for the production of chlorophyll, which provides the green pigment in the leaves and helps with photosynthesis.
Phosphorus (P): Phosphorus is crucial for growing strong, healthy roots and developing blooms in iris plants. It also aids in the transportation of nutrients within the plant. Adequate phosphorus ensures that your iris plants produce beautiful, vibrant flowers.
Potassium (K): Lastly, potassium plays a vital role in the overall well-being of iris plants by maintaining the transport and balance of nutrients and water within the plant. Potassium also helps to strengthen the plant’s cells, providing resistance against diseases and boosting stress tolerance.
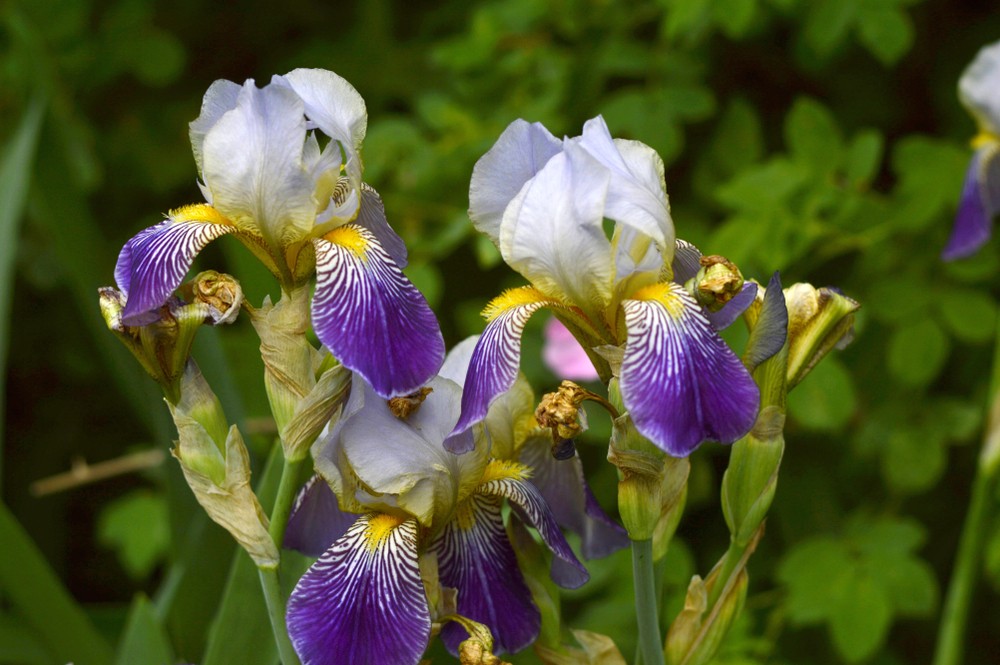
To provide your iris plants with the ideal NPK ratio, apply the fertilizer by following the manufacturer’s instructions, and be sure to water the plants well after fertilizing. Keep in mind that over-fertilizing or using a fertilizer with too high of an NPK ratio can harm your iris plants by causing excessive leaf growth, poor root development, and fewer blooms. So, always adhere to the recommended guidelines and enjoy your thriving, blooming irises!
Best Time to Fertilize
Fertilizing your iris plants is essential for their health and vibrant blooms. It’s crucial to know the best time to fertilize to ensure they receive the nutrients they need at the right time. In general, the best time to fertilize iris plants is during early spring and late summer or early fall.
In early spring, around March or April, the iris plants are just beginning to show new growth. This is the perfect time to apply a balanced fertilizer to provide essential nutrients and encourage a strong root system, vigorous growth, and beautiful blooms. Be sure to water the plants well after applying the fertilizer to help it absorb into the soil.
Late summer or early fall, typically around August or September, is another ideal time to fertilize your irises. By this time, the plants have finished their blooming cycle and are likely to have depleted some of their nutrients in the soil. Fertilizing at this time will ensure your irises have enough nutrients to support root growth and plant development for the following season.
When using a granular fertilizer, make sure to apply it close to the plants’ base but not in direct contact with the rhizomes. Over-fertilizing can cause damage, so it’s essential to follow the recommended rates on your fertilizer’s packaging.
Remember that different iris types might require slightly different fertilization timing. Some species, like the Siberian and Japanese irises, benefit from a late spring or early summer fertilizer application after they bloom. Always research the specific care of your iris varieties to best support their growth and flowering.
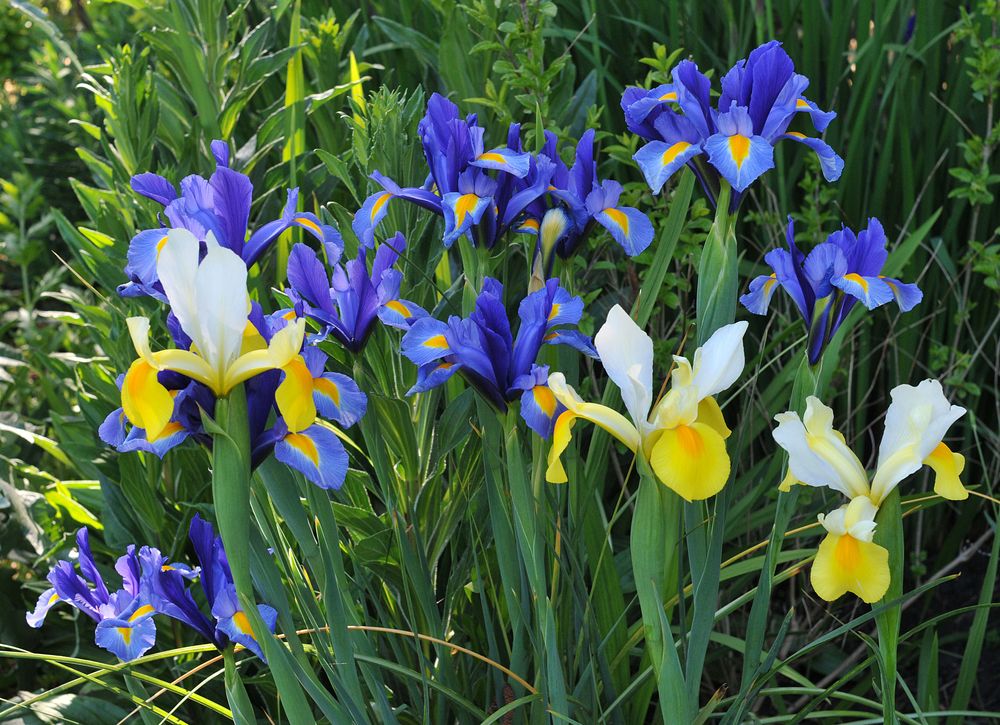
Happy gardening, and enjoy your beautiful iris blooms!
How to Fertilize Iris
Iris plants are beautiful and low-maintenance, but they will still benefit from proper fertilization. In this section, we’ll discuss how to prepare the soil for fertilizing and the application methods you can use.
Preparing Soil
Before you start fertilizing your iris plants, it’s crucial to prepare the soil. Healthy soil promotes strong root growth and ensures that the nutrients from the fertilizer will be absorbed effectively. Here are some steps to follow when preparing your soil:
- Test your soil: It’s best to test your soil’s pH and nutrient levels before adding any fertilizer. Iris plants prefer neutral to slightly acidic soil, with a pH of 6.0 to 7.0. If your soil has a pH higher than 7.0, you can amend it with sulfur to make it more acidic. Conversely, if the pH is below 6.0, you can add lime to raise it.
- Loosen the soil: Use a garden fork or a rototiller to loosen the soil around your iris plants. This step helps the roots grow more easily and allows for better penetration of the fertilizer.
- Remove debris and weeds: Clear away any debris, such as leaves and twigs, and pull up any weeds around your iris plants. This will ensure that the fertilizer isn’t wasted on unwanted plants.
Application Methods
Now that the soil is prepared, it’s time to apply the fertilizer. Here are some common application methods for fertilizing iris plants:
- Granular fertilizer: Using a granular fertilizer specifically formulated for iris plants is a great option. These fertilizers usually have a balanced N-P-K ratio, meaning they contain equal amounts of nitrogen, phosphorus, and potassium. Simply sprinkle the granules around the base of each plant, following the recommended amount on the product label.
- Liquid fertilizer: If you prefer to use a liquid fertilizer, select one with a balanced N-P-K ratio as well. Mix the fertilizer with water according to the package instructions, and then water the base of your iris plants with the solution.
- Compost: Adding compost to your soil is an organic method for fertilizing your iris plants. Spread a 2-inch layer of compost around the base of each plant, and then gently incorporate it into the topsoil with a garden fork.
Whichever method you choose, it’s important to fertilize your iris plants during their active growth periods: once in early spring and again after they finish blooming. This will help them grow strong, healthy, and produce beautiful blooms.
Fertilizing Routine Care
When it comes to fertilizing irises, there are a few aspects of routine care to consider. By providing the appropriate nutrients and attention, you can ensure your irises grow beautifully and in a healthy manner.
Dealing with Pests
Dealing with pests is an essential part of maintaining a healthy iris garden. Some common iris pests include:
- Aphids
- Slugs
- Snails
- Iris borers
To manage these pests, try the following methods:
- Regularly inspect your plants for signs of pests and remove any infestations.
- Use an insecticidal soap or horticultural oil to kill soft-bodied insects like aphids.
- Set up traps or barriers to deter slugs and snails.
- Discourage iris borers by removing dead leaves and debris from the garden, as these pests are attracted to decaying plant matter.
Mulching
Mulching your iris beds can provide several benefits, including:
- Conservation of soil moisture
- Weed suppression
- Temperature moderation
- Enriching the soil as the mulch decomposes
To properly mulch your iris beds, follow these steps:
- Choose an appropriate mulch material, such as shredded bark, straw, or cocoa bean hulls.
- Make sure your garden is weed-free before mulching.
- Apply a 2-3 inch layer of mulch around the iris plants, avoiding direct contact with the plant base.
- Replenish the mulch as needed to maintain its depth.
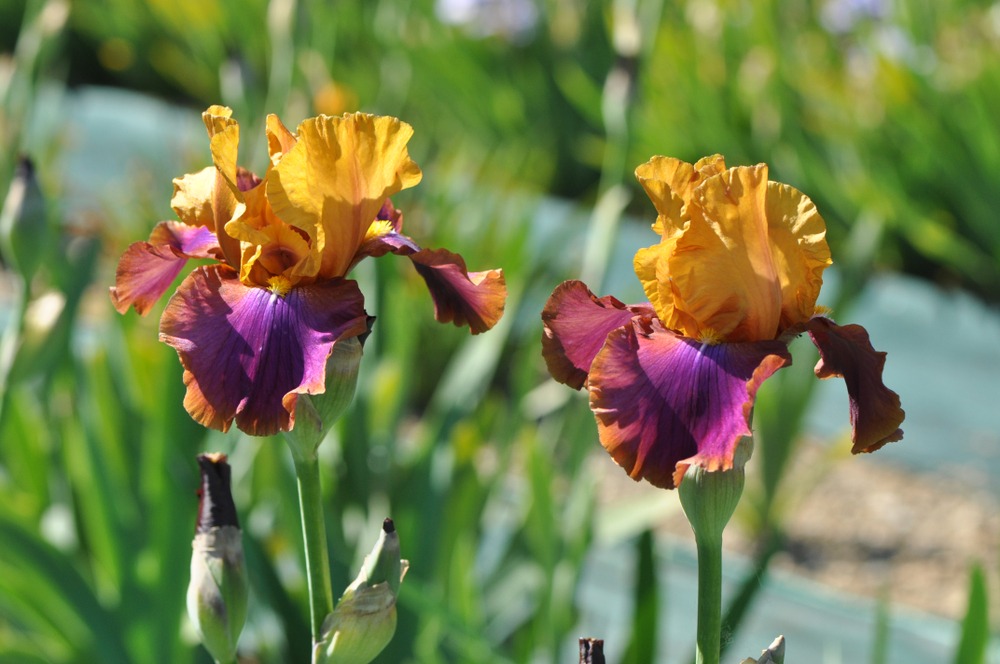
Reviving Underperforming Irises
If you’ve noticed that your irises are underperforming, don’t worry! Irises are hardy plants, and with a little extra care and attention, you can help revive them. Here are a few friendly tips to help you get started.
First, evaluate your irises’ growing conditions. Make sure they are planted in a well-drained area with plenty of sunlight. Irises thrive in a location that receives at least 6 hours of direct sunlight per day. Also, check the quality of your soil, as irises require loose, light, and well-draining soil. You may need to amend the soil if it’s too heavy or compacted.
Next, assess the amount and frequency of your waterings. While irises can tolerate some drought, they still need adequate moisture. In general, it’s best to water your irises deeply once a week or when the soil appears dry. Proper watering should encourage a healthy root system and prevent diseases like root rot.
Fertilizing your irises is another important aspect to consider. The ideal time to fertilize irises is in the spring and summer, avoiding the fall, as it may stimulate new growth that can be damaged by frost. Opt for a balanced fertilizer, such as 10-10-10 or 6-10-10, and apply it around the outer perimeter of the plants, avoiding direct contact with the base of the irises.
If your irises are still underperforming despite implementing these improvements, it’s possible that they’re overcrowded. Irises typically need to be divided every three to five years to maintain proper spacing and ensure optimal growth. To divide irises, carefully lift the clump of rhizomes with a garden fork, separate the individual rhizomes, and replant them with adequate spacing (about 12-18 inches apart).
By following these steps, you’ll help your underperforming irises regain their vitality, and soon enough, they’ll be producing those gorgeous blooms that gardeners love!

