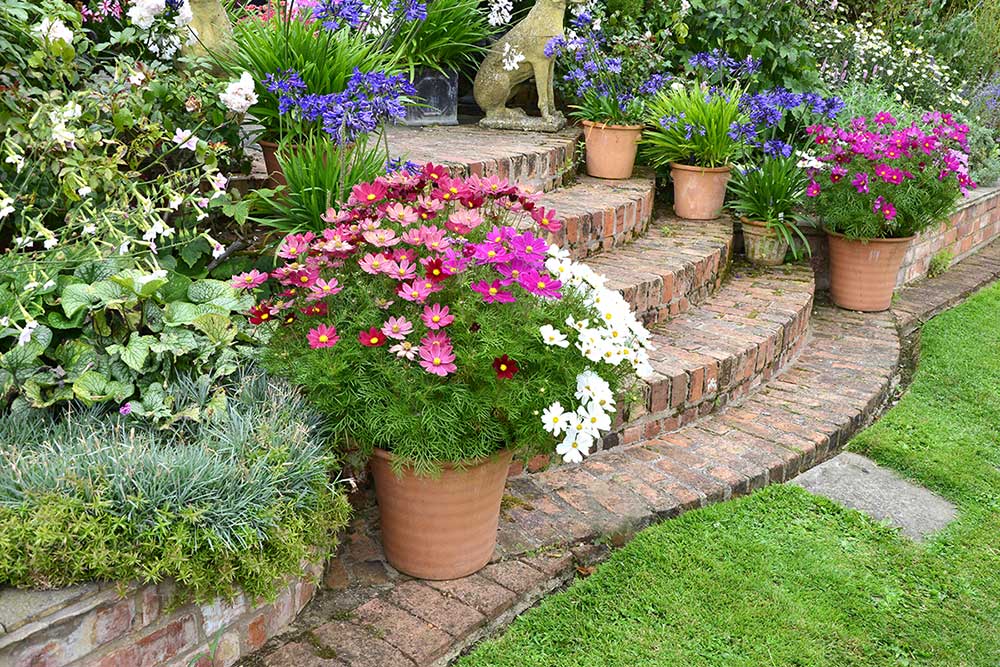
Planting bulbs in your garden can be a daunting task, especially if you are a beginner gardener.
Growing bulbs like tulips in a container is fool-proof and a great way to get a head start to adding some color to your spring landscape.
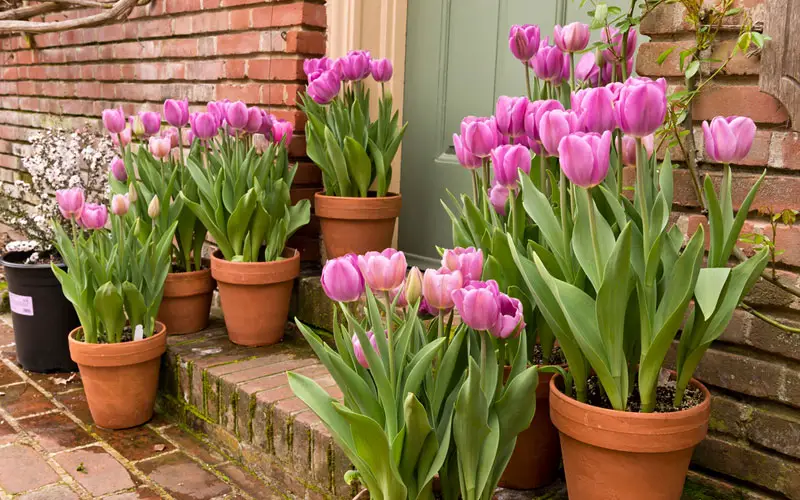
The advantage of starting tulips indoors in a container, even if they’re to grace the outdoors, is that you can get an early jump on the season. Tulips can be a wide variety of heights, colors, and styles.
A tulip arrangement in a container can bloom yearly if planted and cared for correctly.
The first thing to do with tulips after choosing what kind of blooms you want is to choose the proper container. It can’t be too shallow.
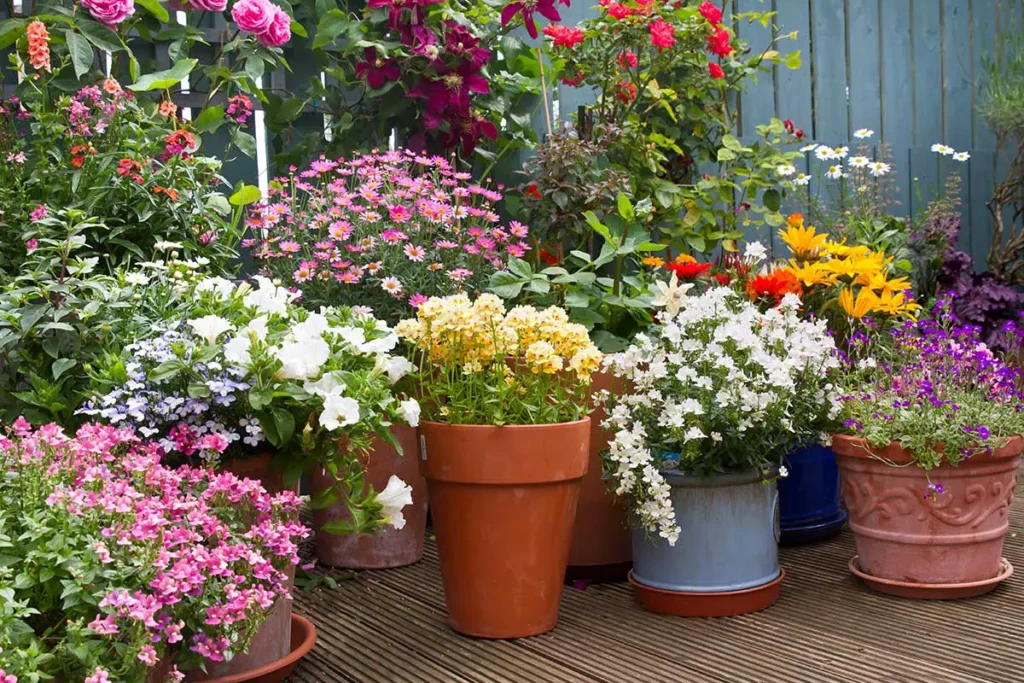
Use a pot that it’s at least 9 inches in diameter with good drainage holes. It should be anywhere from 7 to 18 in deep. Larger pots will be able to hold more tool bulbs obviously and will create a fuller pot of flowers. There are a variety of pots, from plastic to ceramic to terracotta pots. Don’t choose dark-colored pots since they’ll absorb the sunlight and tulips don’t like heat.
First, find some nylon mesh and put it in the bottom of the pot. This will help to keep the dirt within the pot. A few stones over the mesh will add a bit of aeration.
Next, fill the pot halfway with a perlite and vermiculite potting mix. You need a porous soil that is fast draining, and this soil can be obtained in a home and gardening store or online. What is important is that this potting mix retains moisture better than the soil found in your garden.
Once that is done, place the bulbs 1 inch apart.
Note: the pointed end of the bulb should be facing upwards. The flat side is where the roots will grow. Start by circling them around the edge of the pot first and then use a small ruler to determine the spacing once all the bulbs are in gently push that flat side of the bulb deep enough to hold them in place. Note: never use bulbs with white fungus on them. They will taint all the bulbs.
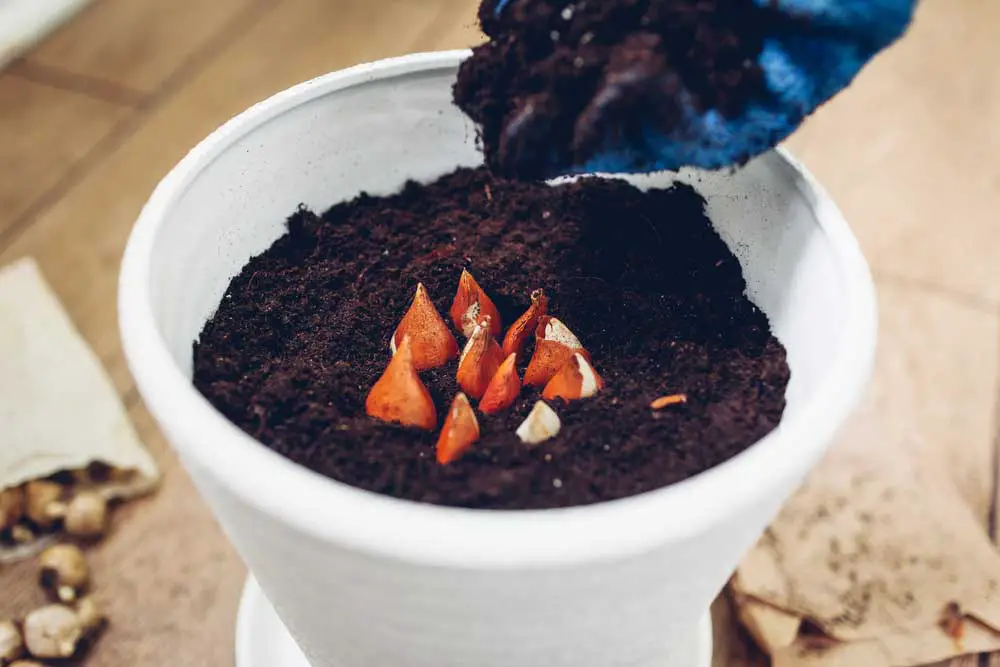
An advanced technique is to put half of the bulbs at this level, pour a small amount of the soil covering them and then put the second circle of bulbs above them in between where the other bulbs are. This will create a multi-tiered look that is full and breathtaking. You can use your finger to make sure you are placing a bulb in between.
Whatever technique you’ve used, now cover the bulbs with five to seven inches of soil, using the same mix.
Unfortunately, tulips are like candy to squirrels. So, if you want to avoid losing your beautiful bulbs, if you are placing the container outside, this is a good time to put some chicken wire at the top of the pots just above the soil to create a barrier.
Cut a round of chicken wire about 2 in larger than the diameter of the top of the pot. Fold the chicken wire over the edges a pot. Put decorative tape over the ends of the chicken wire. One to hide it, two to protect your fingers.
Once the bulbs are planted, water the soil well. The excess water should drain out of the drainage holes on the bottom.
If you’re keeping the bulbs inside, you need to water them two to three times a week. Outside, notice the regular rainfall and supplement watering two or three times a week.
Tulips love fertilizers so fertilize them often, using a basic gardening fertilizer.
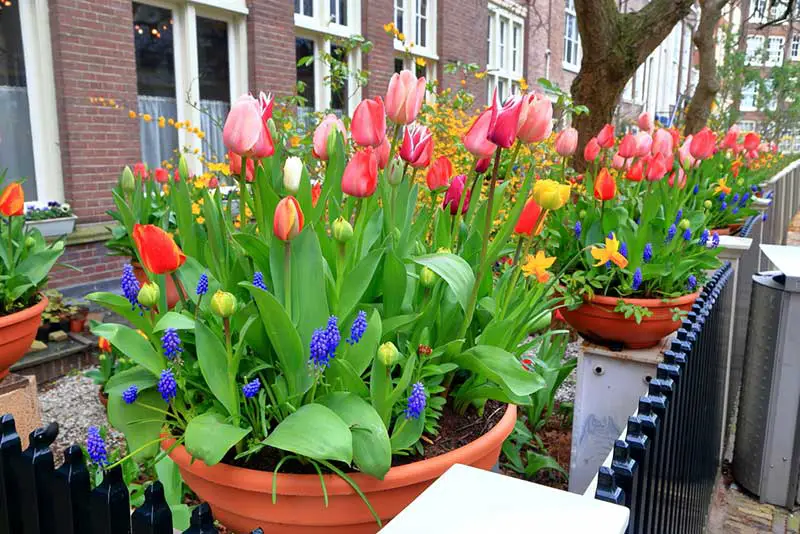
Keep the bulbs in a place with a consistent temperature, because often temperature changes will cause the bulbs to rot.
The tulips should start blooming in two to three weeks, or if your pot is outside once the temperature is reach 60°. There are also early and late blooming tulips, so note what kind they are on the package.
Caring for your tulips once planted is important. When are the tulips when the top one inch of soil is dry to the touch. You can figure this out by poking your finger in just up to the first joint.
It’s also important to keep tulips in 6 hours of sunlight. However, be cautious with windows that may overheat the tulips, as they don’t do well in high temperatures.
If your tulips start to yellow, they may have a disease, be infested with nematodes, or be overwatered.
Enjoy your tulips. They will bring a smile to your face and elegance to your home.

