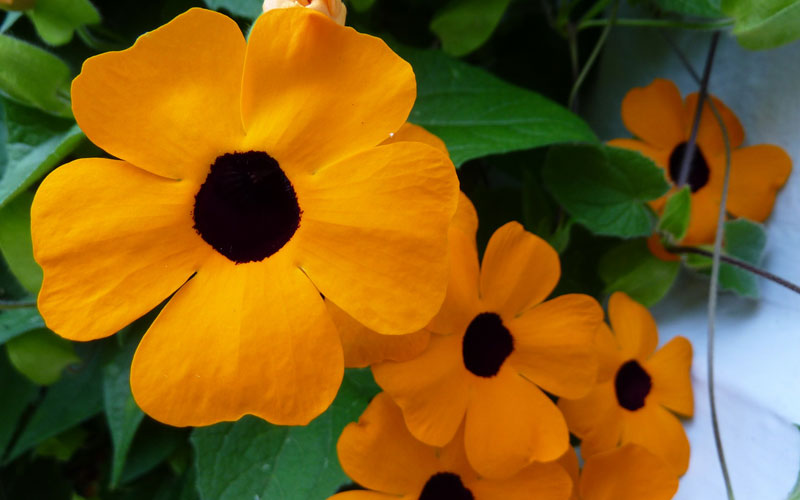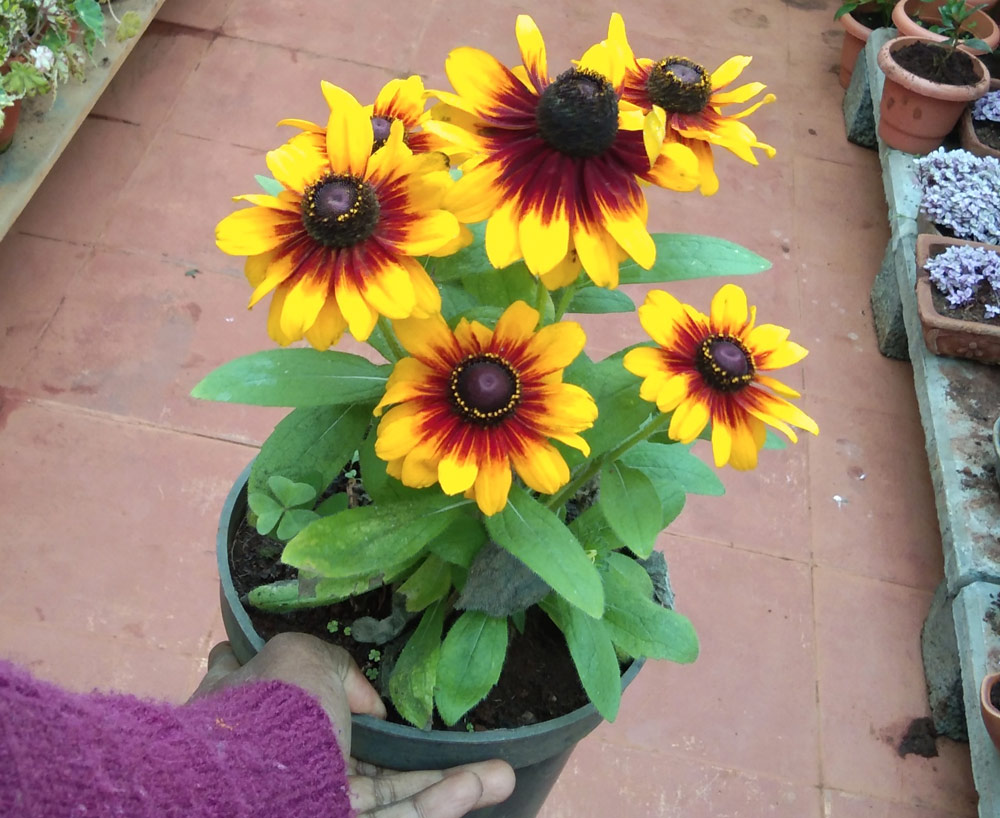
Looking to add a splash of vibrant color to your patio or balcony? Growing Black-eyed Susans in pots is a fantastic way to bring a sunny burst of yellow wherever you need it. These hardy flowers thrive in containers, allowing you to enjoy their cheerful blooms even if you lack garden space.
You don’t need a green thumb to get started. With a few simple steps, you can create a beautiful potted garden that will brighten your space throughout the summer. Just make sure your pots have good drainage, and place them where they’ll get plenty of sunlight for the best results.
Using the right soil mix and regular watering will keep your Black-eyed Susans happy and flourishing. Growing them in pots also makes it easier to control pests and diseases, ensuring your flowers stay healthy and beautiful. So, grab a pot, some soil, and let’s get planting!

Choosing the Right Pot
Selecting the perfect pot is essential for the healthy growth of Black-eyed Susans. Important factors to consider include the material of the pot, proper drainage, and the appropriate size for optimal plant development.
Pot Material
Pots come in various materials such as clay, plastic, ceramic, and metal. Clay pots are popular due to their breathability, which helps prevent root rot. Plastic pots are lightweight and retain moisture better, reducing the frequency of watering. Ceramic pots offer aesthetic appeal but can be heavy and prone to cracking in cold weather. Metal pots are durable but can heat up quickly in the sun, which may affect the roots. Each material has pros and cons, so balance your choice with your climate and aesthetic preferences.

Drainage Considerations
Proper drainage is crucial for preventing waterlogging, which can lead to root diseases. Ensure your chosen pot has drainage holes at the bottom. If the pot lacks holes, consider drilling some yourself. Placing a layer of gravel at the base of the pot can also help improve drainage. Using a saucer beneath the pot can protect surfaces from excess water, but remember to empty it to prevent stagnant water. Avoid using pots without drainage holes, as this will almost certainly lead to root problems.
Size Requirements
The size of the pot directly affects the growth of your Black-eyed Susans. A pot that is too small can restrict root growth, leading to poor plant development. A good starting size is a 12-14 inch diameter pot. This ensures enough space for roots to spread. If you plan to plant multiple Black-eyed Susans in one pot, choose a larger size to accommodate all the plants. Regularly check if the plant appears root-bound. If so, repot into a larger container to provide more room.

Planting Black-Eyed Susans
Planting Black-eyed Susans involves choosing the right soil, starting seeds properly, and carefully transplanting seedlings to ensure healthy growth.
Soil Selection
For Black-eyed Susans, use well-draining soil. A mix of potting soil, sand, and compost can provide a balanced medium. The ideal pH level is between 6.0 and 7.0.
Avoid heavy clay soils, as they retain too much water. If you’re using a commercial potting mix, choose one labeled for flowers. Ensure the pot has adequate drainage holes to prevent root rot.
Seed Starting Methods
You can start seeds indoors 6-8 weeks before the last frost. Fill small pots or seed trays with moist potting mix.
Lightly press the seeds into the soil and cover them with a thin layer of potting mix. Keep the soil consistently moist but not waterlogged. Place the seeds in a warm, sunny spot or under a grow light. Germination typically takes 7-14 days.
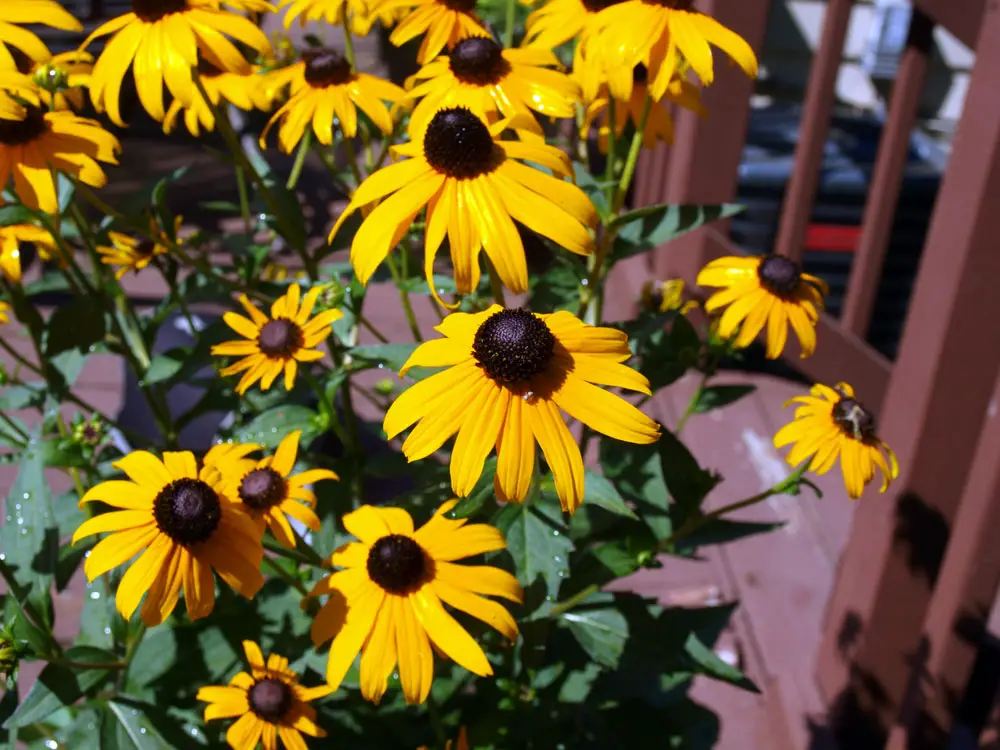
Transplanting Seedlings
Once the seedlings have at least two sets of true leaves, they are ready for transplanting.
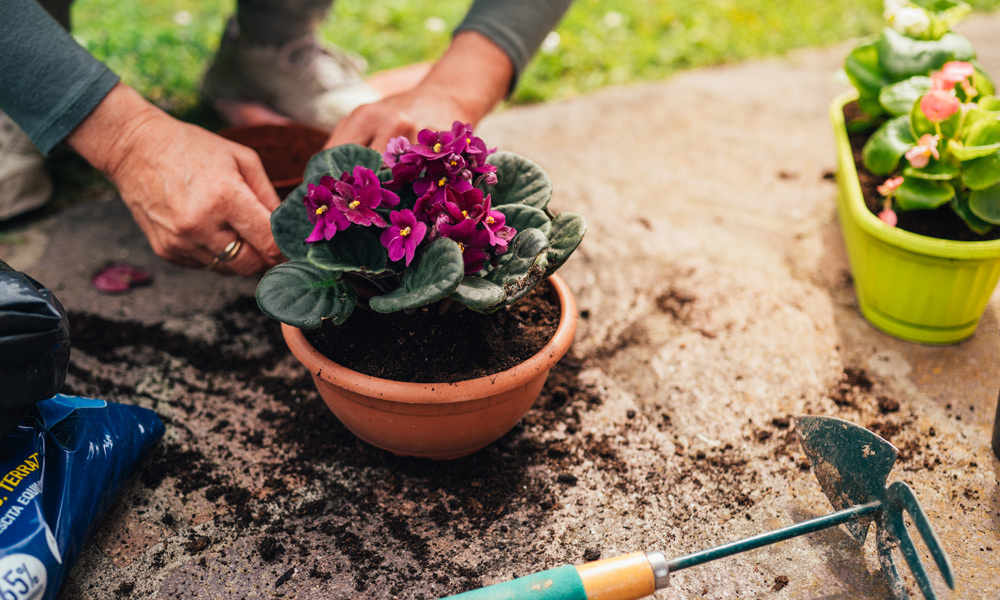
Choose a pot that is at least 12 inches in diameter. Carefully remove seedlings from their original containers, being gentle with the roots. Plant them in the new pot at the same depth they were growing before.
Water the seedlings thoroughly after transplanting. Keep the soil evenly moist until the plants are well established.
Caring for Your Potted Plants
Maintaining your potted Black-eyed Susans involves watering regularly, feeding with the right fertilizers, and ensuring proper pruning. Paying close attention to these aspects will help your plants thrive and blossom beautifully.
Watering Requirements
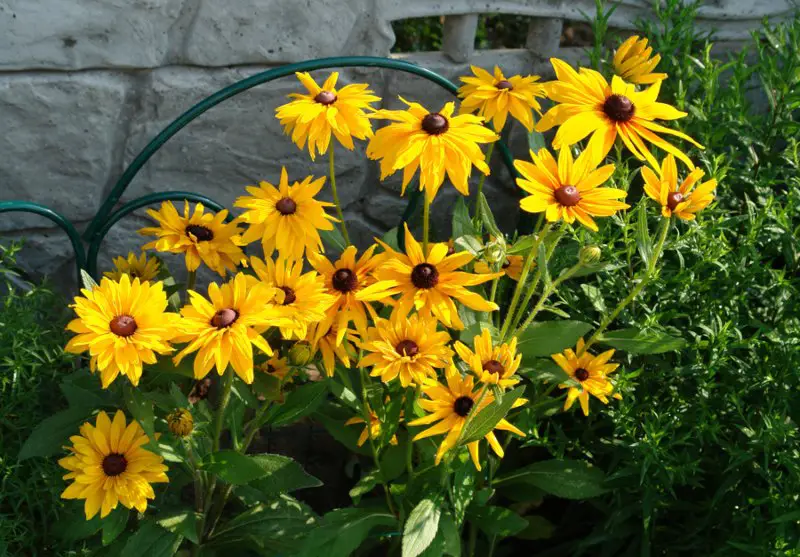
Black-eyed Susans need consistent moisture. Water your pots thoroughly, allowing water to soak through the soil until it drains out the bottom. During hot, dry spells, you might need to water them daily.
Be mindful not to overwater. Checking soil moisture by sticking your finger about an inch deep into the soil can help. If the soil feels dry, it’s time to water. Tip: Early morning or late afternoon watering reduces evaporation.
Feeding and Fertilization
Feeding your Black-eyed Susans is important for vibrant blooms. Use a balanced, slow-release fertilizer formulated for flowering plants. Apply this once in the early growing season.
During peak blooming times, a water-soluble fertilizer every 4-6 weeks can provide a nutrient boost. Avoid over-fertilizing as it can lead to lush foliage but fewer flowers. Organic options like compost tea are also great for these plants.
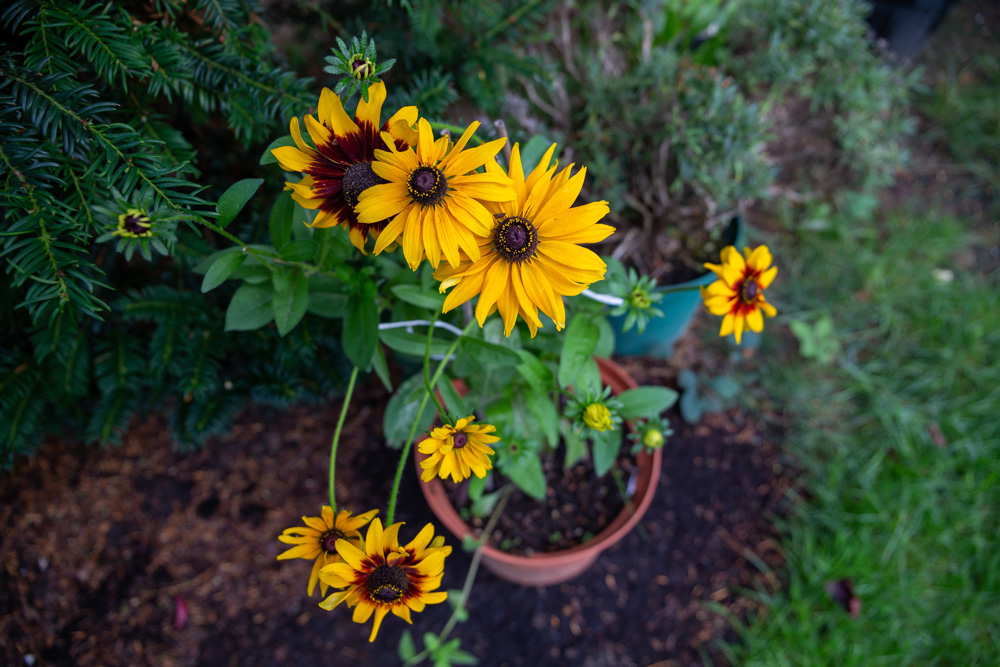
Pruning and Deadheading
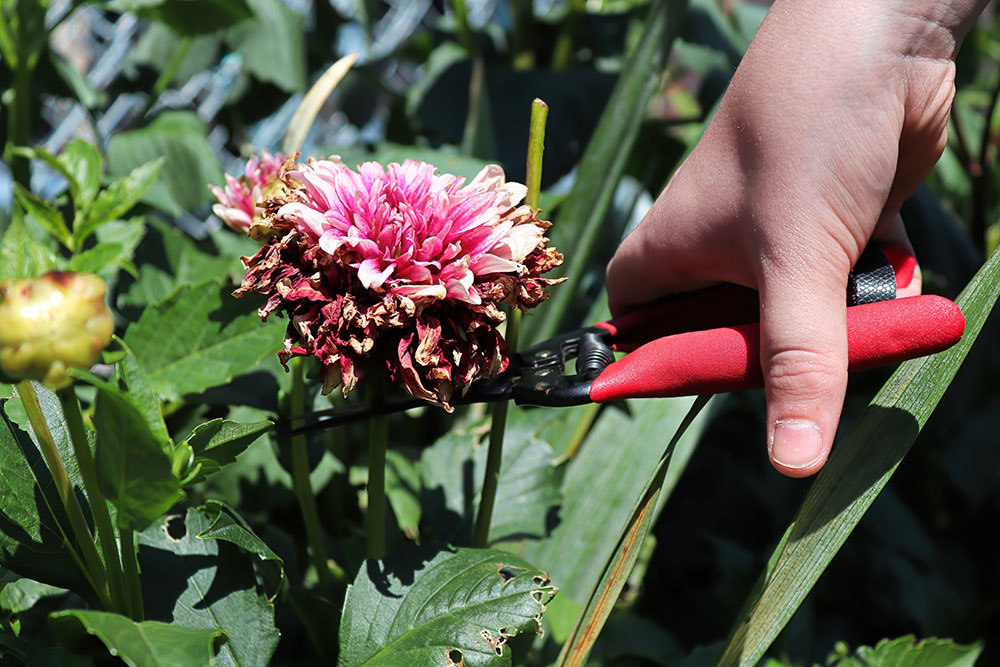
Regular pruning keeps your Black-eyed Susans healthy and looking good. Snip off spent blooms to encourage new flowers and prolong blooming.
Prune any dead or diseased foliage to prevent the spread of disease. In late fall, cut back the plants to about 2 inches from the soil to prepare for winter dormancy. Regular deadheading not only extends blooming but also promotes a tidier appearance.
Pest and Disease Management
When growing Black-eyed Susans in pots, you may encounter a few pests and diseases. Staying ahead of these problems will keep your plants healthy and vibrant.
Common Pests
- Aphids: Tiny insects that cluster on new growth.
- Controls: Spray with soapy water or use insecticidal soap.
- Spider Mites: Look for fine webbing and stippled leaves.
- Controls: Increase humidity and use a miticide.
- Slugs: These can chew holes in leaves.
- Controls: Use slug traps or sprinkle diatomaceous earth around plants.
Frequent Diseases
- Powdery Mildew: Appears as white powder on leaves.
- Controls: Ensure good air circulation and apply fungicides if needed.
- Leaf Spot: Brown or black spots on leaves.
- Controls: Remove affected leaves and avoid overhead watering.
Prevention Tips
- Keep Foliage Dry: Water the soil, not the leaves.
- Inspect Plants Regularly: Early detection is crucial.
- Use Clean Pots and Soil: Prevents disease introduction.
Following these guidelines will help you manage pests and diseases effectively. Keep a close eye on your Black-eyed Susans, and they’ll thrive beautifully in their pots.

