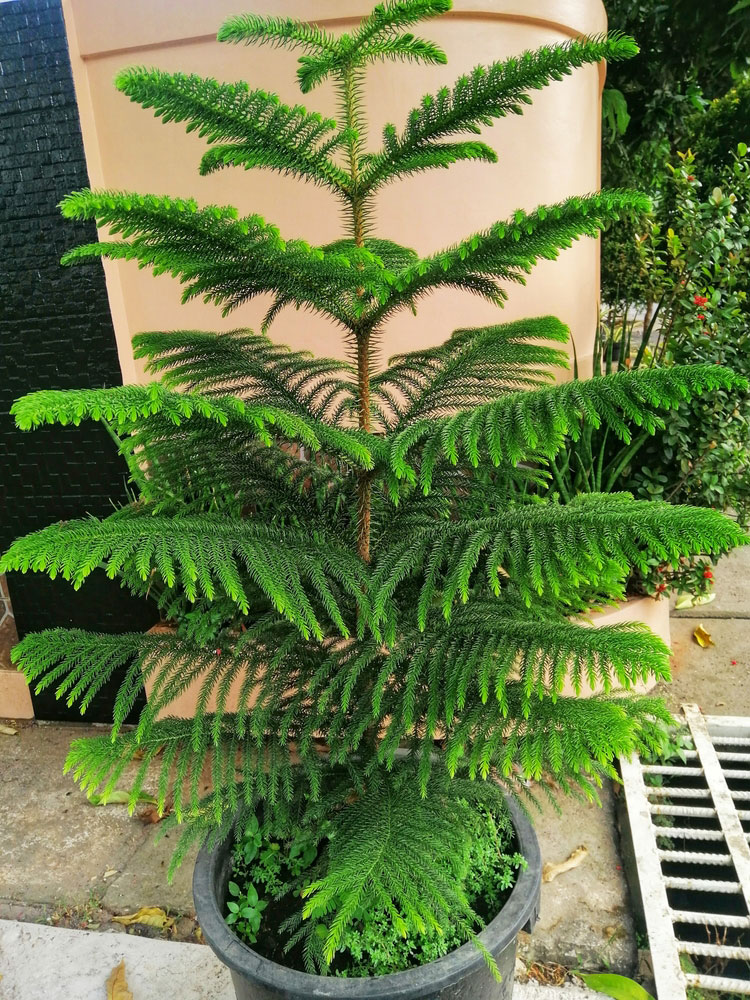
Looking to add a touch of tropical elegance to your indoor space? The Norfolk Island Pine (Araucaria heterophylla) might be your perfect green companion.
Despite its name, this stunning houseplant isn’t actually a pine tree – it’s a tropical evergreen that can transform your home into a slice of paradise.
Let’s dive into everything you need to know about nurturing these beautiful plants.
1. Finding the Perfect Spot: Light Requirements
Your Norfolk Island Pine dreams of bright, filtered sunlight. Place it near a window where it can bask in indirect light throughout the day. Direct sunlight can be harsh on its delicate needles, causing them to scorch.
Pro tip: Give your plant a quarter turn every few weeks. This simple rotation ensures all sides get equal light exposure, promoting symmetrical growth that enhances its natural Christmas tree-like shape.
2. Mastering the Art of Watering
Getting the watering routine right is crucial for your Norfolk Pine’s health. Check the top 1-2 inches of soil with your finger – if it feels dry, it’s time to water.
Water thoroughly until you see it flowing from the drainage holes. Empty the saucer afterward to prevent root rot. During winter months, reduce watering frequency as the plant’s growth naturally slows down.
For a 5-inch pot in low light conditions, expect to water approximately every 9 days. However, remember that factors like pot size, humidity, and season will influence your plant’s thirst.
3. Creating the Perfect Humid Environment
As tropical natives, Norfolk Island Pines thrive in humid conditions. Here’s how to keep your plant happy in drier indoor environments:
- Set up a humidity tray: Fill a shallow tray with pebbles and water
- Use a room humidifier near your plant
- Mist the foliage regularly with cool water
4. Temperature Matters
These tropical beauties prefer consistency in their environment. Maintain temperatures between 65°F and 75°F (18°C to 24°C) for optimal growth.
Keep your plant away from heating vents, air conditioners, and drafty windows. Sudden temperature changes can stress your Norfolk Pine, causing needle drop.
5. Soil Selection: The Foundation of Health
Your Norfolk Island Pine needs well-draining, slightly acidic soil to thrive. Create the perfect mix by combining:
- Quality potting soil
- Sand or perlite for drainage
- Peat moss for acidity
Aim for a pH between 4.5 and 5.5. This combination provides the perfect balance of nutrients and drainage while maintaining the acidity these plants love.
6. Feeding Your Norfolk Pine
During the growing season (spring and summer), your plant needs regular nutrients. Choose a balanced, water-soluble fertilizer for best results.
Feed your pine every 4-6 weeks, but dilute the fertilizer to half-strength. This gentler approach provides steady nutrition without the risk of burn.
7. Repotting for Growth
Watch for these signs that your Norfolk Pine needs a new home:
- Roots growing through drainage holes
- Plant becoming top-heavy
- Soil drying out very quickly
When repotting, choose a container just slightly larger than the current one. This prevents excess soil from holding too much moisture around the roots.
Every 2-3 years is typically the right interval for repotting. Time this task during the growing season to minimize stress on your plant.
8. Pruning and Shaping
Less is more when it comes to pruning your Norfolk Island Pine. Focus on removing dead or yellowing branches to maintain its natural form.
If you want a bushier plant, gently pinch the growing tips. This encourages branching but should be done sparingly to maintain the plant’s characteristic symmetry.
9. Keeping Pests at Bay
Regular inspection helps catch pest problems early. Look out for:
- Spider mites (tiny webs between needles)
- Scale insects (small brown bumps on stems)
- Aphids (clusters of tiny insects on new growth)
Treat any infestations promptly with insecticidal soap or neem oil. Prevention through proper care is your best defense against these unwanted visitors.
10. Summer Vacation Benefits
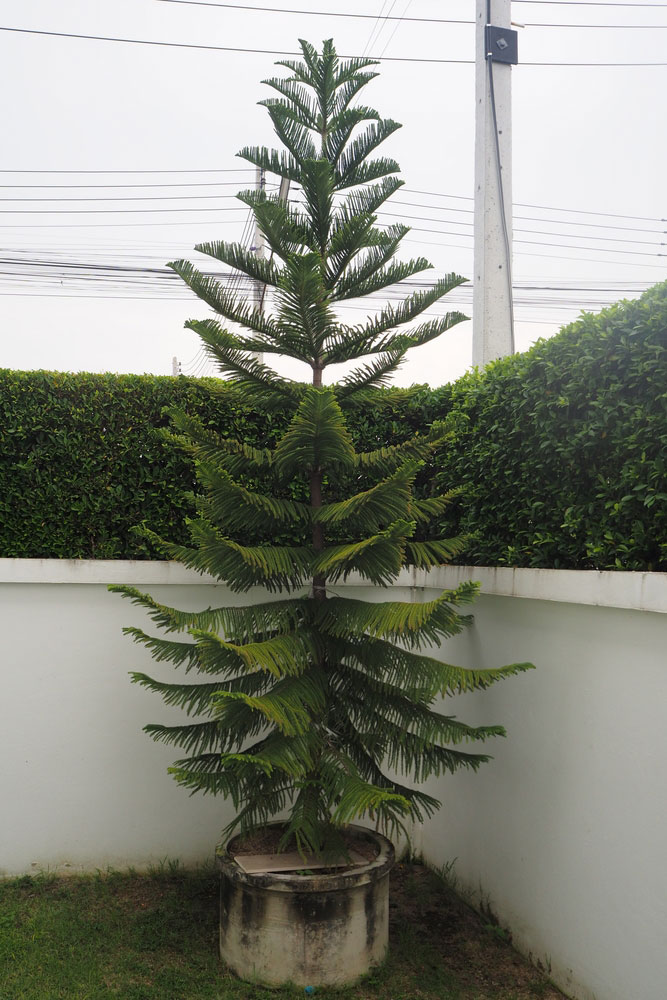
When summer arrives, consider giving your Norfolk Pine some outdoor time. Choose a sheltered spot with filtered light, and watch your plant flourish in the natural humidity and airflow.
Remember to bring it back indoors before temperatures drop below 50°F (10°C). This seasonal change can boost growth and rejuvenate your plant.
Final Growing Tips
Success with Norfolk Island Pines comes down to consistency. These plants appreciate stable conditions and regular care. Pay attention to their signals – dropping needles might indicate stress from improper watering or environmental changes.
With proper care, your Norfolk Island Pine can grow into a stunning focal point in your home, potentially reaching impressive heights even as an indoor plant. Their elegant symmetry and tropical charm make them worth every bit of attention they require.
Remember, each plant is unique and may need slight adjustments to these guidelines. Observe your pine’s response to care and adjust accordingly.


