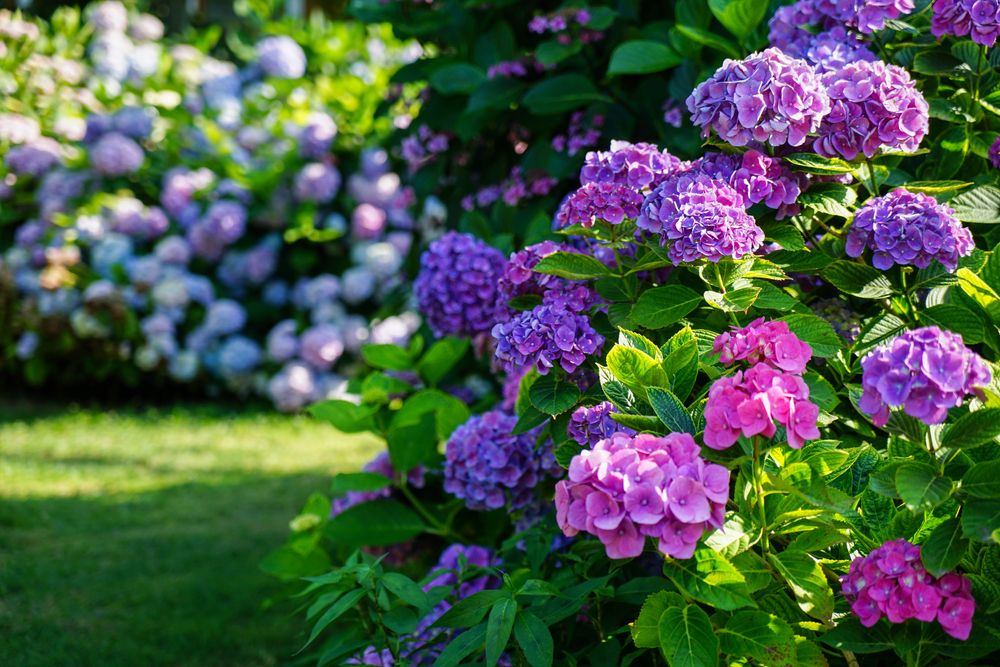
If you’re looking to enhance your garden’s beauty or simply need to move your hydrangeas to a more suitable spot, you’re in the right place. This article will provide you with crucial insights and practical advice to make the transplanting process smoother and more successful.
Transplanting hydrangeas might seem daunting, but with the right tips, you can ensure they thrive in their new location. Whether you’re a seasoned gardener or a beginner, these straightforward techniques will help you care for your beloved plants as you relocate them.
1. Choose the Right Season
Timing is crucial when moving your hydrangeas. The best seasons for transplanting are early spring or fall. During these periods, the weather is milder, reducing the stress on the plant.
Avoid transplanting in the heat of summer or the cold of winter. Extreme temperatures can shock the plant and hinder its growth. Choose a calm, overcast day for the move to further minimize stress.
2. Prepare the New Location
Choose a spot that gets morning sun and afternoon shade. Hydrangeas thrive in well-drained soil, so avoid low-lying areas where water collects.
Dig a hole twice as wide and just as deep as the root ball of your hydrangea. Add compost to enrich the soil.
Ensure there’s enough space for the plant to grow. Hydrangeas can spread, so plan for future growth.

3. Water Thoroughly Before Moving
Make sure to water your hydrangea deeply a day or two before moving. This helps the plant stay hydrated during the transition.
Well-hydrated roots are more resilient and less prone to damage. Avoid overwatering; just ensure the soil is moist.
Proper hydration increases the chances of a smooth and successful transplant.
4. Dig a Wide Trench Around the Plant
When moving your hydrangeas, digging a wide trench is crucial. Aim for at least 12 inches from the base. This ensures you capture a substantial portion of the root ball.
Make sure the trench is deep enough to avoid damaging roots. A depth of 12-18 inches is usually adequate. This also helps in lifting the plant more easily.
5. Lift Hydrangea with Care
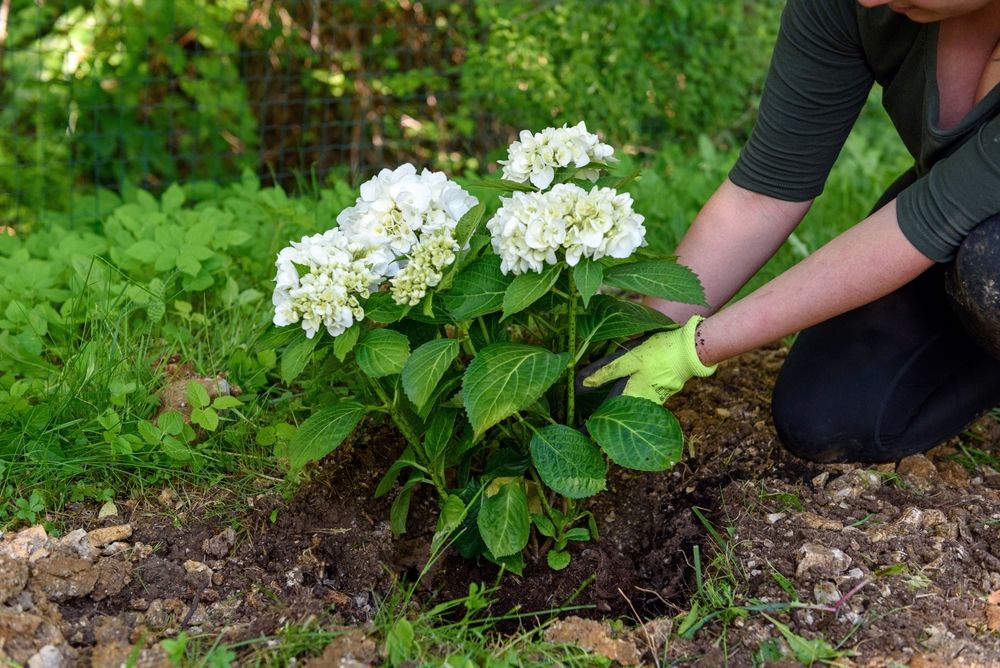
When lifting your hydrangea, make sure to dig around the plant to preserve the root ball. Use a spade or shovel to gently lift the plant, ensuring you don’t damage the roots.
Support the root ball with burlap or an old sheet for easier transport. Ensure the plant remains as stable as possible to avoid stress.
6. Transport Quickly and Safely
When moving your hydrangeas, minimize the time they spend out of the ground. Keep the roots covered and moist during transport. Use burlap or another breathable material to wrap the roots.
If the trip is long, spray the roots with water occasionally. Avoid leaving the plants in direct sunlight. Place them in a shaded area if you need to pause.

7. Prune Damaged Roots and Branches
When moving your hydrangeas, it’s essential to prune any damaged roots and branches.
This helps the plant focus its energy on new growth.
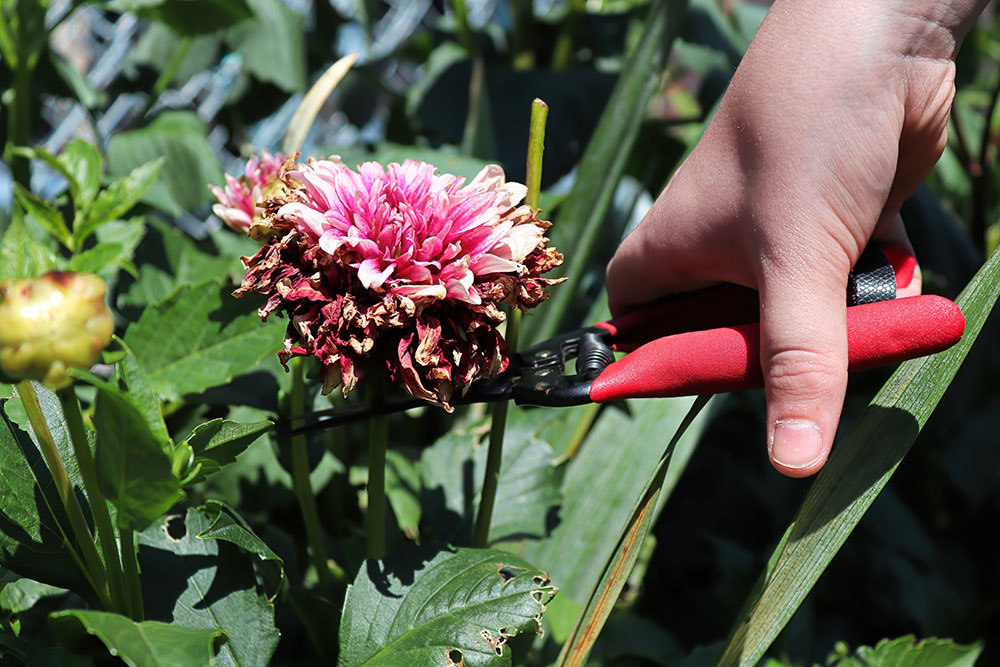
Use clean, sharp pruning shears to trim away any broken or diseased parts.
By removing these damaged areas, you give your hydrangeas a better chance to thrive in their new location.
It’s a small step that can make a big difference in their health and vitality.
8. Plant Immediately in New Location
When you dig up your hydrangeas, you need to transplant them as soon as possible. Keeping the roots exposed for too long can stress the plant and affect its chances of thriving.
Make sure the new hole is ready before you start digging up the hydrangea. This helps minimize the time the plant spends out of the ground.
9. Water Again After Transplanting
After moving your hydrangeas, give them a good soak. This helps settle the soil around the roots and reduces transplant shock.
Ensure the water reaches deep into the soil. Hydrangeas need consistent moisture to thrive, especially right after being transplanted.
Monitor the plant for the next few weeks, watering it regularly to promote strong root growth and healthy foliage.
10. Mulch to Retain Moisture
Mulching your hydrangeas after transplanting helps retain moisture. Use organic mulch like bark, wood chips, or straw.
Spread a 2-3 inch layer around the base, being careful not to touch the stems. This reduces water evaporation and keeps soil temperature stable.
Mulch also suppresses weeds, so your hydrangeas face less competition for nutrients and water.
Understanding Hydrangeas
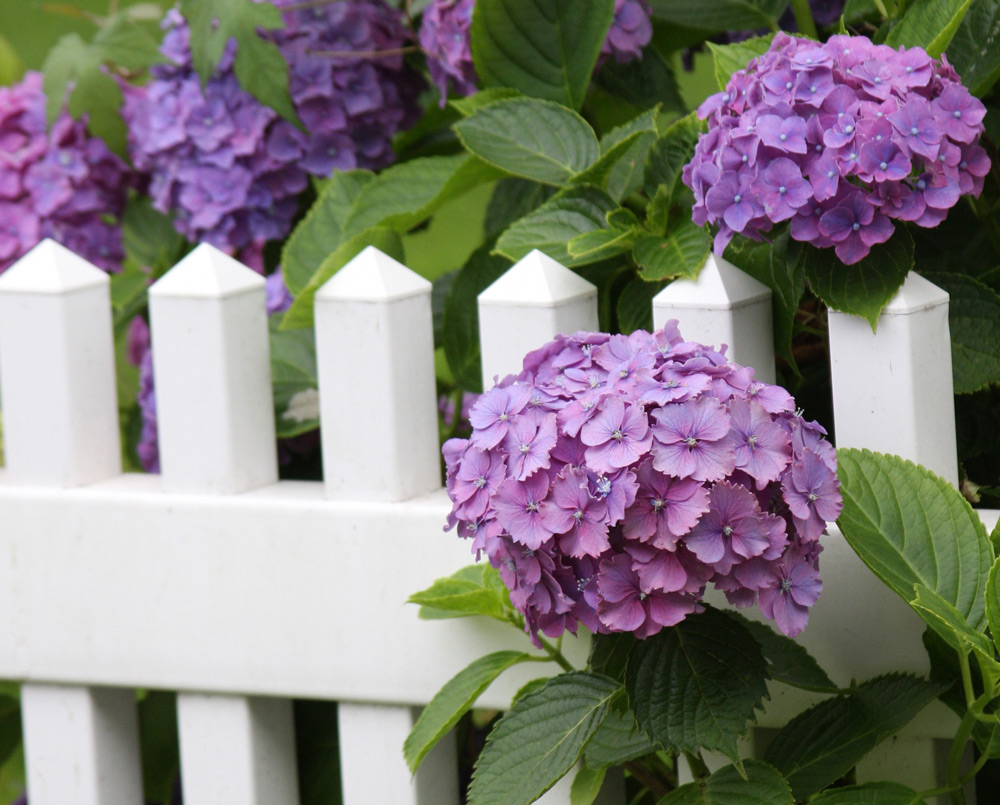
Hydrangeas are popular flowering shrubs known for their large, colorful blooms and versatility in various landscapes. They require specific conditions to thrive and come in several types, each with its own unique characteristics.
Types of Hydrangeas
There are several main types of hydrangeas that gardeners commonly grow:
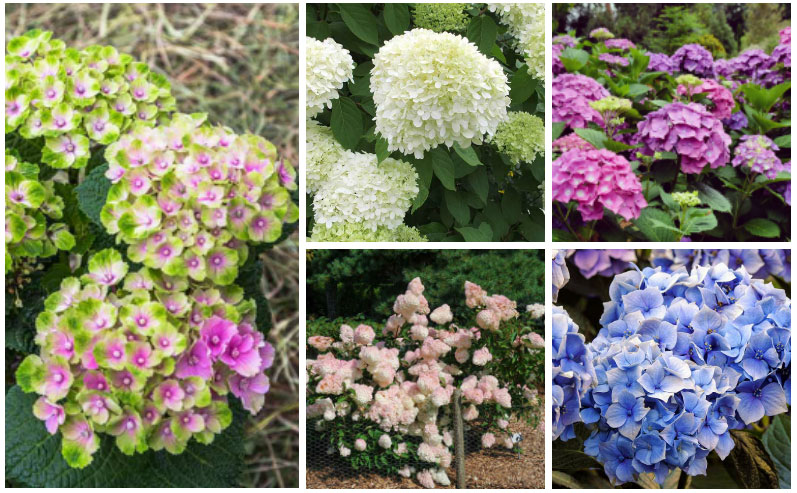
- Hydrangea macrophylla (Bigleaf Hydrangea): This type is known for its large, round flower heads and comes in two forms: mophead and lacecap.
- Hydrangea paniculata (Panicle Hydrangea): These have cone-shaped flower clusters and can withstand colder climates.
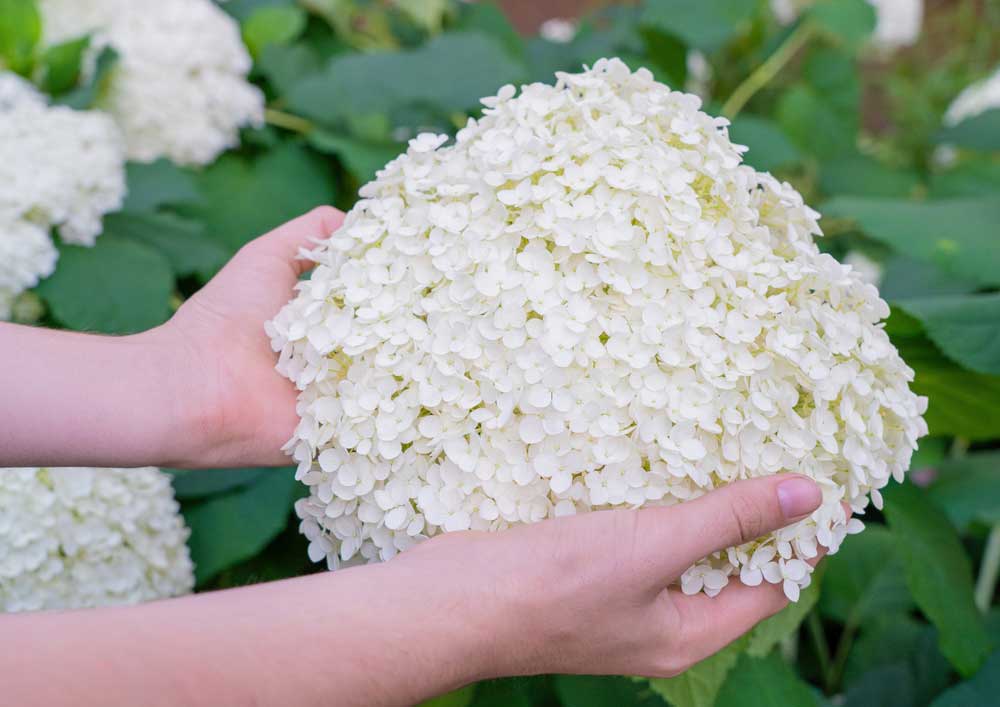
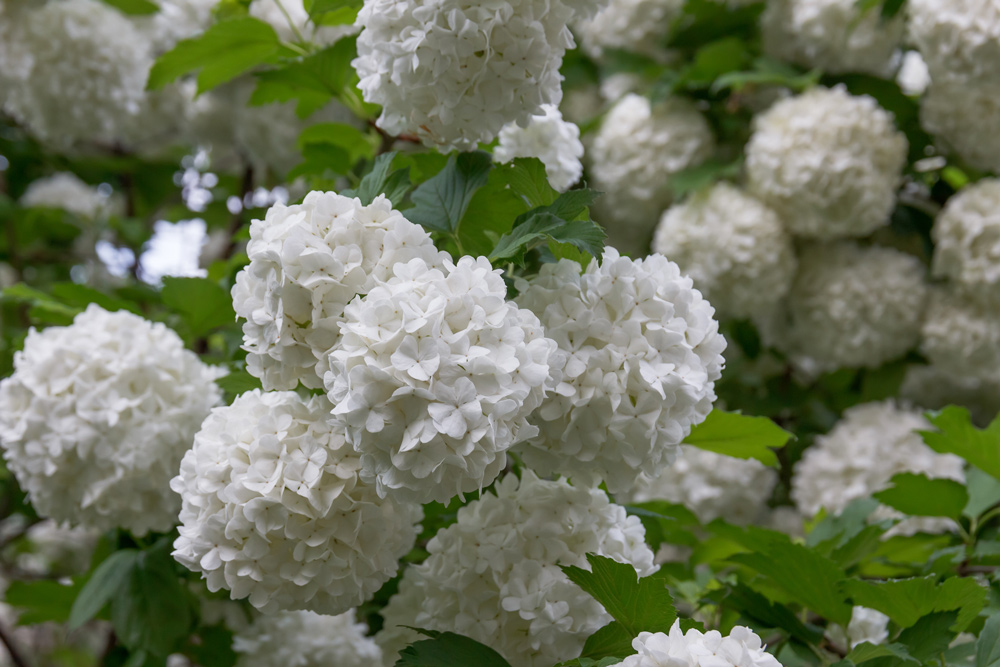
- Hydrangea arborescens (Smooth Hydrangea): Also known as ‘Annabelle’ hydrangeas, they have large, white flower heads and are hardy in a variety of soil types.
- Hydrangea quercifolia (Oakleaf Hydrangea): They boast uniquely shaped leaves resembling oak leaves and stunning fall foliage.
- Hydrangea anomala petiolaris (Climbing Hydrangea): This type climbs walls and trellises, producing lacy, fragrant flowers.
Understanding these types can help you choose the best varieties for your garden.
Ideal Growing Conditions
Hydrangeas thrive best in certain conditions:
- Sunlight: Most hydrangeas prefer morning sun with afternoon shade. Too much direct sunlight can cause wilting, while too much shade can reduce blooming.
- Soil: Hydrangeas like well-drained, fertile soil. Adding organic matter, such as compost, helps retain moisture and provides essential nutrients.
- Watering: These plants need consistent moisture, especially during dry periods. Mulching around the base helps retain soil moisture.
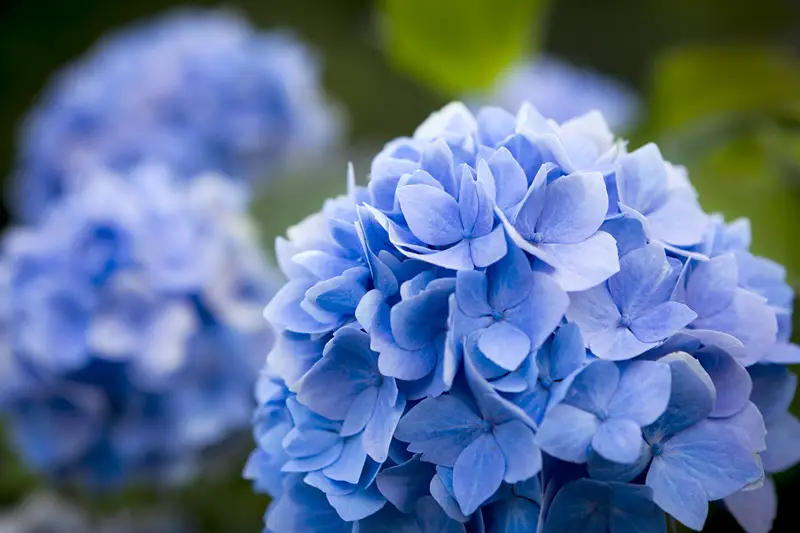
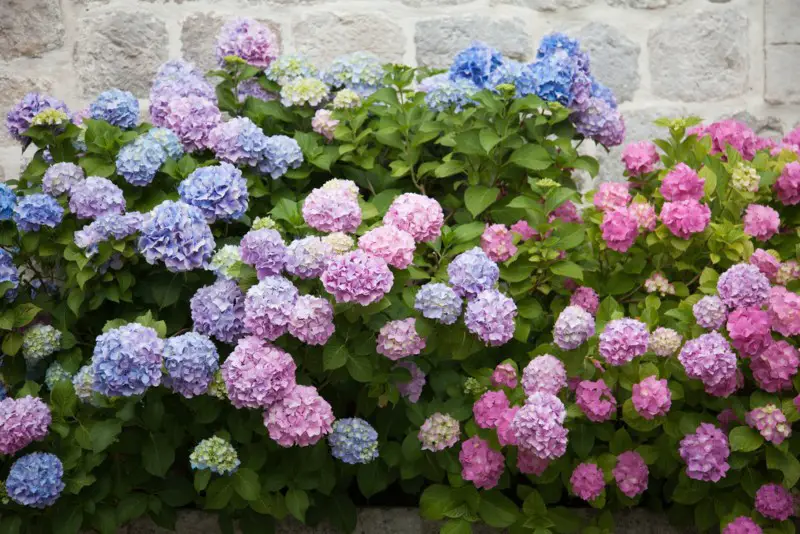
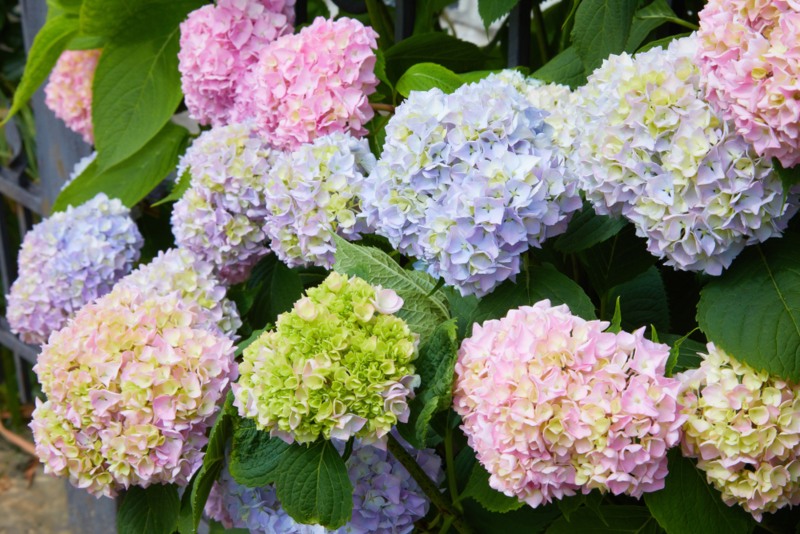
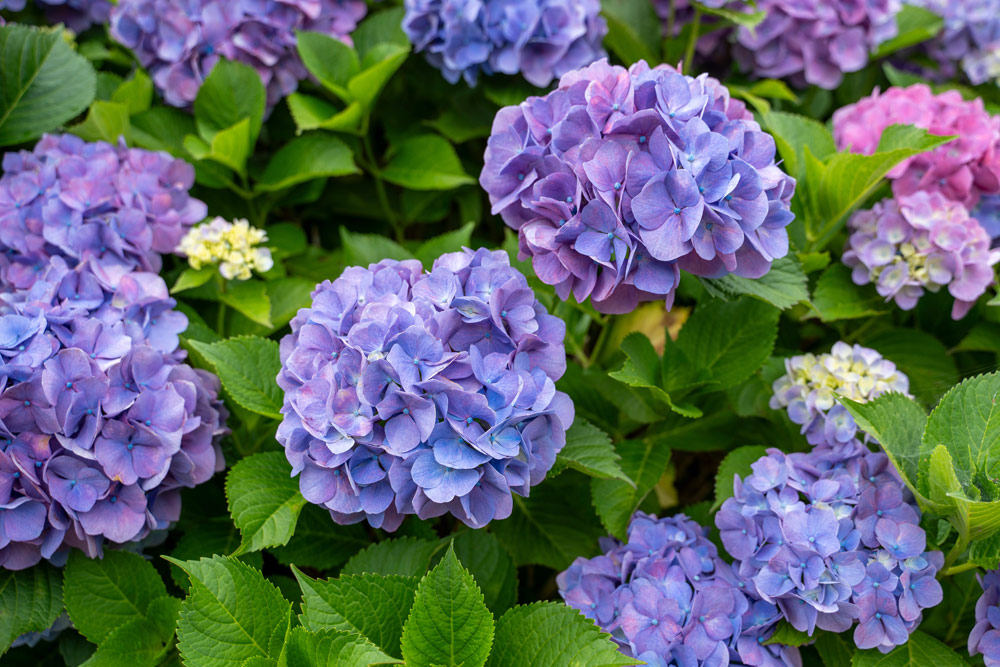
- pH Levels: Soil pH can affect the color of some hydrangea blooms. For example, acidic soil (pH 5.5 or lower) produces blue flowers, while alkaline soil (pH 6.5 or higher) results in pink blossoms.
Maintaining these conditions will ensure your hydrangeas flourish and produce vibrant blooms.
Before You Move Your Hydrangeas
Preparing to move your hydrangeas requires careful planning and attention to timing and location.
Choosing the Right Time
The best time to move hydrangeas is during their dormant period. For most regions, this means late autumn after the leaves have fallen or early spring before new growth begins. Moving plants during dormancy reduces stress and increases the chances of successful transplantation.
Avoid moving hydrangeas during extremely hot or cold temperatures. Extreme weather can shock the plant and hinder its ability to establish in the new location. Always plan to move your hydrangeas on a cool, overcast day.
Tip: Prepare the new location in advance, so your hydrangeas have the best chance to thrive as soon as they’re transplanted.
Selecting the New Location
Choosing the right spot is crucial for hydrangeas. They thrive in areas with morning sunlight and afternoon shade. Too much direct sunlight can cause wilting, while too much shade can limit flowering. Scout your garden to find an area meeting these light conditions.
The soil must be well-draining and rich in organic matter. Hydrangeas prefer a slightly acidic to neutral pH level. Test the soil and amend if necessary, adding compost or peat moss to improve drainage and nutrients.
Consider the mature size of your hydrangeas to ensure they have enough space to grow. Plan for at least 3 to 5 feet of spacing between each plant.
Step-by-Step Transplanting Guide
Transplanting hydrangeas successfully involves careful preparation, a precise transplanting process, and thorough aftercare. You’ll want to make sure your plant is ready for the move, handle it gently, and then provide post-transplant care to ensure it thrives in its new location.

Preparing the Plant for Moving
- Choose the Right Time: Early spring or fall are ideal times for moving hydrangeas. This allows the plant to establish roots before extreme weather.
- Water the Plant: Water the hydrangea thoroughly a few days before moving. This keeps the roots hydrated and reduces transplant shock.
- Prune the Plant: Lightly prune to make the plant easier to handle and reduce stress. Remove dead or damaged branches.
- Dig a Wide Trench: Carefully dig around the hydrangea, creating a wide trench. Aim to preserve as much of the root system as possible.
Transplanting Process
- Prepare the New Location: Select a spot with partial shade and well-drained soil. Dig a hole twice the size of the root ball.
- Lift the Plant: Gently lift the hydrangea from the ground, keeping the root ball intact. Use a shovel or garden fork to help lift it.
- Transport Carefully: Place the root ball on a tarp or in a wheelbarrow to move it without damaging the roots.
- Position in the New Hole: Lower the hydrangea into the new hole at the same depth it was previously planted. Fill the hole with soil, pressing gently to remove air pockets.
Aftercare Tips
- Water Regularly: Hydrate the plant immediately after transplanting. Continue to water deeply once a week, more frequently if the weather is hot or dry.
- Mulch Around the Base: Apply a layer of mulch around the base to retain moisture and regulate soil temperature. Keep mulch 2-3 inches from the stem to avoid rot.
- Monitor for Stress: Watch for signs of transplant shock, such as wilting or yellowing leaves. Provide extra water and consider using a plant booster.
- Avoid Fertilizing Immediately: Wait a few weeks before applying fertilizer. This allows the plant to adjust without the stress of nutrient overload.

