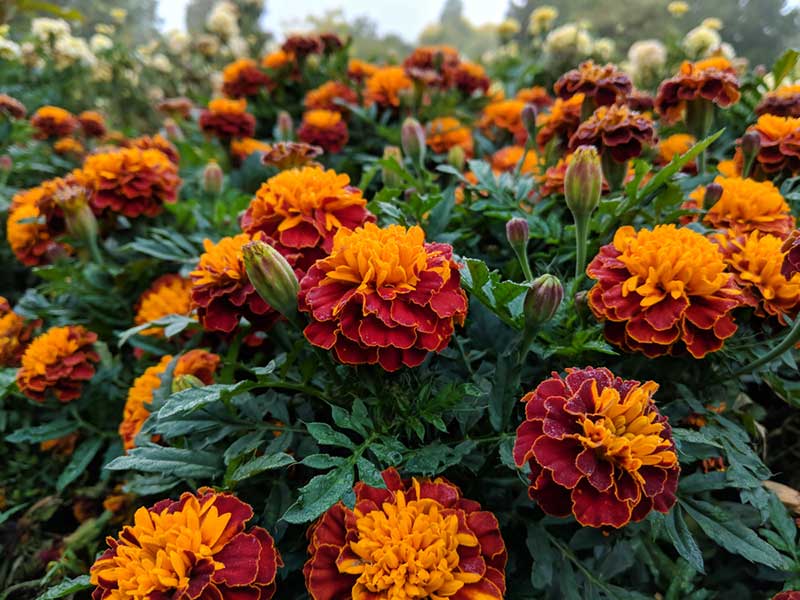
Marigolds are a vibrant addition to any garden, and the best part is you can easily harvest and save their seeds to enjoy their beauty year after year.
Harvesting marigold seeds is a straightforward process that can save you money and allow you to cultivate your favorite varieties. With just a bit of effort, you’ll be ready to expand your garden with marigolds you’ve grown yourself.
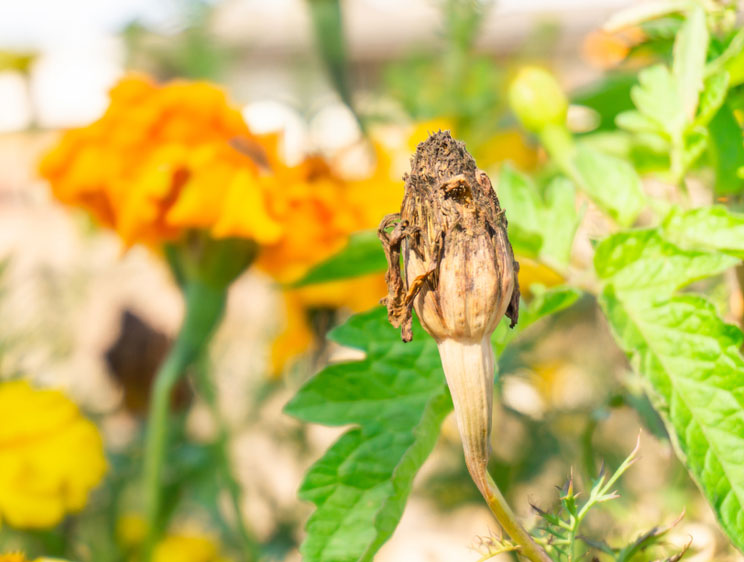
To begin, you’ll need to keep an eye on your marigold plants as they finish their blooming cycle. Look for flower heads that have dried out and turned brown.
These dried flower heads contain the seeds you’ll be collecting. Having a pair of scissors and a small container handy will make the process even smoother.
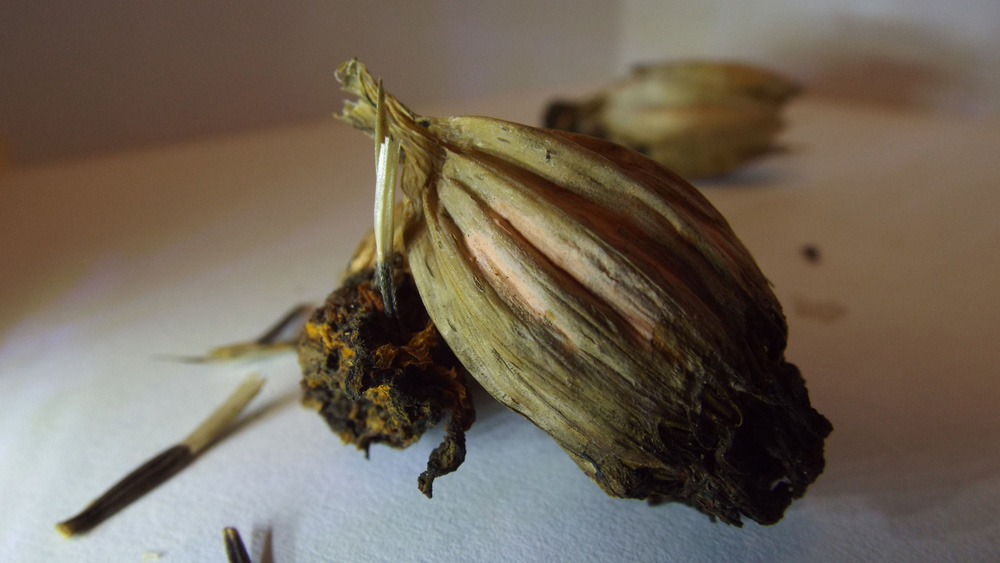
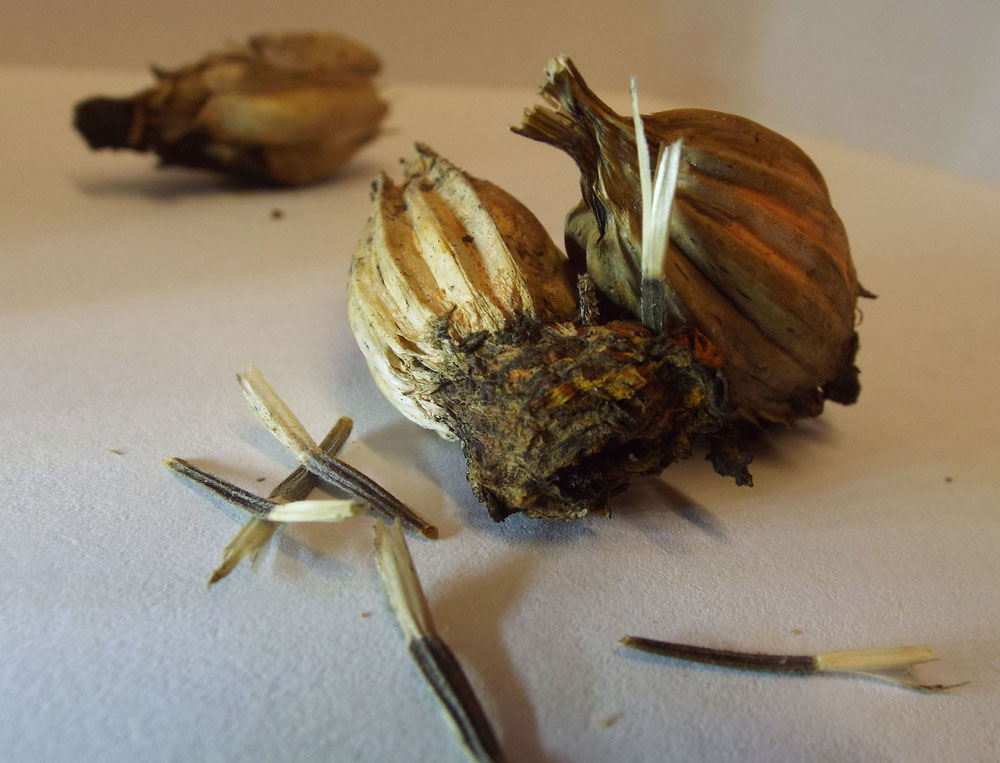
Once you’ve collected the flower heads, gently break them open to reveal the seeds inside. The seeds are thin and dark, usually with a bit of fluff attached. Store your seeds in a cool, dry place until you’re ready to plant them. By following these simple steps, you’ll be well on your way to a flourishing marigold garden.
Understanding Marigold Seeds
Marigold seeds come in various types and should be harvested at specific times to ensure quality. Knowing these details can make the process smoother and more successful.
Types of Marigold Seeds
Marigold seeds are generally classified into two main types: annual and perennial. Annual marigolds, including Tagetes erecta and Tagetes patula, complete their life cycle in one growing season. Perennial marigolds, such as Tagetes lucida, come back year after year if conditions are right.
You can also find hybrid marigold seeds, which are often bred for specific characteristics like color and size. Hybrids usually won’t produce seeds true to the parent plant, so keep that in mind if you prefer saving seeds.
Best Time for Harvesting
The ideal time to harvest marigold seeds is when the flower heads are completely dry and brown. This typically occurs late in the growing season, around late summer to early fall. Waiting too long can result in the seeds falling out and scattering.
To harvest, gently pull apart the flower head. The seeds are small, dark, and slender, often attached to a thin, papery husk. Be sure to store them in a cool, dry place until you’re ready to plant.
Preparing for Harvest
You’ll need to know how to spot ripe marigolds and gather the proper tools for a successful harvest. Here’s everything you need to get started.
Identifying Ripe Marigolds
Look for blooms that are fully open, vibrant, and slightly wilted. The petals should start to dry out but not fall off with a light touch. Brown, dry petals signal that the seeds are ready for harvesting.
Inspect the base of the flower. If it appears dry and the seeds inside are firm and dark, it’s time to collect. Avoid flowers that are still green or too fresh, as seeds from these may not germinate well.
Gather different varieties separately to prevent mixing. This ensures pure strains for next year’s planting.
Harvesting Process
To harvest marigold seeds, you’ll need to follow several key steps to ensure the seeds are viable. These steps include collecting the seed pods, removing seeds from the pods, and cleaning the seeds.
Collecting the Seed Pods
Wait until the flower heads are dried and brown before picking the seed pods. This usually happens a few weeks after the flowers have bloomed.
Pick a dry and sunny day to collect the pods to avoid mold.
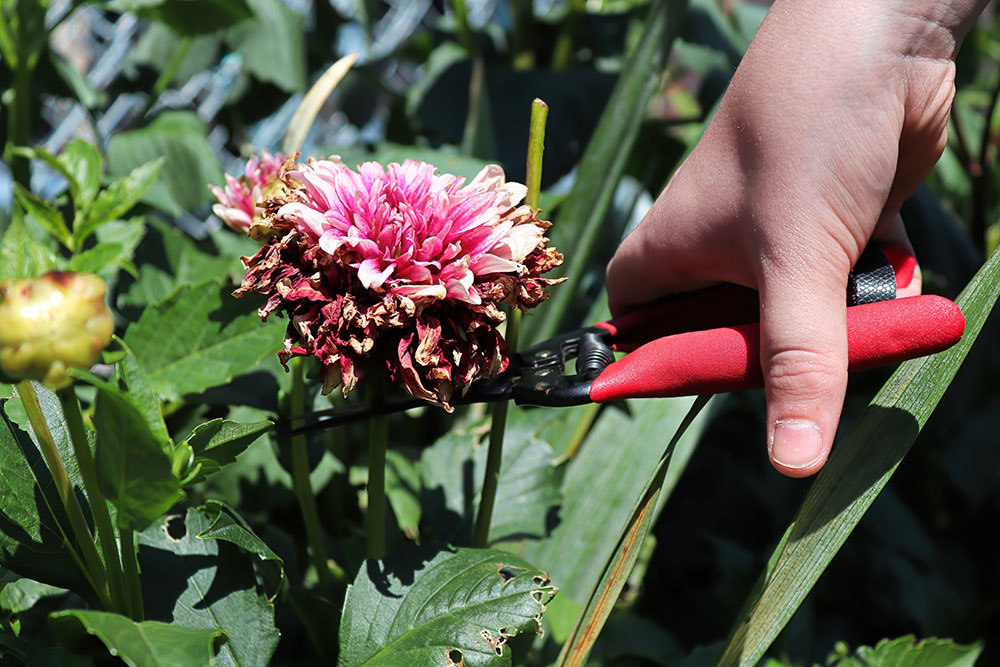
Use a pair of garden scissors to cut the flower heads off. Place the cut heads in a paper bag or a basket. It’s best to avoid plastic bags as they can trap moisture, leading to mold growth. Label the collection bag or basket with the marigold variety and the date.
Removing Seeds from Pods
Once you have collected the seed pods, let them dry for a few days in a warm, dry place. Spread them out on newspaper or paper towels to ensure even drying.
After they are completely dry, you can start removing the seeds. Gently break open the pods and separate the seeds from the chaff. Marigold seeds are long, slender, and dark with a light-colored tip. Discard any damaged or moldy seeds.
Cleaning the Seeds
Cleaning the seeds is an important step to ensure they are free from debris and easier to store. Sift the seeds through a fine mesh to remove any remaining chaff and plant material. You can also blow lightly on the seeds to remove lighter fragments.
Store the cleaned seeds in a paper envelope or a glass jar with a tight lid. Label the storage container with the marigold variety and the date harvested. Keep the seeds in a cool, dark place until you’re ready to plant them.
Drying and Storing the Seeds
To ensure your marigold seeds remain viable, it’s crucial to dry them properly and store them under the right conditions. Careful labeling and organization will help you keep track of your seed varieties.
Drying Techniques
Once you’ve collected your marigold seeds, spread them out in a single layer on a paper towel or a fine mesh screen. Make sure they are in a well-ventilated area with low humidity. Avoid direct sunlight, as it can damage the seeds.
Stir the seeds gently once a day to ensure even drying. It usually takes about one to two weeks for the seeds to dry completely. You’ll know they’re ready when they are brittle and can snap easily.
Proper Storage Conditions
Store your dried marigold seeds in an airtight container to protect them from moisture and pests. Glass jars with tight-fitting lids or resealable plastic bags work well. Add a small packet of silica gel to absorb any residual moisture.
Keep the container in a cool, dark place, such as a pantry or a basement. Ideal storage temperatures range from 32°F to 41°F (0°C to 5°C). Always ensure that the storage area is free from frequent temperature fluctuations.
Labeling and Organizing Seeds
Label each container with the seed variety and the date of harvest. This information is crucial for tracking the age and viability of your seeds. Use permanent markers or printed labels to ensure the information remains legible over time.
Organize your containers in a designated space so they’re easy to find when planting season arrives. Consider using a seed box or a drawer with compartments. Keeping your seeds well-organized will save you time and effort in the long run.
Sowing Marigold Seeds
Sowing marigold seeds involves understanding the right timing and preparing the soil adequately. Timing ensures the seeds germinate effectively, while proper soil preparation provides the nutrients needed for strong growth.
Timing and Seasonality
For optimal germination, sow marigold seeds in the spring after the last frost. Start indoors 6-8 weeks before the last frost date if you want early blooms. Marigolds thrive in warm temperatures, so waiting until the soil has warmed up helps.
Outdoor sowing works best when soil temperatures reach around 70°F (21°C). This ensures that your seeds sprout quickly and robustly. Keep a watchful eye on weather forecasts and allow flexibility in your planting schedule.
Soil Preparation and Sowing
Choose well-draining soil rich in organic matter. Begin by loosening the soil to a depth of about 6 inches. Add compost or aged manure, mixing it thoroughly to enrich the soil.
Plant seeds about 1/4 inch deep, spacing them 1-2 inches apart. Lightly cover with soil and water gently. Keep the soil consistently moist but avoid waterlogging. Marigolds need light to germinate, so avoid burying the seeds too deep.
Once seedlings appear, thin them to about 8-18 inches apart, depending on marigold variety. This spacing ensures enough room for each plant to grow without competition.

