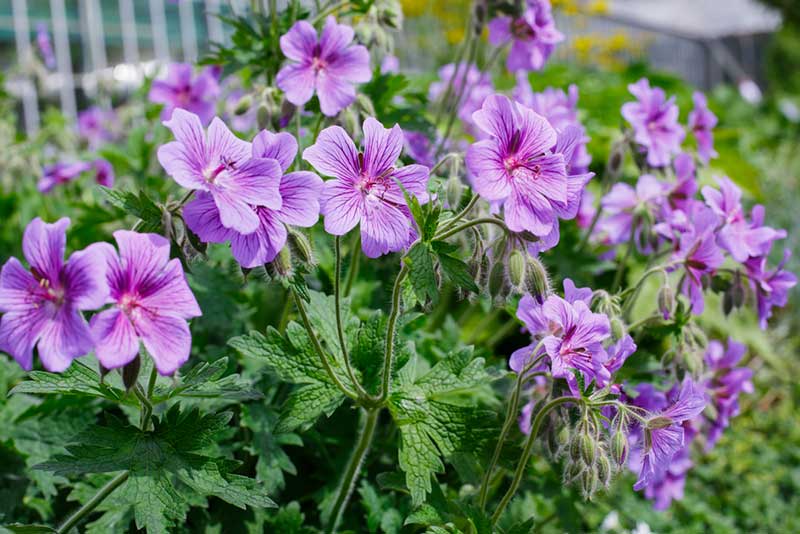
Cranesbill geraniums, also called hardy geraniums, are flowering perennials that thrive in USDA plant hardiness zones 3 through 8 and should not be confused with florist geraniums (pelargoniums) with their showy globe-shaped blooms. While they are closely related, the two plants have significant differences in growing habits and blooming.
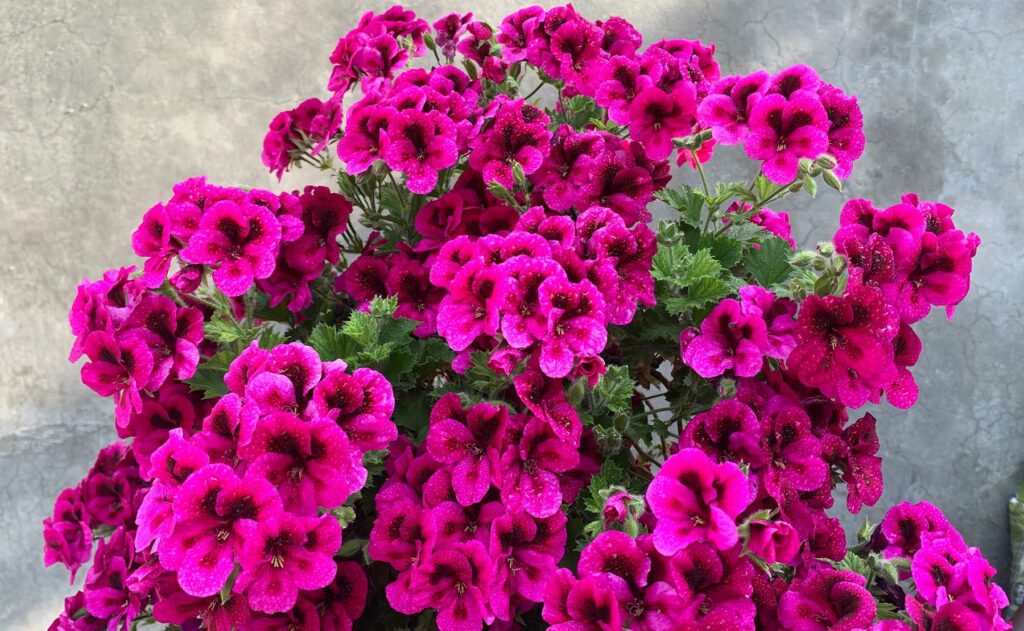
Cranesbill geraniums are typically low growing as they creep along the ground. While some can reach heights of 20 inches most are shorter. Individual flowers look like their cousin the florist germanium, but they do not form large globe-shaped clusters. Flowers are held individually slightly above the foliage.
Bloom colors range from white to shades of pink, purple and blue and may be either single or double petaled depending on the cultivar. The foliage is deeply cut and lacey and may turn brilliant shades of bronze or red in the fall.
Cranesbill geraniums attract bees and butterflies to the garden adding movement and color to the flowerbed.
Light and Temperature
Cranesbill geraniums enjoy both full and partial sun, depending on the variety. Most thrive in strong morning light with partial shade during the hottest part of the day. They can be planted in the perennial bed underneath shrubs like azaleas if they get some direct sunlight during the day.
Watering
Cranesbill geraniums like moist soil but will tolerate drier soil if necessary. As a rule, they require 1 to 2 inches of rainfall a week. If you do not receive enough rain, supplemental watering may be necessary. Water them in the morning when the air is cool and still to avoid moisture loss to wind and evaporation. Otherwise, water them in the evening allowing time for the foliage to dry before darkness falls.
Saturate the soil to the root level. Deep watering encourages healthy root formation and makes your plants better able to withstand dry spells. Frequent shallow watering causes roots to form near the surface of the soil making your plants susceptible to stress.

Soil and Fertilizing
Cranesbill geraniums prefer humus-rich soil that is slightly moist. You can accomplish this my adding a 2-to-3-inch layer of organic matter, such as compost or well-rotted manure to the planting site and working it into the existing soil at planting time.
Mulching with pine straw, bark or other organic mulch will further help to retain moisture and suppress weeds.
Cranesbill geraniums require little supplemental fertilizer if they are grown in rich soil but will benefit from an application of a balance fertilizer in the spring when new growth appears.
Deadheading and Pruning
Deadheading the old and faded blooms from your cranesbill geraniums will force new blooms to form as it tricks the plant into thinking it has not produced enough seeds to reproduce and will make the plants look better, too. However, if you intend to harvest seeds for starting new geraniums plants you will need to let some of the flowers go to seed on the plant.
Cranesbill geraniums can also be cut back by one third in mid-summer if they become scraggly or cease blooming. This forces new plant growth and a new flush of blooms within a few weeks. Fertilizing them now with a balanced fertilizer will also help to rejuvenate the plant.

Propagation
Cranesbill geraniums can be propagated via cuttings or by lifting and dividing the roots in the early spring or fall.
Dividing Cranesbill Geraniums
- To divide your hardy geraniums, water the area well the day before. This makes digging and lifting them easier.
- Dig around the base of the plants with a shovel or garden fork and slide the blade underneath the clumps of roots.
- Lift the entire plant from the soil.
- Remove excess soil on the roots by shaking or use a garden hose to wash it away.
- Separate the roots into two of more sections.
- Check the roots and cut off any soft or discolored roots.
- Transplant the sections to prepared soil in similar growing conditions as the original plants.
Rooting Cuttings from Cranesbill Geraniums
- Take 4-to-6-inch cuttings from the growing tips of your geraniums, cutting just above a leaf node. The stem should be flexible.
- Remove all but two or three leaves from the stem. The bottom of the stem should be free of leaves.
- Place the cutting in an opaque vase or glass filled with tepid water.
- Place the cuttings on a sunny windowsill to root.
- Change the water once or twice a week or whenever it becomes discolored.
- Pot the cuttings in individual pots when the roots are 2 to 3 inches long.
Growing Cranesbill Geranium from Seed
Sow cranesbill geranium seeds in the garden in the fall by scattering the seeds over the soil and raking them in gently. The seeds will germinate and grow in the spring.
Because cranesbill seeds need cold stratification, you cannot save the seeds and plant them in the spring unless you subject them to cold temperatures for 60 days. You can do this by mixing them with moist sand and placing them in the refrigerator for 60 days. You can then either plant the seeds outside in the spring or start them inside in seed starting trays or pots.