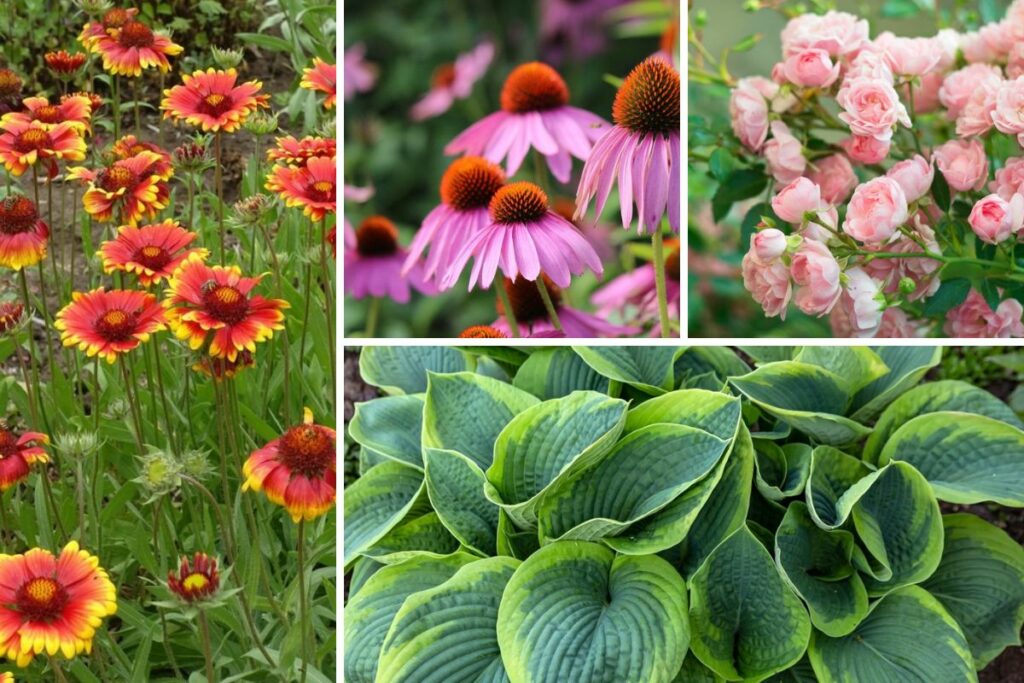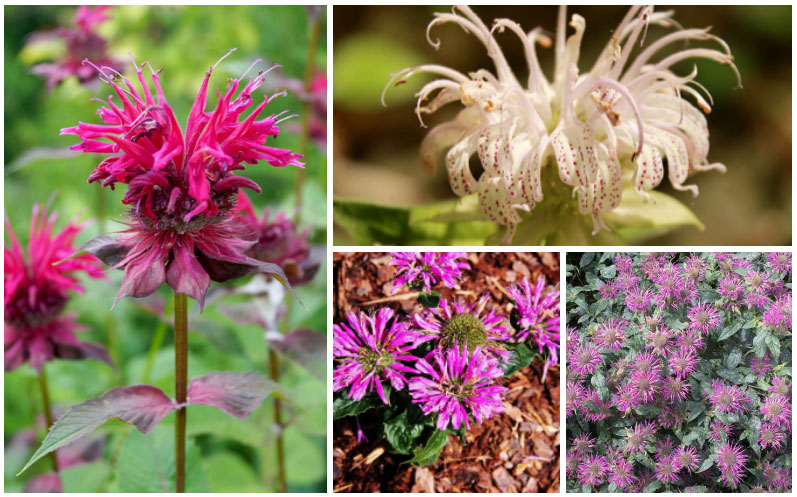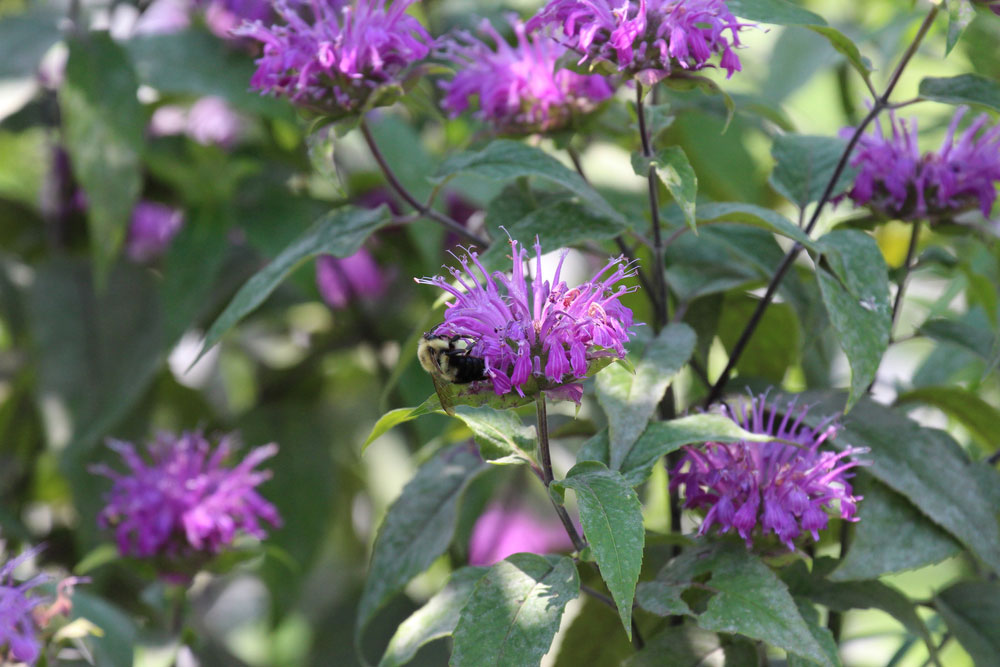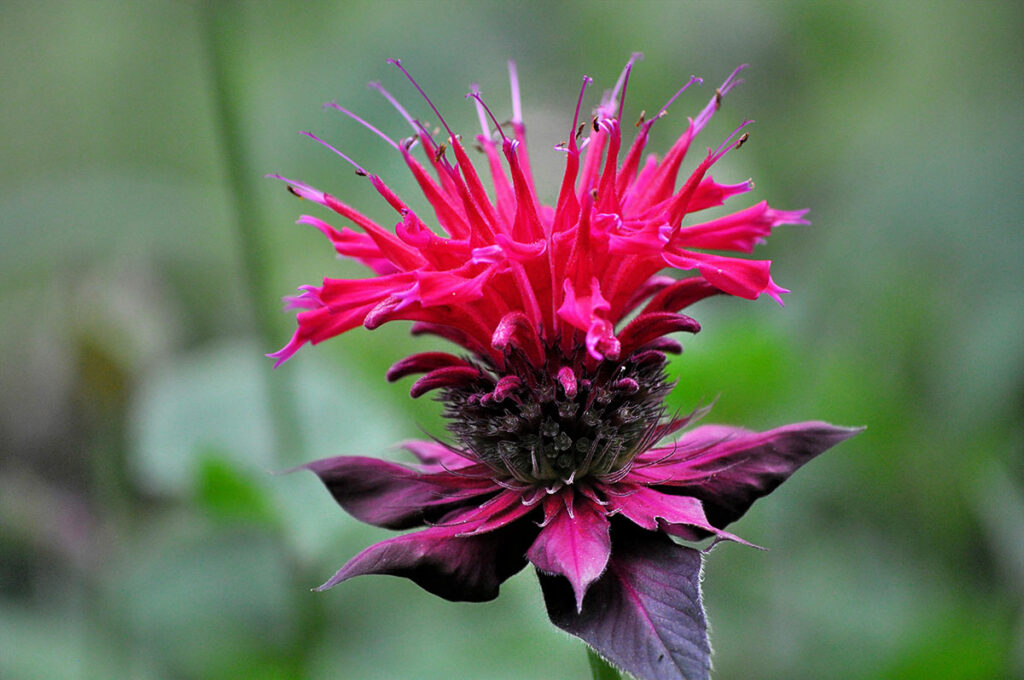
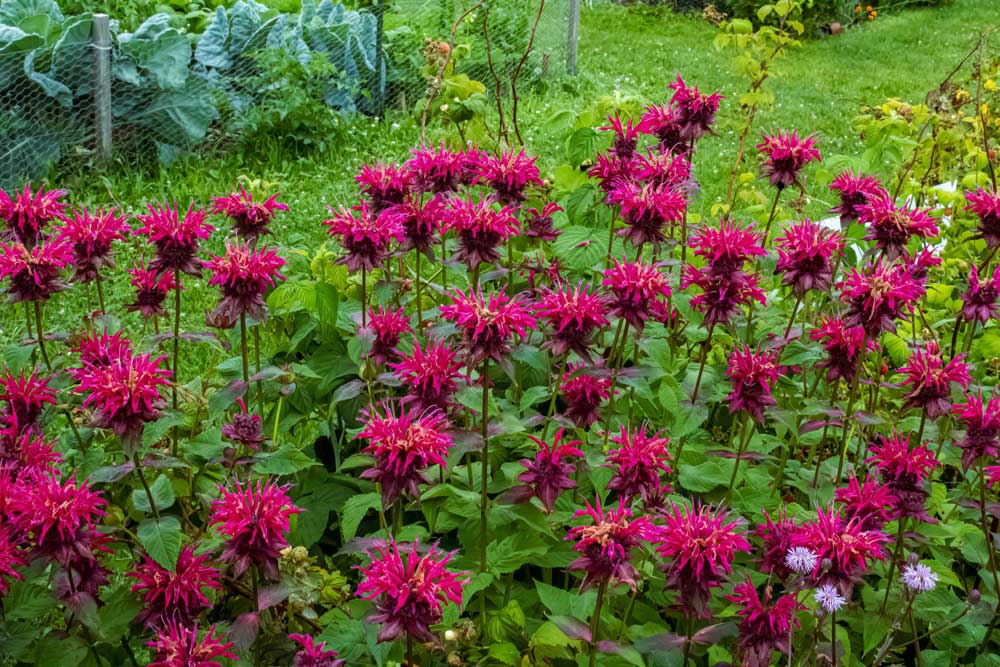
Bee balms, also known as Monarda, are colorful and fragrant plants popular among gardeners worldwide. Aside from their captivating flowers, they also have medicinal properties.
Bee balms can be propagated from seeds, but propagating them from cuttings is an effective way to create new plants identical to the parent plant.
Propagating bee balm from cuttings is a simple process that involves taking a stem cutting, preparing the soil, and planting the cutting. It also involves caring for the cuttings until they develop roots.
The Importance of Choosing the Right Plant
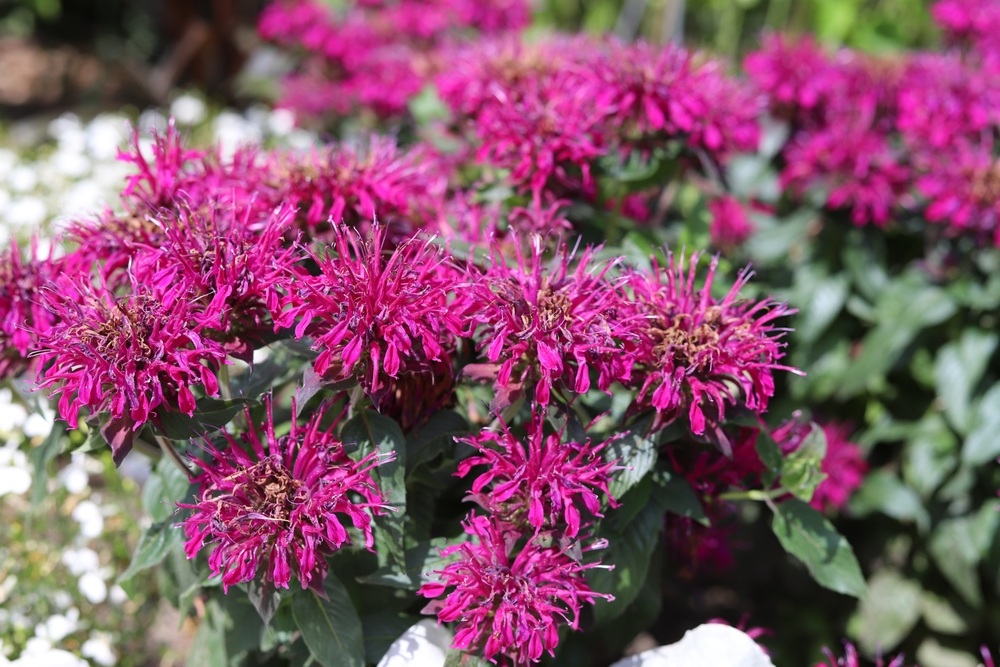
Choosing healthy, mature bee balm to take cuttings from is crucial for successful propagation.
They’re better candidates for propagation because they’ve already developed a strong root system.
Moreover, you have to make sure that the parent plant is healthy and free from any diseases or pests. This ensures that the new plants are more likely to grow properly.
A parent plant with strong stems and leaves is also essential, as weak or damaged stems are less likely to take root and develop into new plants.
How to Propagate Bee Balm from Cuttings
In this section, we’ll be giving you a step-by-step guide to propagating bee balm from cuttings:
Materials Needed
Propagating bee balm from cuttings requires a few basic materials:
- Healthy bee balm plant with strong stems and leaves
- Pruning shears or scissors to cut the stem
- Rooting hormone powder (optional)
- Small pots or containers to plant the cuttings
- Potting soil
- Water
Steps in Propagating
To ensure your success in propagating bee balm from cuttings, follow these simple steps:
Step 1: First, using pruning shears or scissors, cut a 4–6 inch stem from the top of the plant. Ensure that the stem is not flowering, and has at least 2–3 sets of leaves.
Step 2: Next, strip all the lower leaves from the lower half of the cutting. This ensures that the cutting will focus its energy on root growth rather than leaf growth.
TIP: If you want to give your cutting an extra boost, dip the cut end of the stem in rooting hormone powder. It’ll help the cutting quickly develop its roots.
Step 3: Then, fill a small pot or container with potting soil and moisten it with water. Make a hole in the center with a pencil or finger, at least 1–2 inches deep.
Step 4: Insert the cutting into the hole and gently press the soil around it to keep it in place. Place the pot in a bright and warm location, away from direct sunlight.
Over the next few weeks, keep the soil moist, but not waterlogged. Don’t allow the soil to dry out completely.
After a few weeks, the cutting should start developing roots. You can check this by gently tugging on the stem. If there’s resistance, roots have started to grow.
Once the cutting has developed a root system, it can be transferred to a larger pot or directly into the ground.
Tips for Success
Successfully propagating bee balm from cuttings requires attention to detail and proper care. This section includes additional tips and tricks to help you achieve success.
Choose the Right Time for Planting
Choose the right time of the year to take cuttings. The best time to do this is in late spring or early summer, when the plant is actively growing. Avoid taking cuttings when the plant is dormant, as this can reduce the chances of success.
Water Consistently
Keep the soil moist but not waterlogged. Bee balm cuttings require a consistently moist environment to encourage root development. However, too much moisture can cause the roots to rot. Make sure the soil is well-draining to prevent water from accumulating.
Choose an Ideal Location
Place the pot or container in a warm and bright location. Bee balm cuttings need warmth and light to encourage growth, but direct sunlight can be too intense and cause the cuttings to be sunburned and dried out. For this reason, a windowsill or a greenhouse is an ideal location.
Check for Rooting
Check the cutting for roots after a few weeks. Gently tug on the cutting to see if it has developed roots. If the cutting resists, this means that the roots have formed, and the cutting is steadily growing. If it easily comes out, it may need more time to develop.
Conclusion
Propagating bee balms from cuttings is an enjoyable and rewarding activity.
By choosing healthy parent plants and following simple steps for propagation, you can easily propagate bee balm. Additionally, by utilizing the tips for success, you create beautiful plants for your garden.