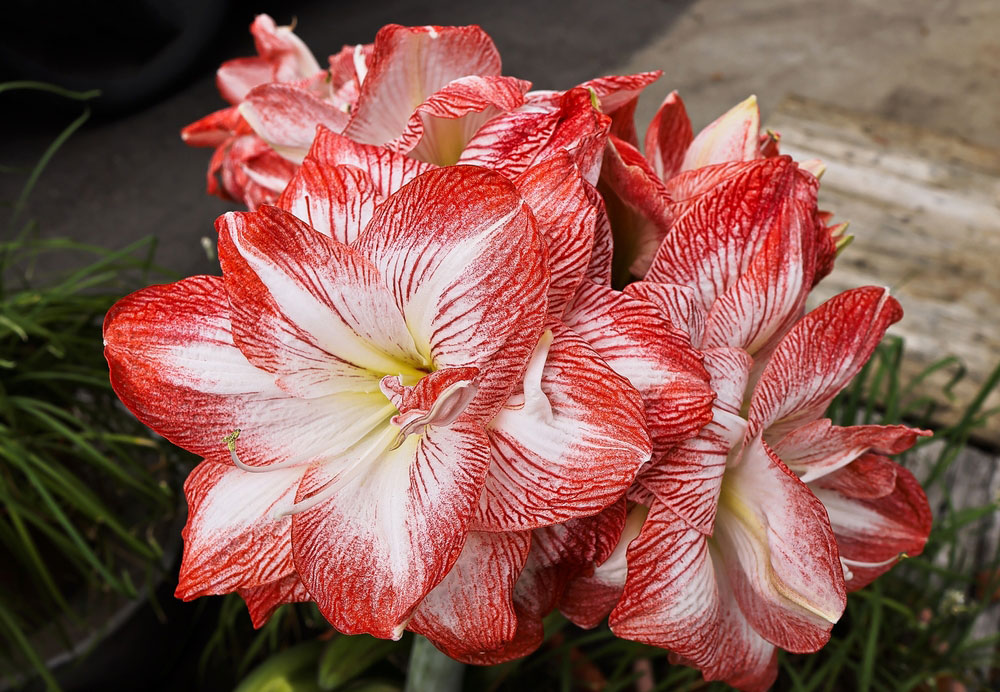
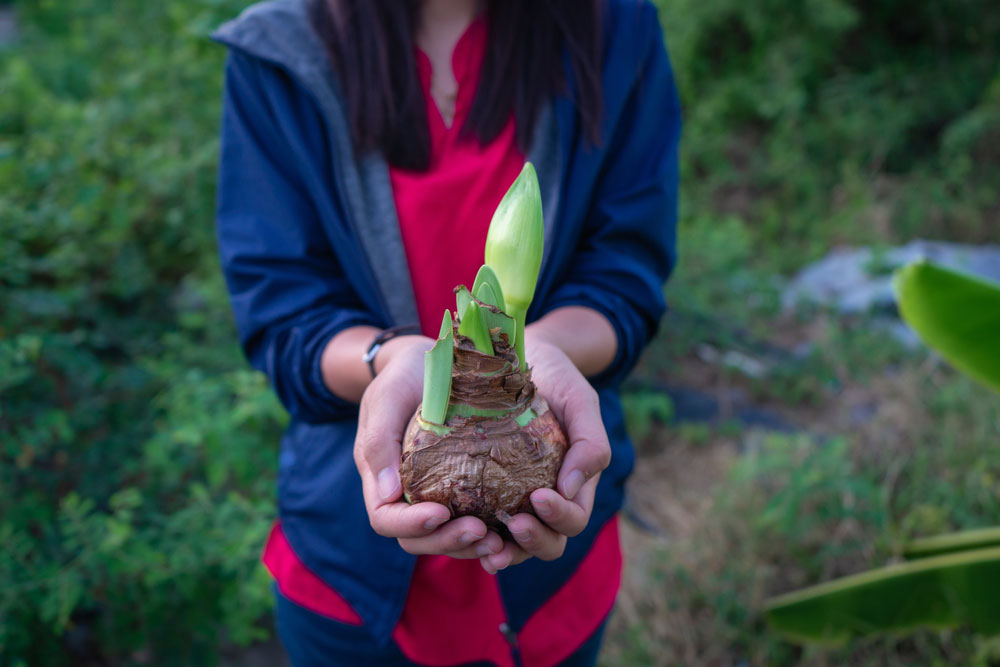
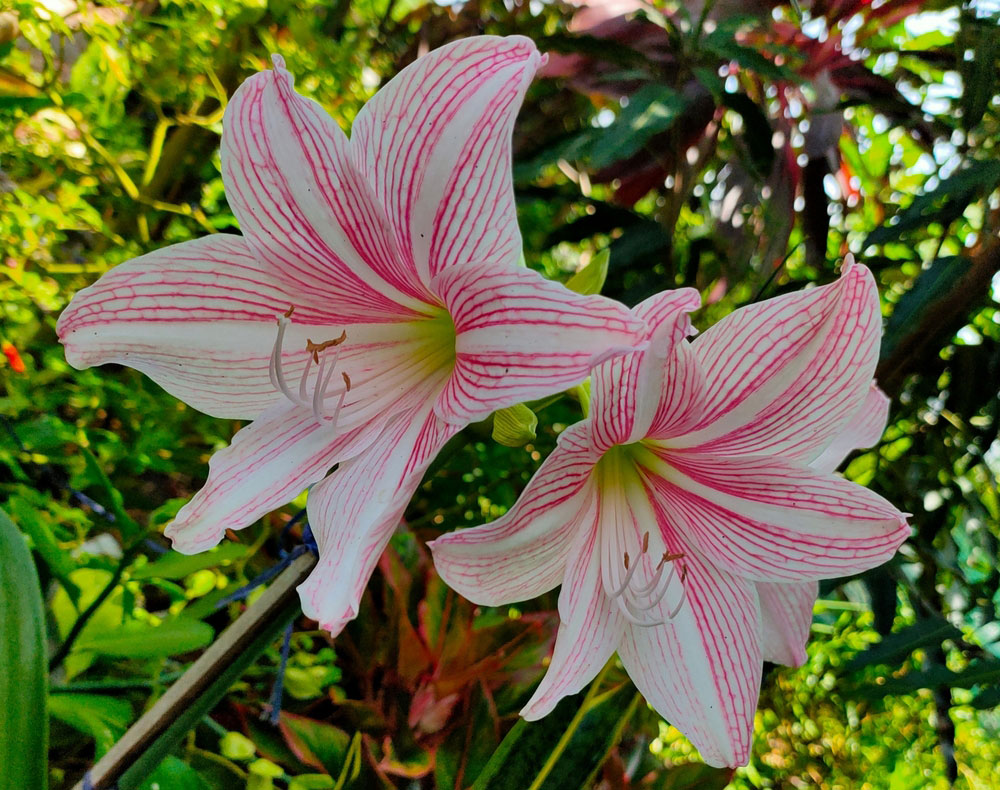
Amaryllis is a gorgeous plant that looks fantastic in many different settings, including indoors and outdoors.
If you want to grow amaryllis from seeds, it is not as hard as you might think and is something many people can handle.
Following these steps should provide amaryllis in 2-3 years.
Step One: Collect and Harvest the Seeds
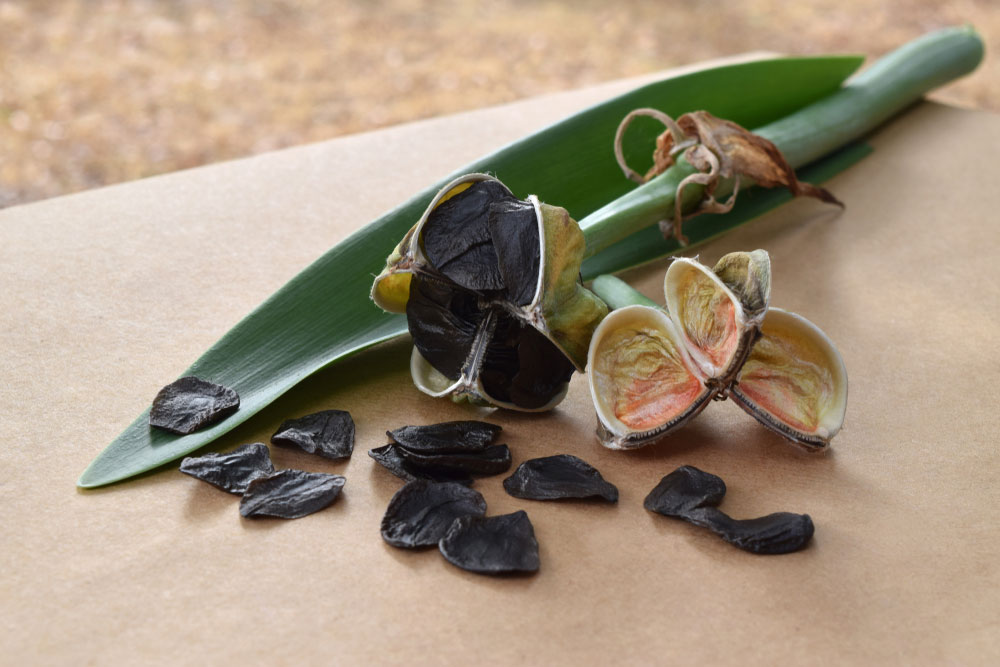
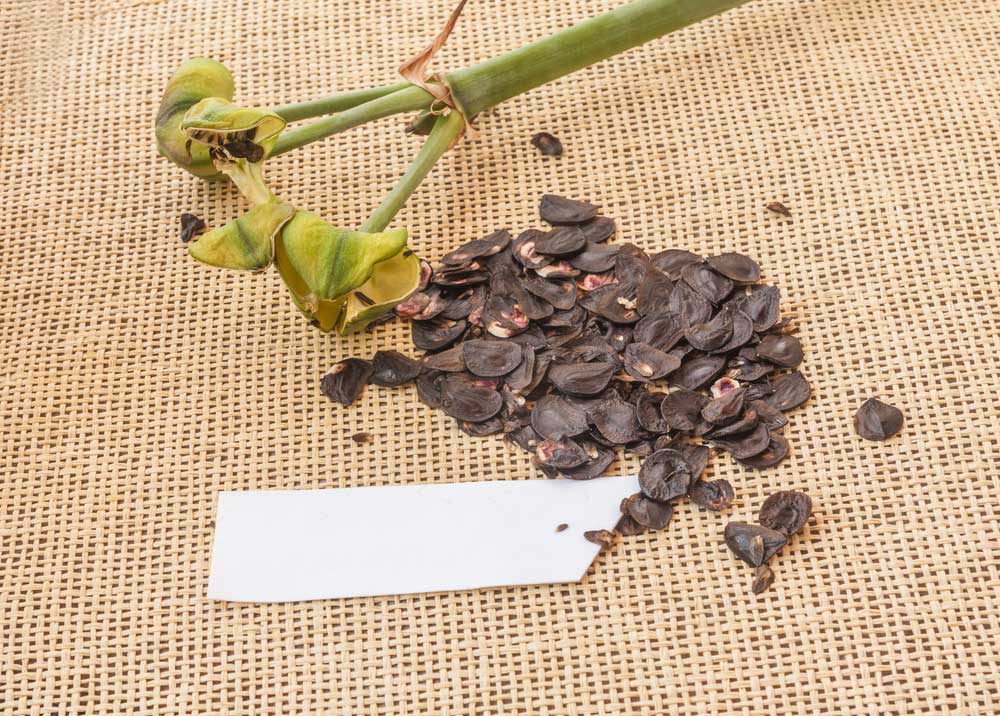
If you don’t have amaryllis seeds, you can either buy them online, from your plant shop, or harvest them from your plant. A typical seed pot will produce about 180 seeds, which makes it easy to fill your whole garden. Wait for the seed to mature and start breaking apart on its own.
It will split along the seams. The pod should be yellow before you take the seeds. Carefully wiggle the pod back and forth over a large paper plate to help them fall to the plate. Carefully inspect the seeds to look for damage or a dried texture and throw any out that don’t look suitable for growing.
Step Two: Prepare the Seeds
After taking your seeds out of the pod, place them in a cool and dark area for about a week. A closet should work well, as long as there is consistent air flow and minimal UV rays or heat. Before storing, wrap them in newspaper or paper towels to remove moisture before drying.
After a week, take them out of the closet or storage area and do another quick inspection. Any seeds that look damaged should be tossed. You should still get a good number of seeds this way as long as you make sure to keep them dry and dark while they sit.
Step Three: Plant the Seeds
Find a small container that’s at least eight inches wide and add high-quality, well-draining potting mix into the pot. You can mix in small amounts of sand or perlite with the soil to help it drain more easily. The pot should have holes in the bottom where water can drain after feeding the plants.
Plant your seeds at least one-inch apart and one-eighth inch deep. Level the soil on the top so that it can water easily and add water generously the first time. Doing so helps to create water channels in the pot that improve drainage and also give your seeds the water they need to start growing.
Step Four: Caring for the Seeds
After planting the seeds, you need to make sure that you water them properly. The soil should be damp at all times to provide them with enough moisture. The water shouldn’t pool on the surface of the soil, however. Try to water only when the soil is dry to ensure you don’t add too much moisture.
A little plant food is beneficially, typically an all-purpose, general option. Try to dilute it with at least half water to ensure it isn’t overpowering. Minimal plant food is best because too much can burn the plant. Put the pot near some light where it can get some important UV rays and grow.
The fertilizer should be a 20-20-20 NPK option or with a little fish emulsion. Some amaryllises even do well with liquefied kept. Try to fertilize only once during the early part of the spring to give the seeds just enough food to help them grow properly.
Step Five: Keep Their Temperature Balanced
While the amaryllis does need some sunlight, avoid placing it in direct sunlight. Instead, it should be in a warm area with partial shade and indirect sunlight. Their seeds are prone to temperature-related damage, which can cause severe growing issues. If possible, place them in a temperature-controlled area.
They need a growing temperature of at least 50 degrees Fahrenheit to avoid cold-related damage. This risk of cold damage is one reason why people typically propagate amaryllises indoors. If you live in an area with temperatures consistently above 50 degrees Fahrenheit, you can grow them outdoors.