Propagating a Christmas cactus can be a rewarding experience, as you watch small cuttings grow into lush, flowering plants.
It’s a simple process that allows you to multiply your collection or share this festive plant with friends and family.
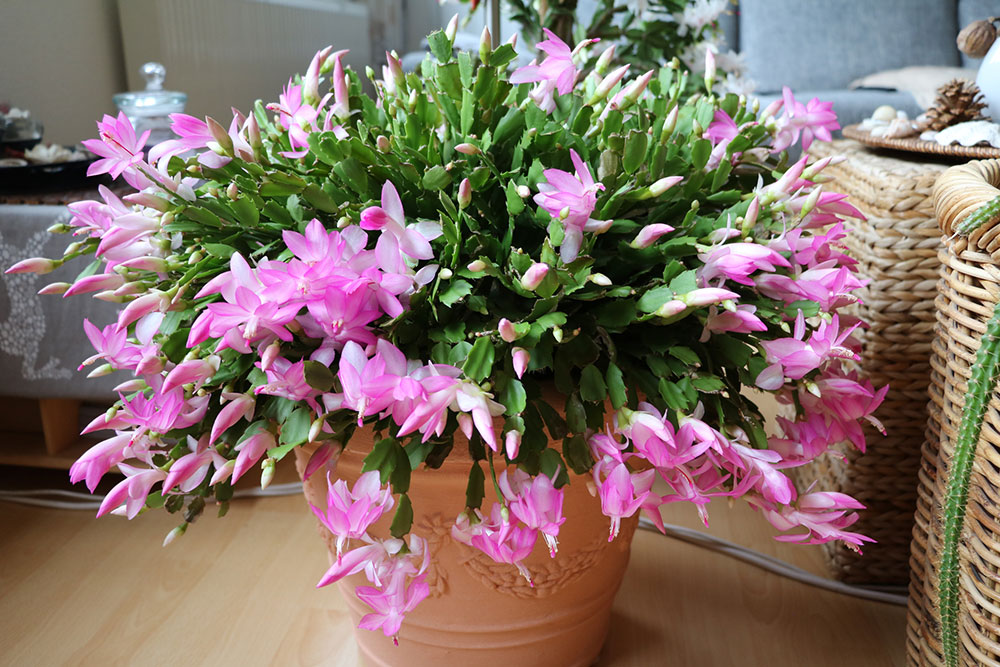
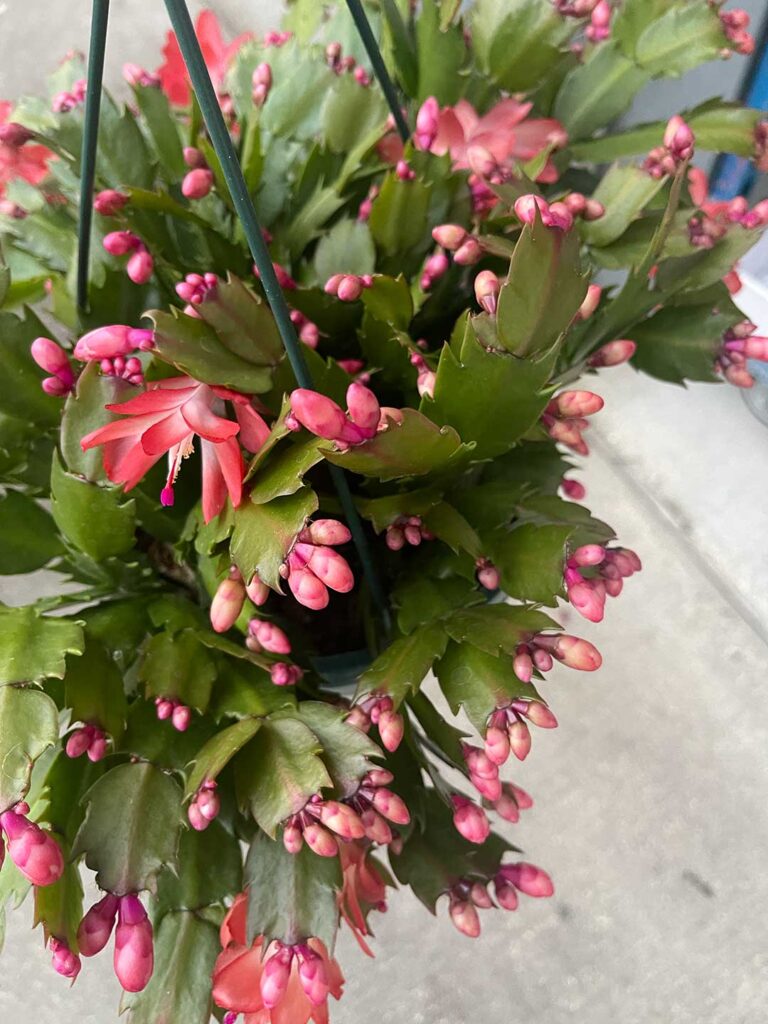
Christmas cacti, known scientifically as Schlumbergera, are popular for their vibrant blooms that appear, fittingly, around the holiday season. Unlike true cacti, these plants hail from the tropical rainforests of Brazil, where they grow as epiphytes on trees.
To successfully propagate your Christmas cactus, timing is key. The best period is after the blooming phase when the plant enters a state of new growth.
This typically occurs during late winter or early spring. You will need a healthy parent plant, a few tools like sharp scissors or a knife, and some potting materials.
By following straightforward steps and providing the right environment, new plants will sprout from segments of the mother plant, expanding your indoor garden.
Propagation Basics
When propagating a Christmas cactus, the key is to ensure cuttings are healthy and timing is optimal.
Best Time to Propagate
To give your Christmas cactus the best start, you should take cuttings after the blooming period.
After the blooming period when the plant is not in active growth. Your Christmas cactus will have the entire growing season to establish itself, resulting in stronger, more vigorous growth.
Step-by-Step Propagation
To successfully propagate your Christmas Cactus, follow the detailed steps below. This guide ensures that you know precisely how to prepare, root, and pot your cutting for the best chance at a healthy new plant.
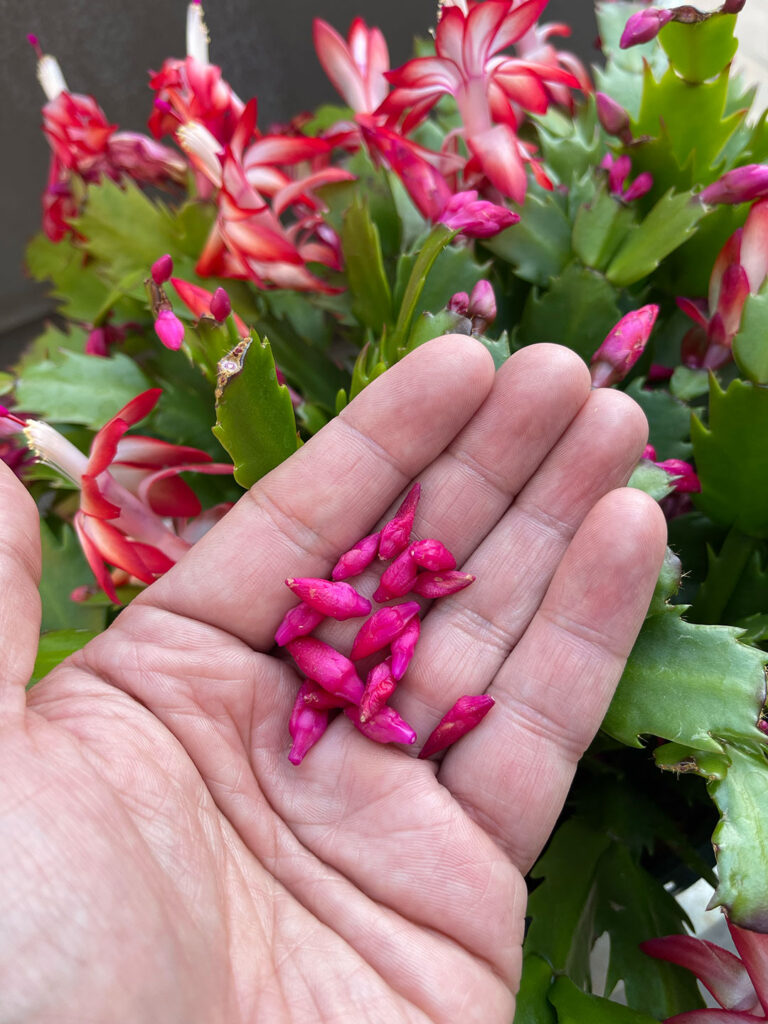
Preparing the Cutting
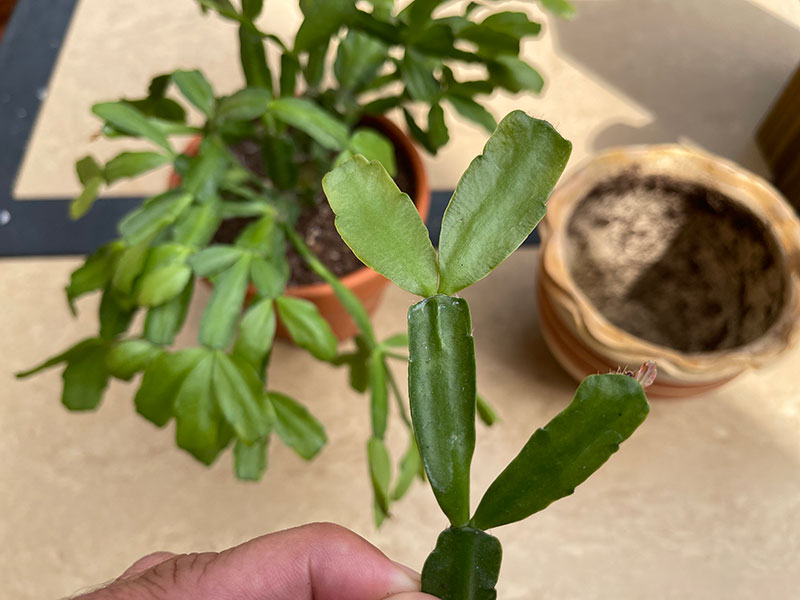
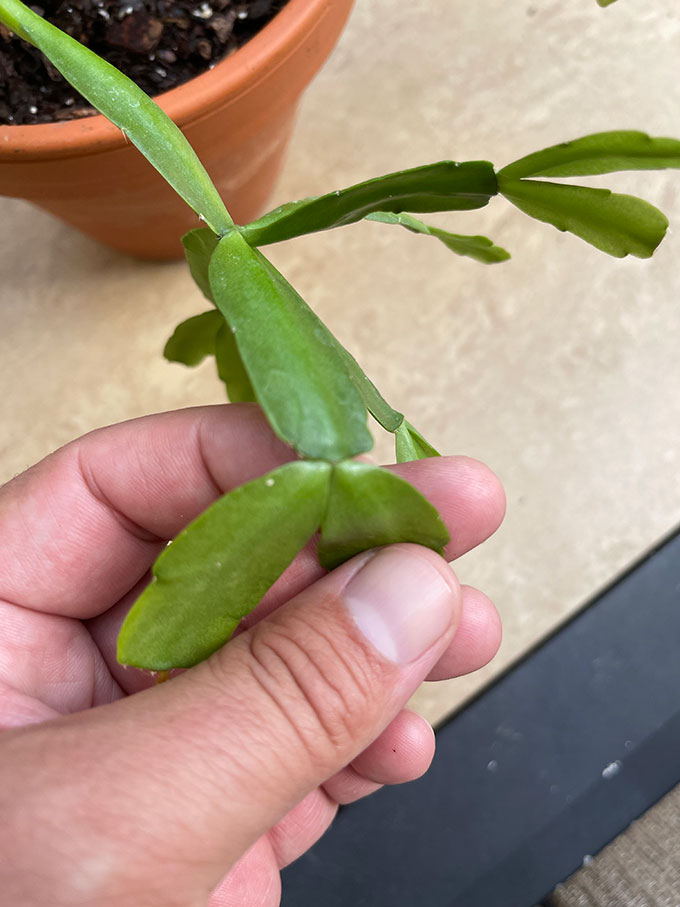
Begin by selecting a healthy stem segment of your Christmas Cactus with at least 2-3 segments, or “leaves”. Carefully twist the piece off the plant or use a clean, sharp pair of scissors to make the cut.
Allow the cutting to dry for a few hours or overnight until the cut end forms a callous, reducing the risk of rotting.
Rooting the Cutting
Once the cutting has calloused:
- Fill a small pot with a mix of succulent soil and perlite to ensure good drainage.
- Moisten the soil slightly.
- Insert the cut end of the cactus segment about an inch deep into the soil.
- Place the pot in a bright area but out of direct sunlight, which can be too intense.
- Keep the soil consistently moist, but not waterlogged, to encourage root growth.
Potting and Planting
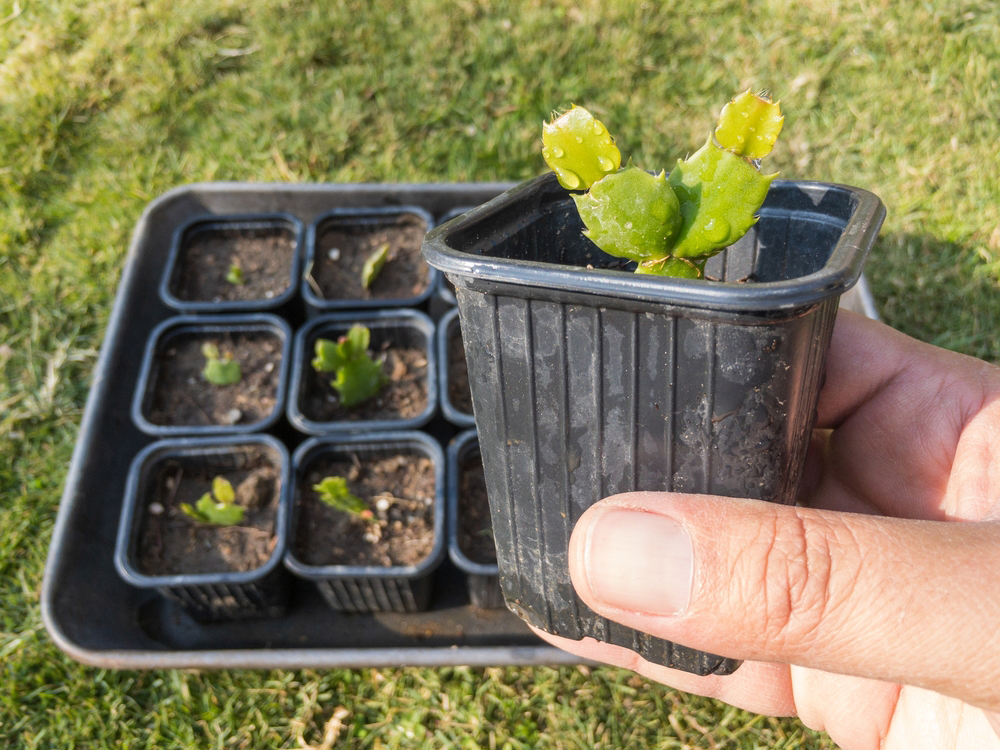
After 2-4 weeks, test for root development by gently tugging on the cutting. A slight resistance usually indicates that roots have formed.
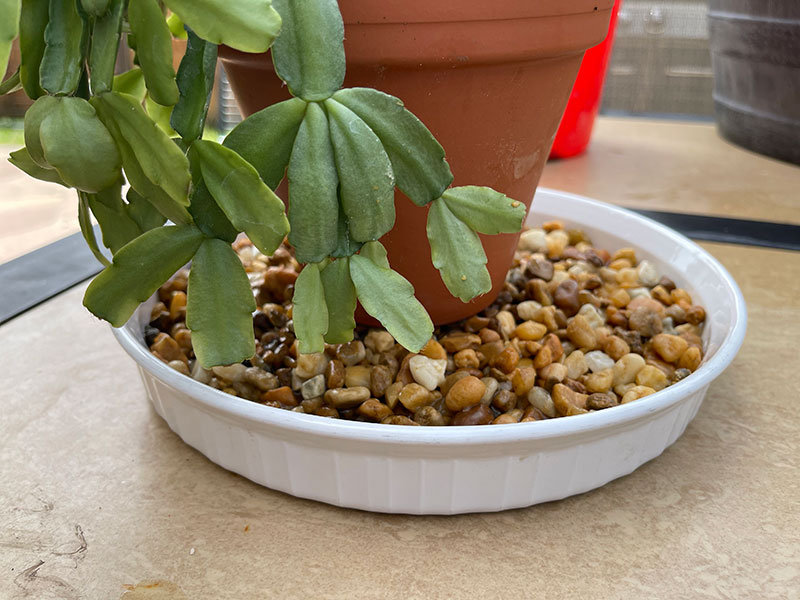
- Select a pot with a drainage hole at the bottom.
- Fill the pot with a well-draining soil mix designed for succulents or cacti.
- Transplant the rooted cutting into the new pot, burying the roots carefully.
- Water the new plant sparingly to begin with to reduce the risk of rot. Gradually increase watering as the plant becomes established.
Post-Propagation Care
After your Christmas Cactus cuttings have established roots, proper care is essential to ensure that your new plants thrive.
Watering and Feeding
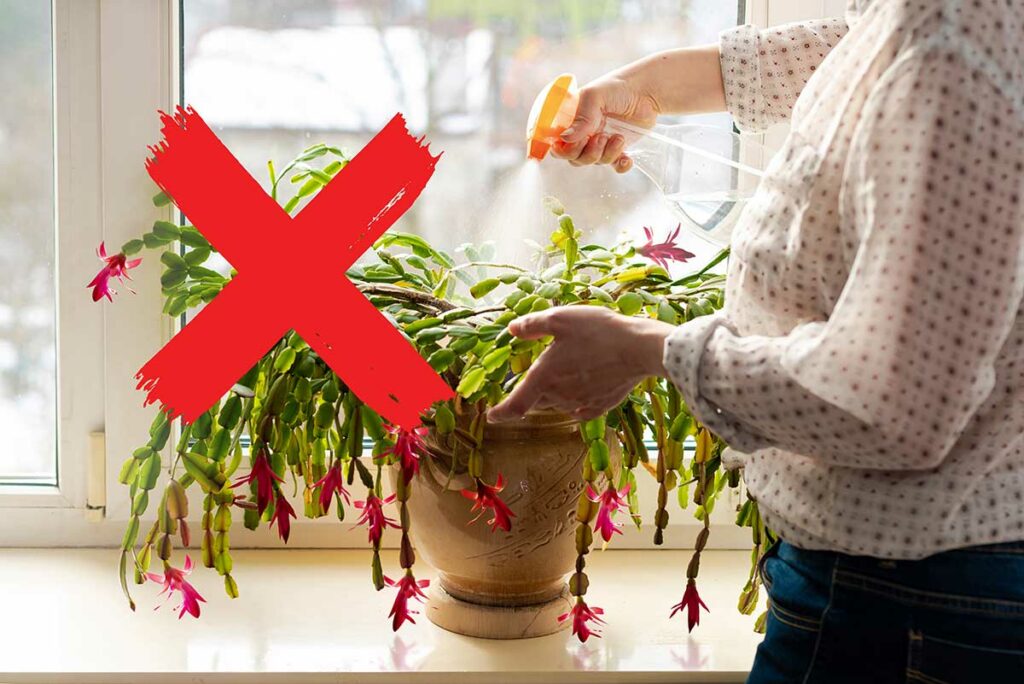
When it comes to watering, consistency is key.
- Water: Provide water when the top inch of the soil feels dry to the touch. Use room temperature water to avoid shocking the roots. Overwatering can lead to root rot, so ensure good drainage.
- Feeding: Feed your Christmas Cactus every two weeks with a half-strength balanced fertilizer during the growing season (spring and summer). Cease fertilization in late summer to prepare the plant for its flowering cycle.