Starting seeds can be a rewarding and cost-effective way to grow your own plants. Whether you’re looking to add some greenery to your home or start a vegetable garden, the process can seem overwhelming for beginners. That’s why we’ve put together this guide to help you successfully start your own seeds.
First, it’s important to choose the right seeds for your needs. Consider factors such as the amount of space you have available, the amount of sunlight your plants will receive, and the climate in your area.
You can purchase seeds from a local nursery or garden center, or order them online. Make sure to read the seed packets carefully for information on planting depth, germination time, and any special requirements.
Understanding Seed Biology
Seed Anatomy
Before starting your seeds, it’s important to understand their anatomy. A seed consists of three main parts: the embryo, endosperm, and seed coat.
The embryo is the tiny plant that will eventually grow into a full-sized plant. The endosperm is a food source that provides the embryo with the nutrients it needs to grow. The seed coat is a protective layer that surrounds the embryo and endosperm.
Seeds can be either monocots or dicots. Monocots have one cotyledon (embryonic leaf), while dicots have two. Examples of monocots include corn and grasses, while examples of dicots include beans and tomatoes.
Germination Process
Germination is the process by which a seed begins to grow into a plant. It requires a combination of water, oxygen, and the right temperature.
When a seed is exposed to water, it absorbs it and swells up. The seed coat then splits open, allowing the embryo to emerge.
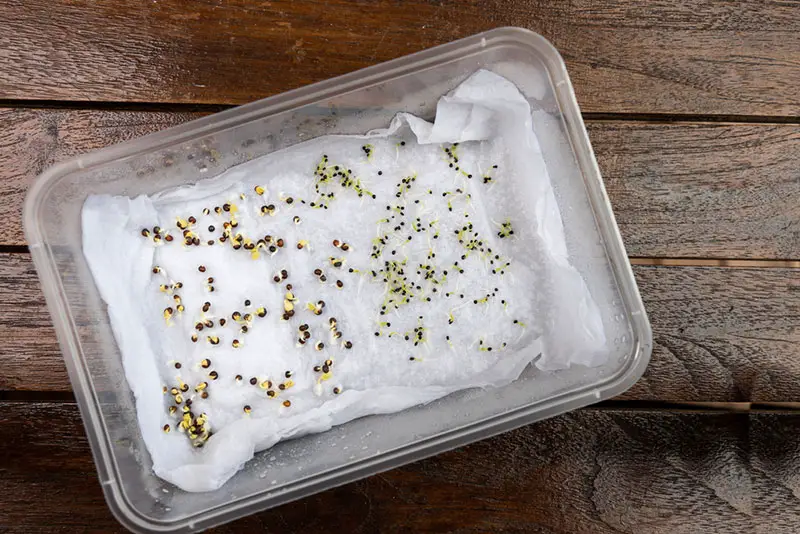
The first thing the embryo does is send out a root, which anchors the plant in the soil and absorbs water and nutrients. The shoot then emerges from the soil and begins to grow leaves, which are responsible for photosynthesis.
It’s important to note that different seeds have different germination requirements. Some seeds require a period of cold stratification to break dormancy, while others require scarification (scratching the seed coat) to allow water to penetrate. Be sure to research the specific needs of the seeds you plan to start.
Selecting the Right Seeds
Starting seeds is an exciting and rewarding experience, but it all starts with selecting the right seeds. Here are some tips to help you choose the best seeds for your garden.
Seed Types
There are two main types of seeds: open-pollinated and hybrid.
Open-pollinated seeds come from plants that have been pollinated naturally, either by insects, wind, or other means. These seeds will produce plants that are true to the parent plant, so you can save the seeds and use them again next year.
Hybrid seeds, on the other hand, are created by crossbreeding two different varieties of plants. These seeds will produce plants with traits from both parent plants, but they will not be true to either parent. If you want to save seeds for next year, make sure to choose open-pollinated seeds.
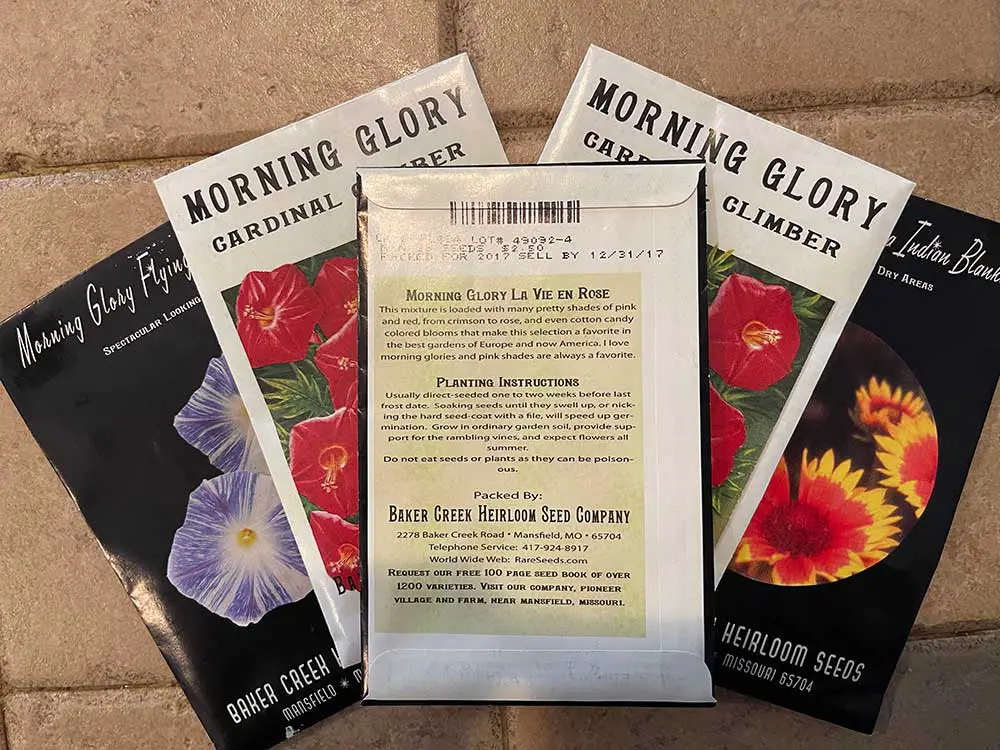
Reading Seed Packets
When selecting seeds, it’s important to read the information on the seed packet carefully. Here are some things to look for:
- Planting instructions: Make sure you choose seeds that are appropriate for your climate and planting zone.
- Days to maturity: This is the amount of time it takes for the plant to produce fruit or flowers. Make sure you choose seeds that will mature before the end of your growing season.
- Plant spacing: This is the distance you should leave between plants when planting. Make sure you choose seeds that are appropriate for the size of your garden.
- Seed depth: This is how deep you should plant the seeds. Make sure you follow the instructions carefully to ensure proper germination.
- Germination rate: This is the percentage of seeds that will germinate. Make sure you choose seeds with a high germination rate to ensure a successful harvest.
Setting Up Your Seed Starting Area
Choosing the Location
When setting up your seed starting area, it’s important to choose a location that receives ample sunlight and is easily accessible.
A south-facing window is ideal, but if that’s not possible, consider using grow lights. The area should also be free of drafts and temperature fluctuations, as these can negatively impact seed germination.
Gathering Supplies
Before starting your seeds, gather all the necessary supplies. You’ll need seed trays, seed starting mix, labels, a watering can or spray bottle, and any additional equipment such as heat mats or grow lights.
Make sure to label your seed trays with the type of seed and the date planted to keep track of your progress.
Planting Your Seeds
Soil Preparation
Before planting your seeds, it’s important to prepare the soil properly.
Start by selecting a high-quality potting mix that’s specifically designed for seed starting. Avoid using garden soil, which can contain weed seeds and disease-causing organisms.
Fill your seed-starting containers with the potting mix, leaving about 1/4 inch of space at the top. Use a small trowel or your fingers to level the soil and create a shallow depression in the center of each container.
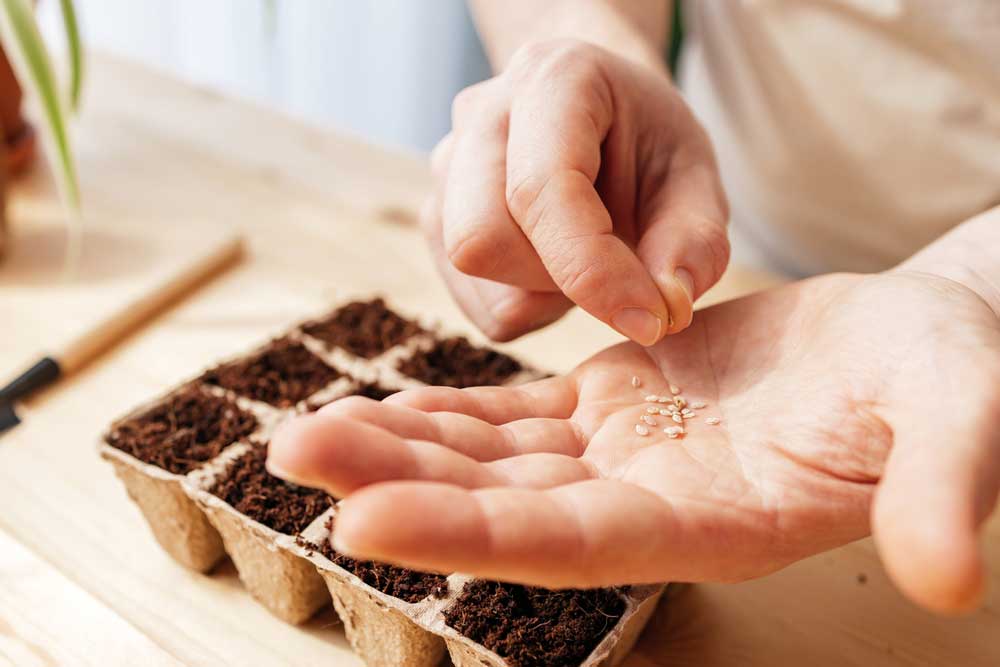
Sowing Techniques
There are a few different techniques you can use to sow your seeds, depending on their size and the type of plant you’re growing. Here are a few options:
- Broadcast sowing: This technique works well for small seeds like lettuce or herbs. Simply sprinkle the seeds evenly over the soil surface, then lightly press them into the soil with your fingers.
- Row sowing: This technique is better for larger seeds like beans or peas. Create a furrow in the soil with a pencil or your finger, then place the seeds about 1 inch apart along the furrow. Cover the seeds with soil and gently press down.
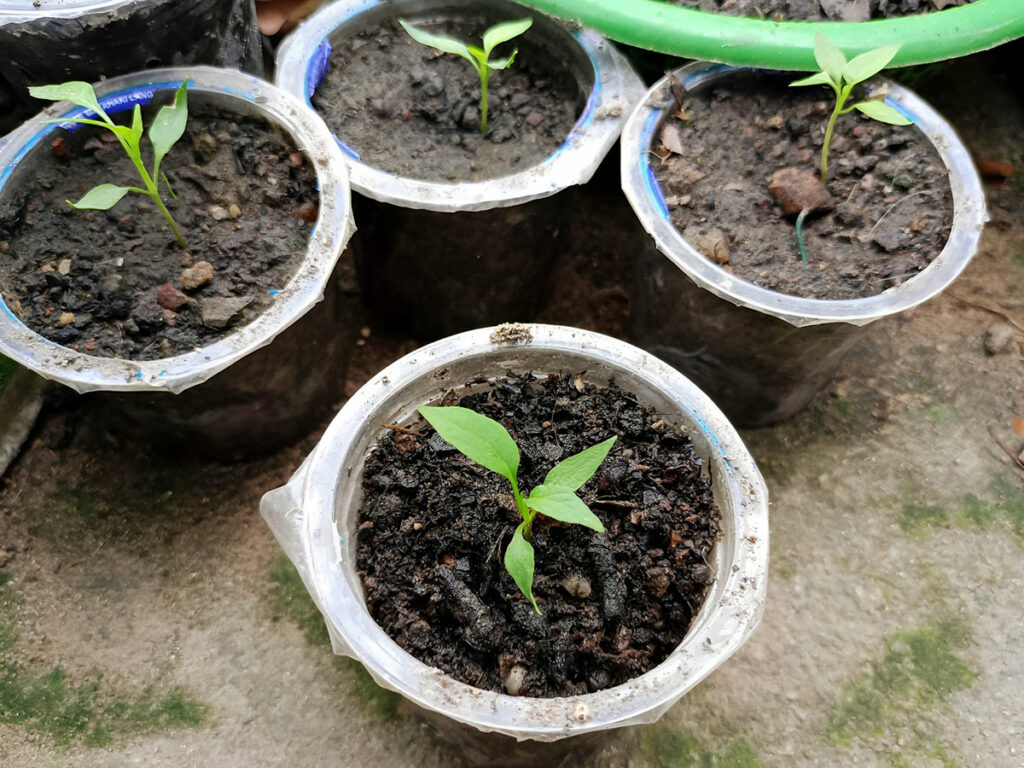
- Individually sowing: For very large seeds like pumpkin or squash, you may want to plant them individually in their own small containers. Make a hole in the soil with your finger, then place the seed in the hole and cover with soil.
Once your seeds are planted, water them gently to moisten the soil. Be careful not to overwater, as this can cause the seeds to rot.
Place your containers in a warm, sunny location, and keep the soil moist but not waterlogged. With proper care, your seeds should germinate within a few days to a few weeks, depending on the variety.
Caring for Your Seedlings
Starting seeds is just the beginning of your gardening journey, and caring for your seedlings is essential to ensure their healthy growth. Here are some tips on how to care for your seedlings:
Watering Needs
Seedlings require consistent moisture to thrive.
Water them regularly, keeping the soil moist but not waterlogged. Overwatering can lead to damping off, a fungal disease that can kill young seedlings.
To avoid this, water the seedlings from the bottom by placing the tray in a shallow dish of water and letting the soil absorb the water. This will also encourage the roots to grow deeper.
Lighting Requirements
Seedlings need plenty of light to grow healthy and strong. Place them in a bright, sunny spot or under grow lights for 12-16 hours a day.
If you’re using grow lights, keep them about 2-3 inches above the seedlings to prevent them from getting too hot or dry.
Temperature Control
Seedlings also require consistent temperatures to grow well. Keep the temperature between 60-75°F during the day and 55-65°F at night.
Avoid placing the seedlings in drafty areas or near heating vents, as this can cause temperature fluctuations that can stress the plants.