Gardening is a fun and relaxing hobby that produces everything from delicious herbs and scrumptious foods to medicinal plants and fragrant flowers.
Whether you are a novice looking for tips or an expert looking to improve your technique, in the video below by California Gardening you’ll find some advice that will help your garden thrive.
1. Biodegradable Pots
If you’re looking for an eco-friendly way to start your seeds, consider making biodegradable pots using toilet paper rolls. Not only are these pots environmentally friendly, but they’re also an inexpensive and easy way to start your garden.
Here’s how to make biodegradable pots using toilet paper rolls:
Materials:
- Toilet paper rolls
- Scissors
- Potting soil
- Seeds
Instructions:
- Make four cuts, about one inch apart, on one end of the roll.
- Fold the cut sections inward to form the bottom of the pot.
- Fill the roll with potting soil, leaving about an inch of space at the top.
- Plant your seeds according to their specific planting instructions.
- Water the soil and place the pots in a warm and sunny location.
- Once your plants have outgrown their pots, you can plant the entire biodegradable pot directly into the soil. The cardboard will break down and add nutrients to the soil, and your plant will continue to grow.
In just a few simple steps, you can make your own biodegradable pots using toilet paper rolls. Not only are you reducing waste, but you’re also providing a healthy start for your plants. So next time you’re in need of some planting pots, grab a few toilet paper rolls and get started! 🙂
2. Use Beneficial Bacteria
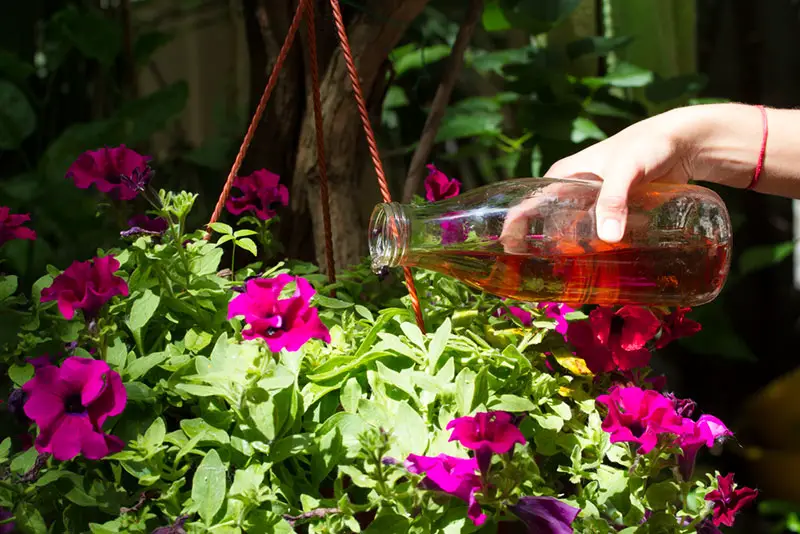
Not all bacteria is bad for your garden! Seaweed fertilizers and fish emulsions contain a multitude of good bacteria. Simply add two tablespoons of fish emulsion and two tablespoons of seaweed fertilizer to a two-gallon watering can, fill the rest with water and pour the mixture over your potting soil. The beneficial bacteria will get to work instantly, creating a vibrant soil culture which will help your plants grow huge and healthy.
3. Make Sure Your Seeds are Viable
Nothing is more frustrating than spending time and money cultivating seeds and never seeing any results. Checking for seed viability will save efforts that would otherwise be wasted on seed duds.
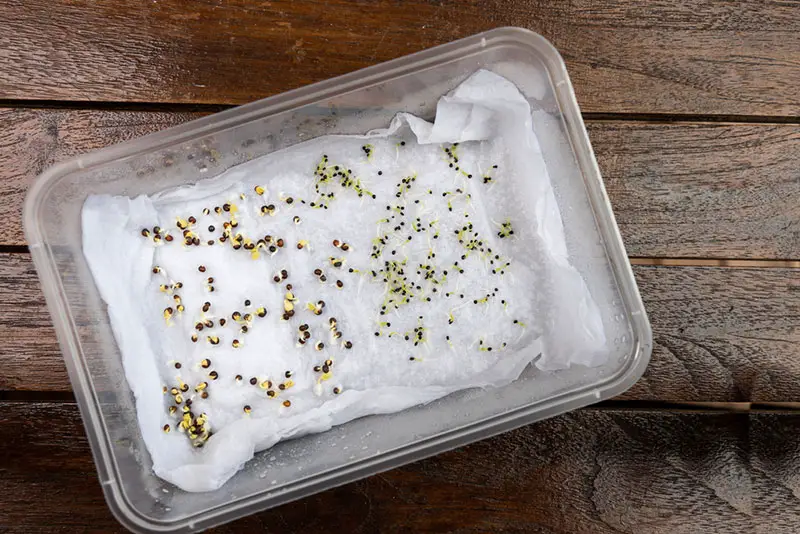
All you need to test seeds in a moist paper towel and an air-tight container, any Tupperware container with a tight lid will do.
Cover the bottom of the container with a moist paper towel, sprinkle a few seeds on top, then close the container. If the seeds are viable, the humid environment inside the container will encourage them to germinate.
If the seeds are good, you will see results in 7 to 10 days. If they’re good, go ahead and plant them; if not, you can throw them out or try to get a refund from the place where you bought the seeds.
4. Turn Any Plastic Container into a Planting Pot
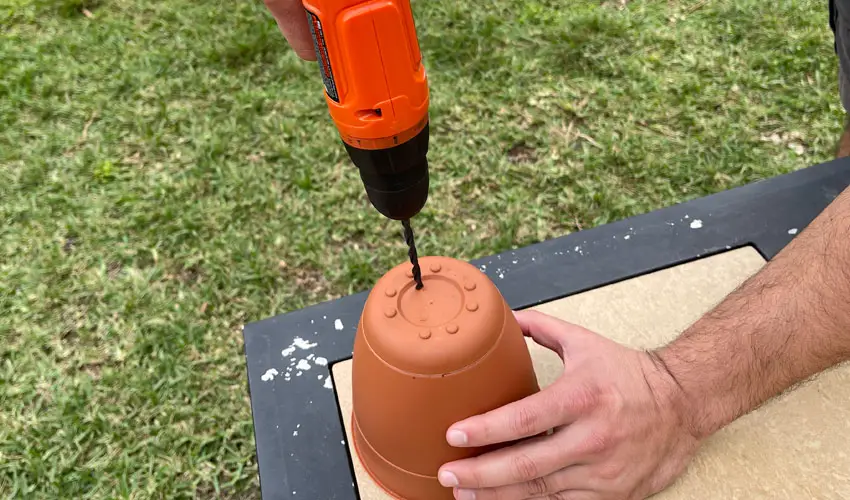
Every gardener knows that drainage holes are essential for proper plant growth, but not every would-be plant holder has drainage holes. If you have a plastic container that you’d like to convert into a plant holder, use a soldering iron or drill to make small holes in the bottom.
5. Give Aspirin to Your Tomatoes
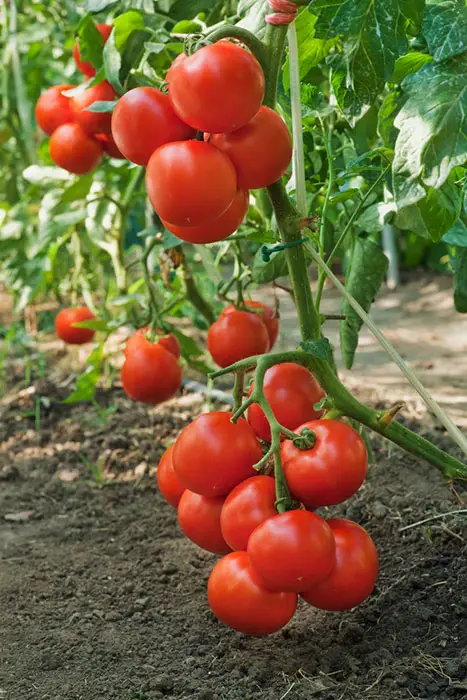
We usually think of aspirin’s uses for humans, but aspirin is an organic compound that can be immensely beneficial to tomatoes. Tomatoes are vulnerable to a variety of fungi and diseases that can be kept at bay by watering them with an aspirin solution. Add one 325 milligram dose of aspirin per gallon of water and water your tomato plants as usual.
6. Add Eggshells to Your Compost
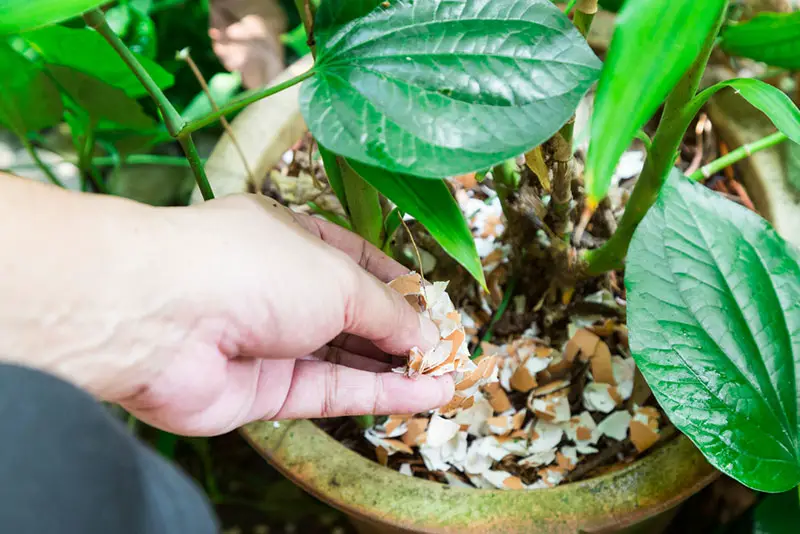
Don’t throw your eggshells out just yet! Eggshells are packed with calcium and other micronutrients. If you compost, take the time to blend your eggshells into a fine powder and add them to your compost pile to give it an extra punch of nutrition.
7. Use Epsom Salt
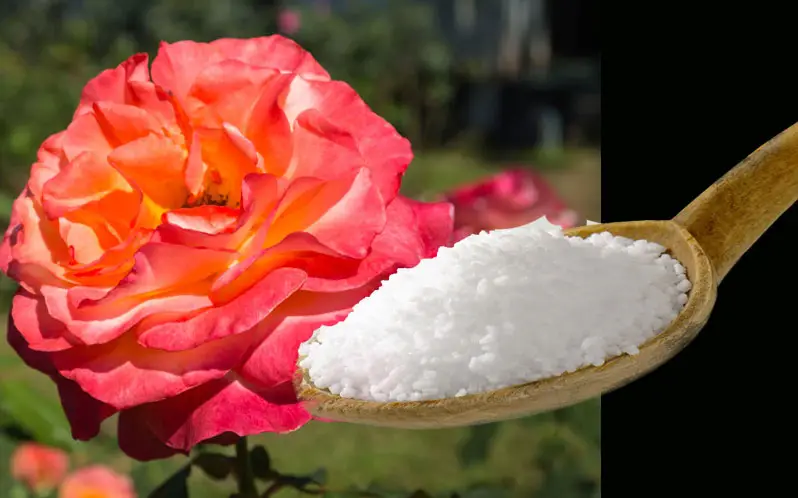
Epsom salt is an organic mineral that contains a lot of magnesium and sulfur. Many soils are severely lacking in both of these minerals, so adding two teaspoons of Epsom salt per gallon of water every six weeks will help your plants immensely, especially peppers, eggplant and tomatoes. Use one tablespoon per gallon for established plants.
>> Check out our article on using Epsom Salt on Roses
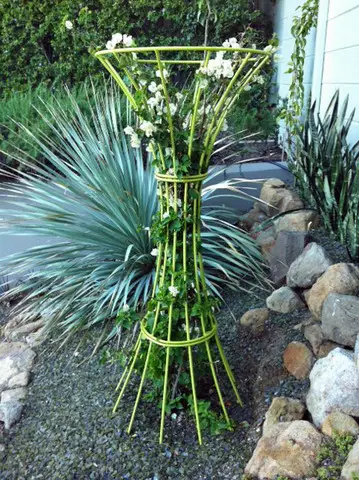
8. Do-It-Yourself Trellis
Hold three stakes of equal length in one hand and wrap gardening tape around the bundle several times, about a quarter of the way down. Once the stakes are secure, spread the stakes apart and place them in soil. This budget-friendly trellis can be used by a variety of climbing plants, such as peas and beans.
9. Brilliant Container Gardening Trick
In this video below you’ll learn how to prepare your pots and your plants and how to ensure your finished project not only looks amazing but is also stable and healthy. You’ll see handy tips from a professional horticulturalist that will take your container gardening skills to the next level. Don’t miss this one!
See more container gardening tips and tricks here!
10. Reuse Your Plant Tags
As the seasons change, so do your plants, but you don’t have to throw away your plant tags. Use a paper towel and 91% isopropyl alcohol, also known as rubbing alcohol, to erase permanent marker from tags. Stubborn stains can be soaked in rubbing alcohol overnight. Once the tags are dry, they’re ready to reuse.
Our Plant Care Card Templates are a perfect way to keep track of the care of all your houseplants.
The tags are easy to print and ready for you to add the care instructions for your specific plant.
11. Speed Up Your Compost
When composting materials are broken up, they decompose faster. Breaking organic material into small pieces can be time-consuming, but not if you let your lawn mower do the hard work for you. Run over leaves, stems, eggshells and other compost ingredients with your lawnmower before adding them to your compost bin to accelerate the decomposition process.

